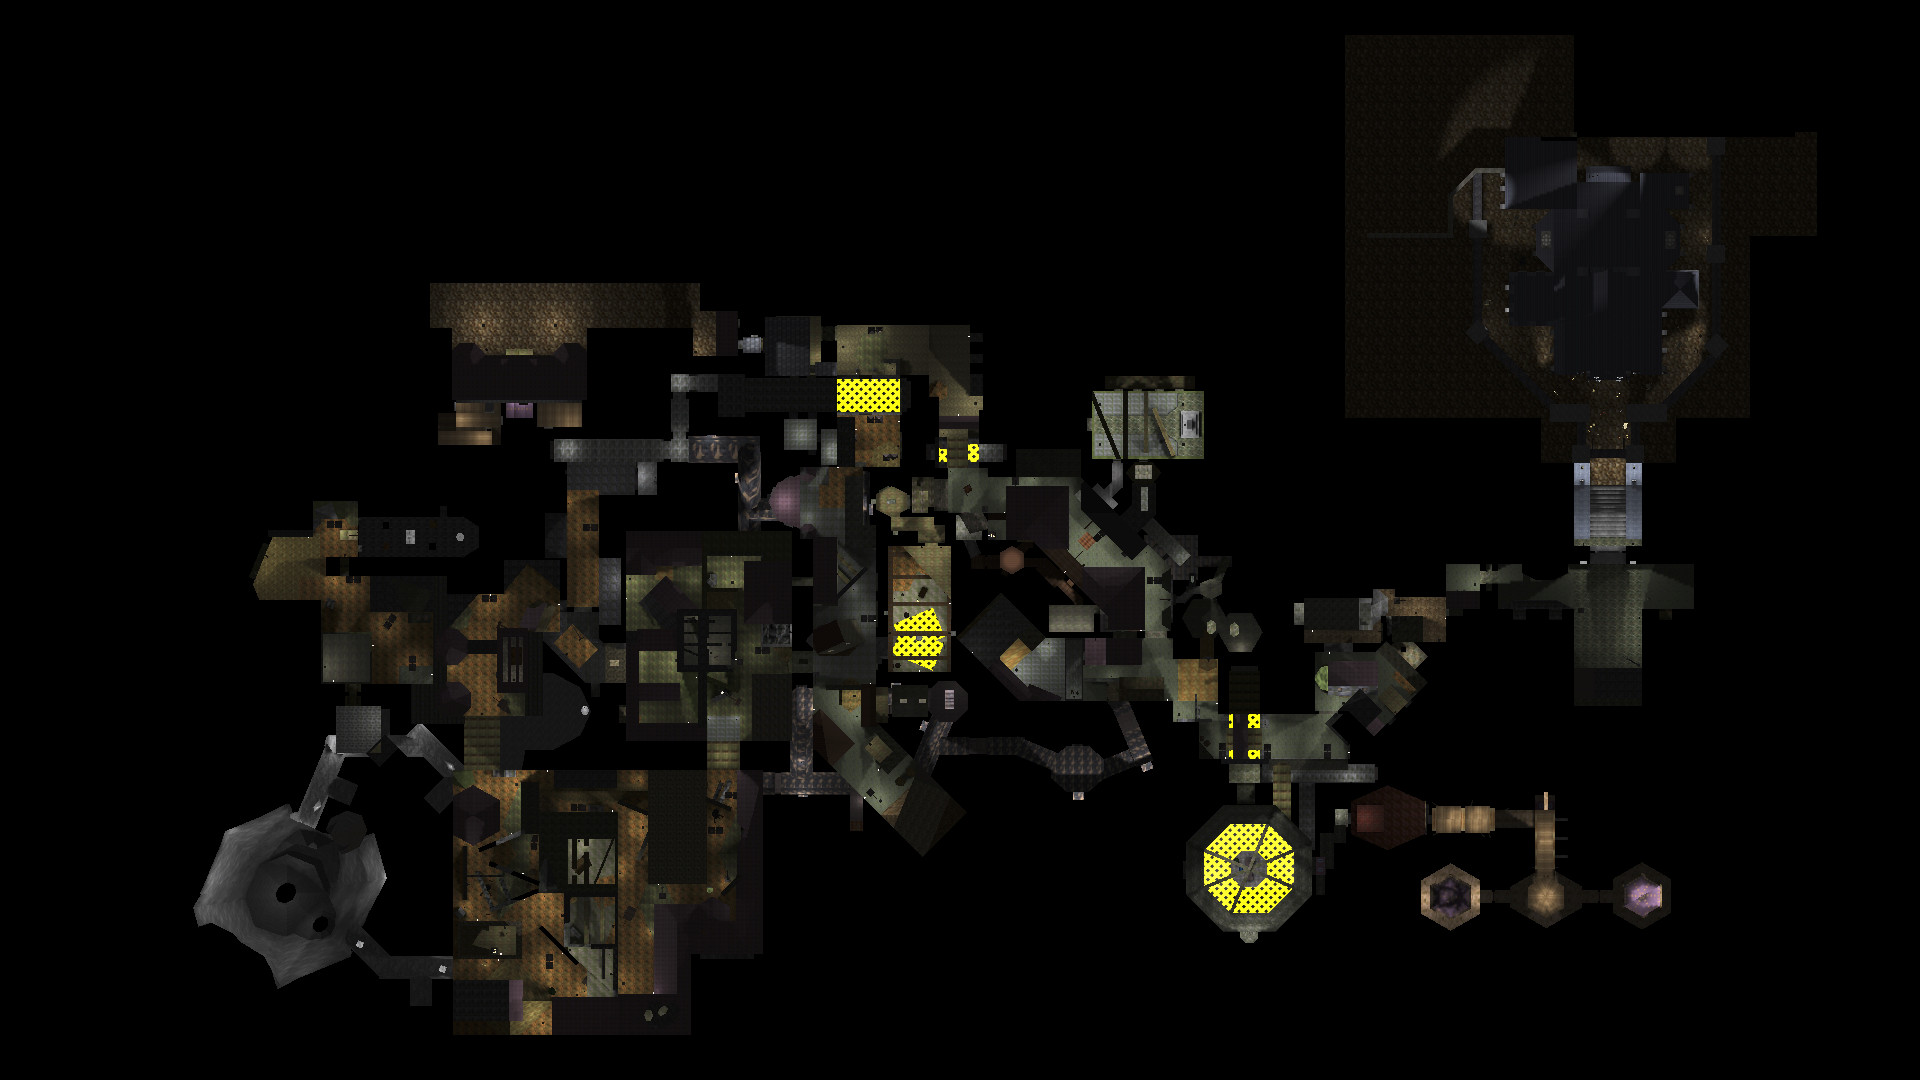
These are gonna be a bit rough, but I’ll explain where I feel it’s helpful. Will keep adding them as I get to them.
Updated 2025–05–18: Added Thieves’ Guild and the last 3 missions.
Be warned: lots of large images on this page.
- A Keeper’s Training
- Lord Bafford’s Manor
- Break from Cragscleft Prison
- Down in the Bonehoard
- Assassins
- Thieves’ Guild
- The Sword (missing)
- The Haunted Cathedral
- The Mage Towers (missing)
- The Lost City
- Song of the Caverns
- Undercover
- Return to the Cathedral
- Escape!
- Strange Bedfellows
- Into the Maw of Chaos
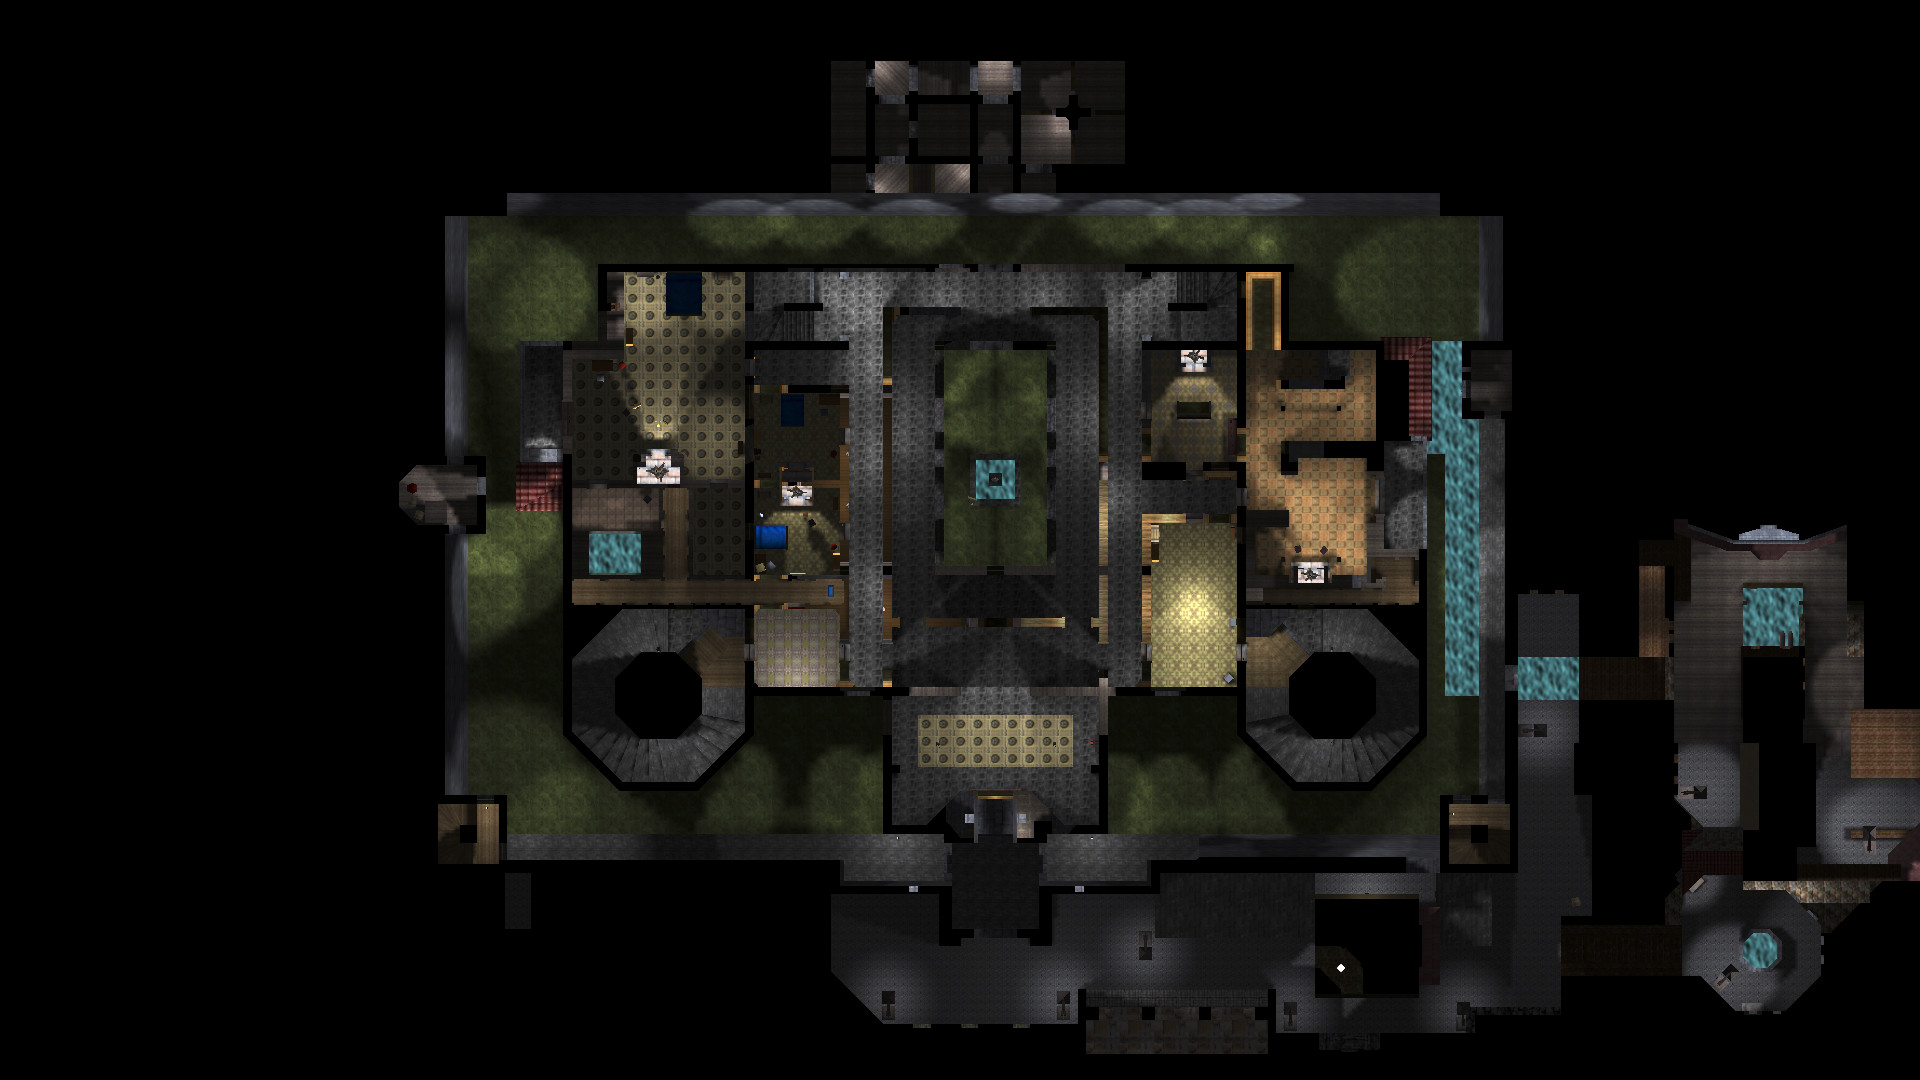
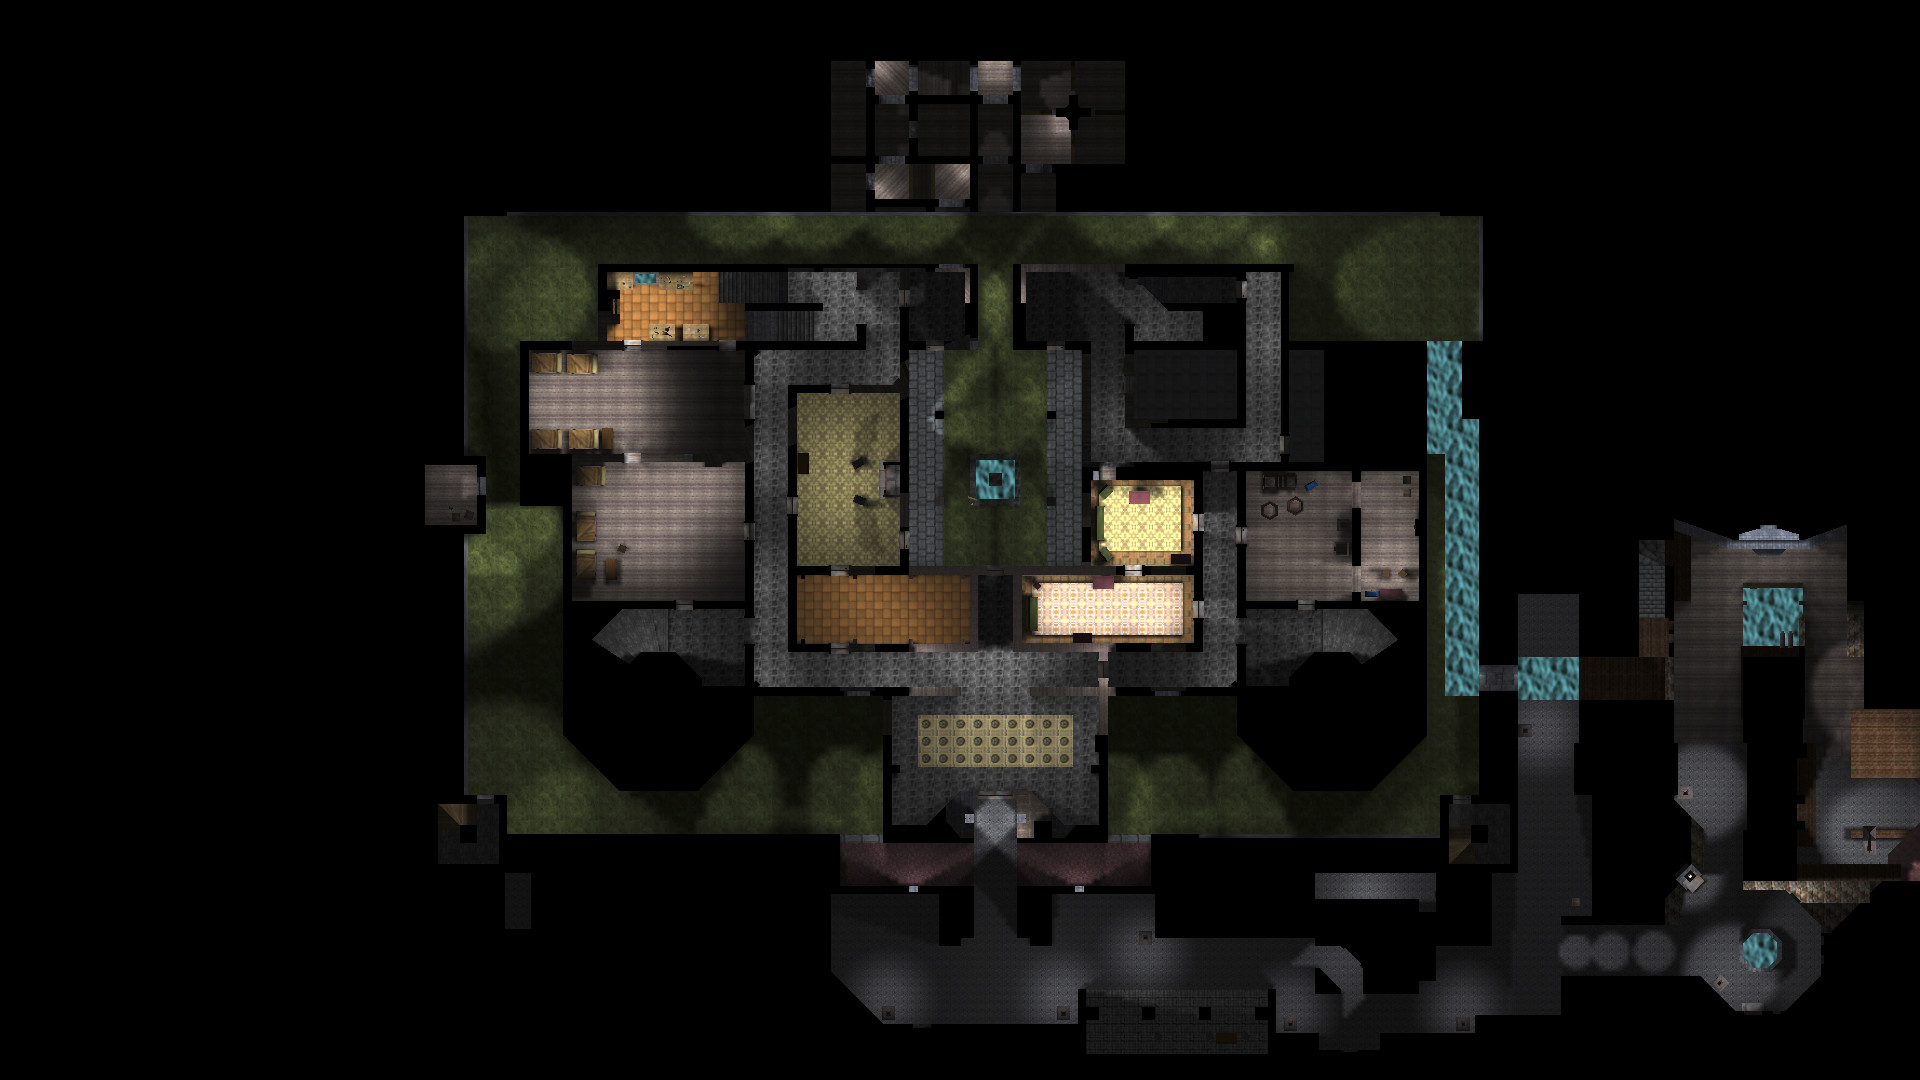
A Keeper’s Training
 Most of these are going to be the same XY position at varying Z (height). This one is the training level from high up, so seeing the tops of things.
 And the same from close to the ground, seeing roughly what Garrett would see.
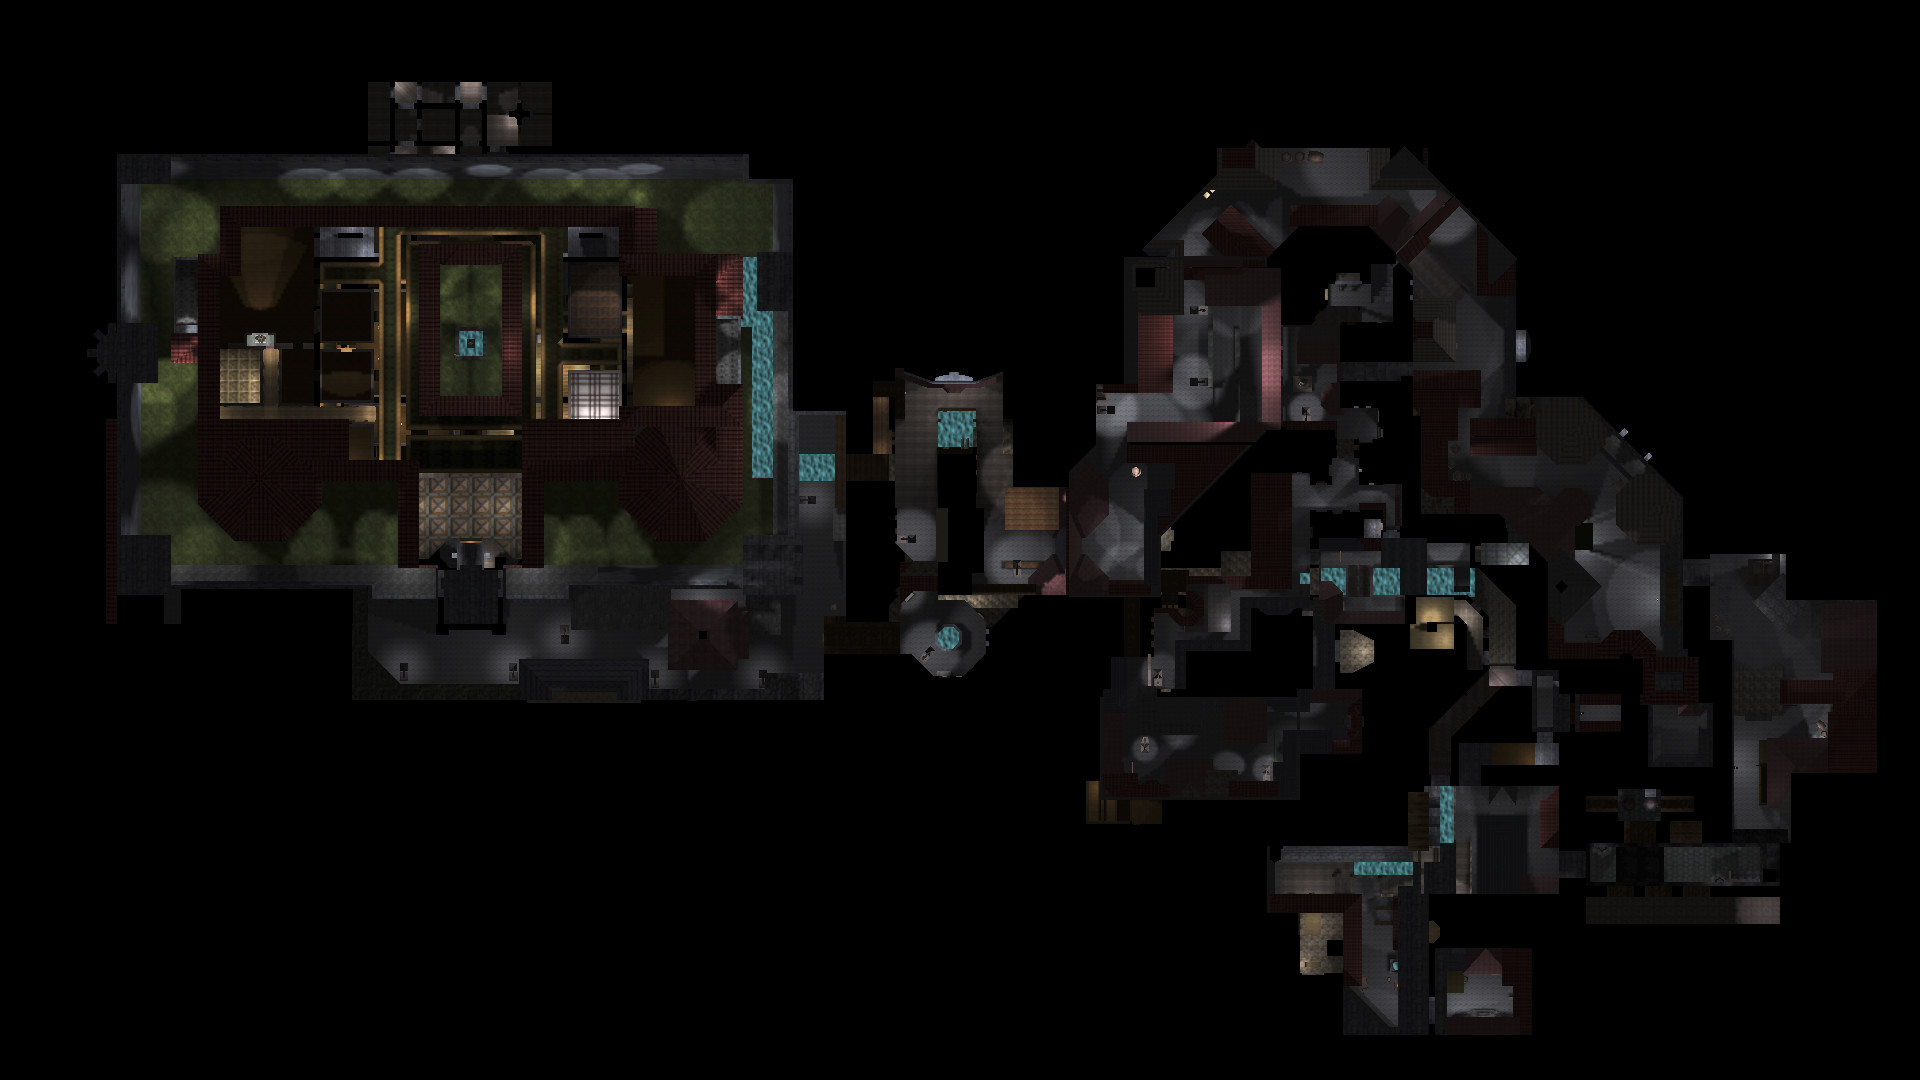
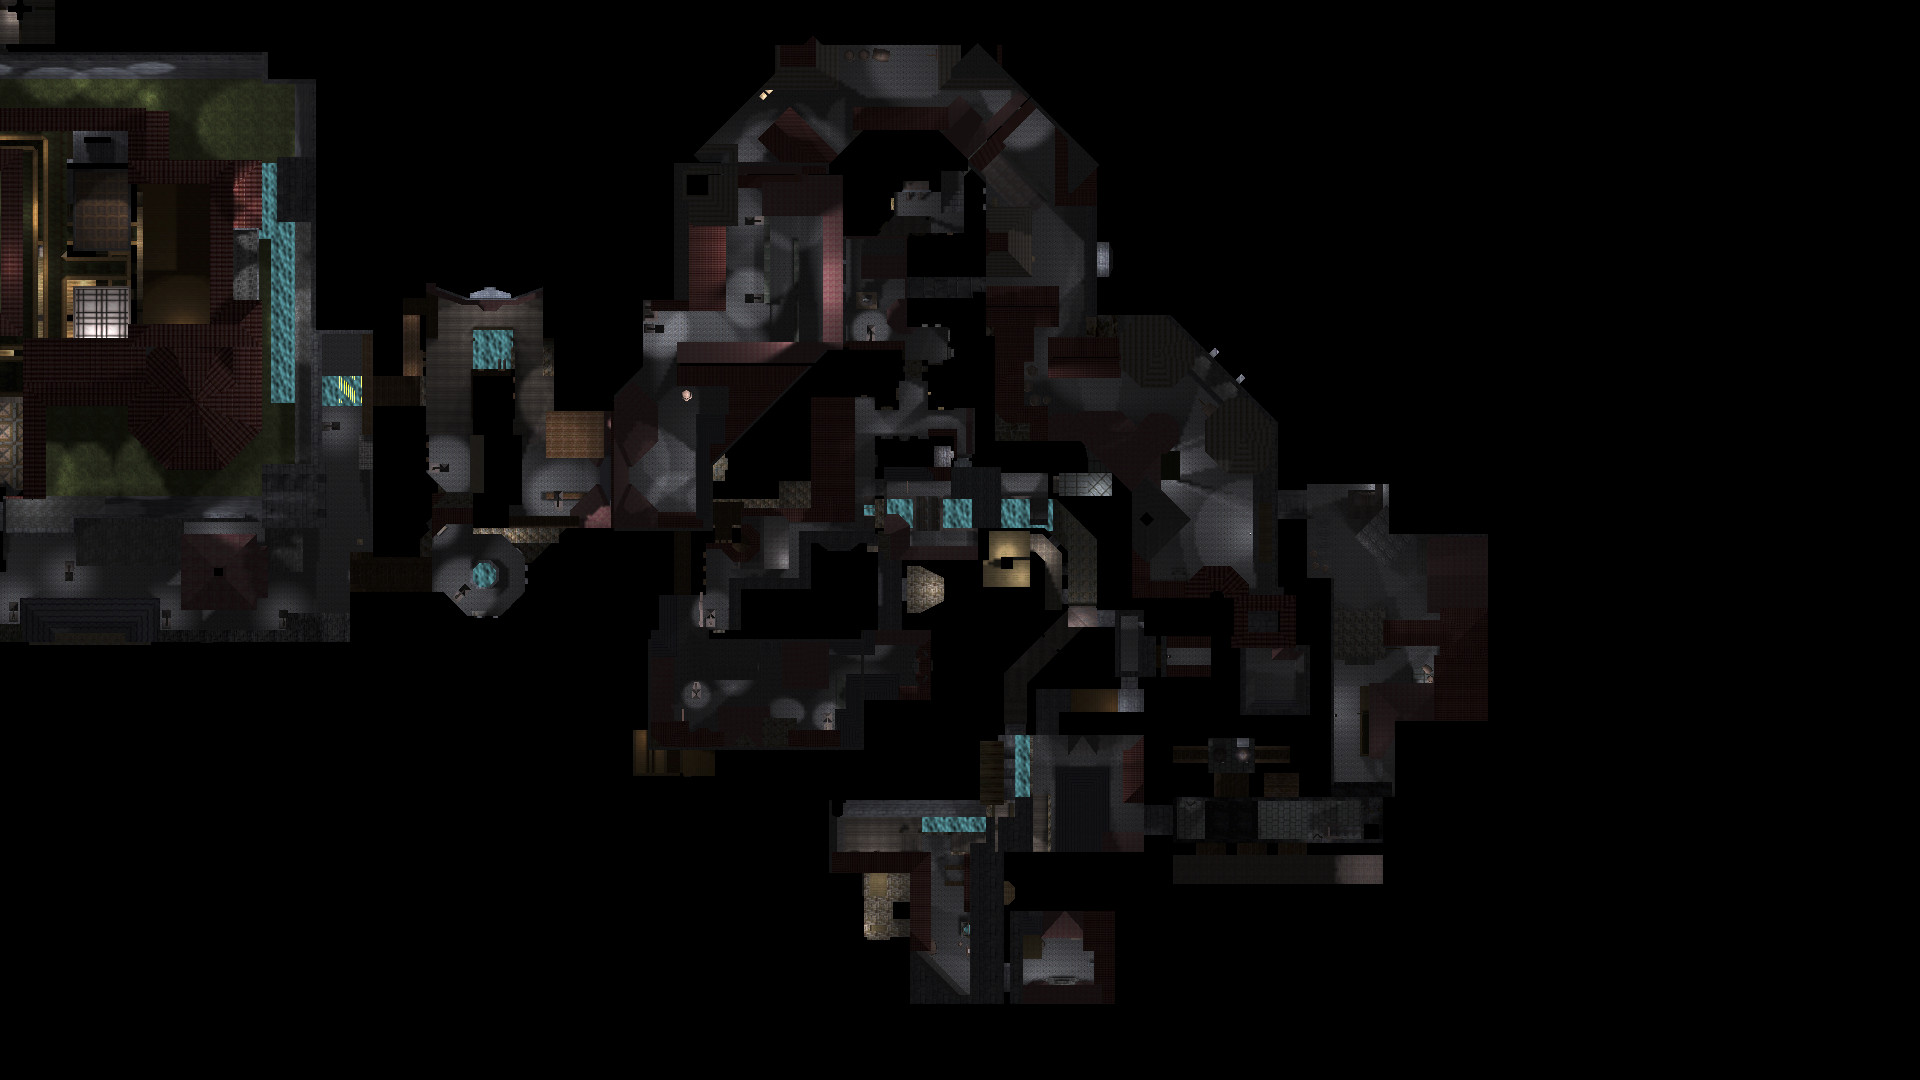
Lord Bafford’s Manor
Bafford’s manor at descending heights. 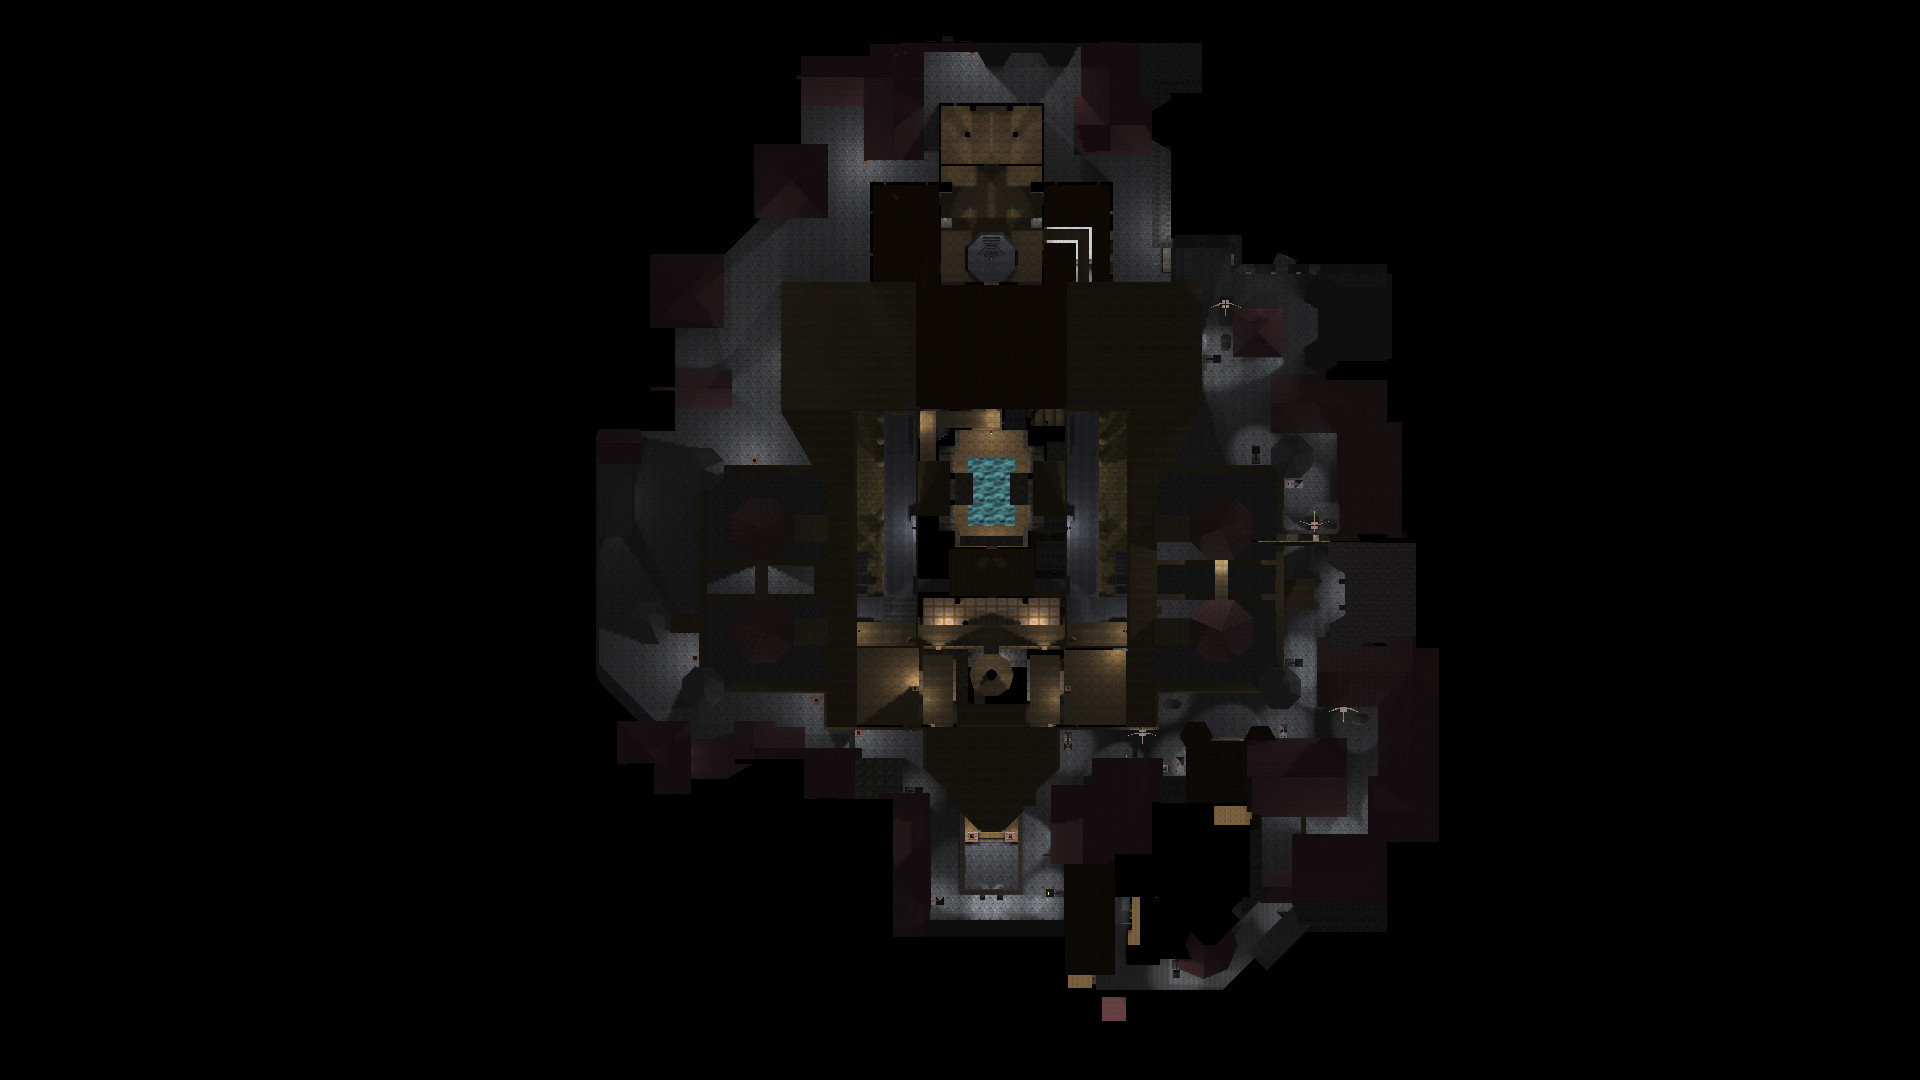

Break from Cragscleft Prison
 An overview of Cragscleft from maximum height.
After this they’ll go in ascending height, just cause that’s how the mission flows. For whatever reason, the water texture is completely broken in this level.
 The lowest part of the mine area.
 Into the prison area. Quite a few upcoming, this building has many floors and split levels.

Down in the Bonehoard

 Again following the flow of the mission here.

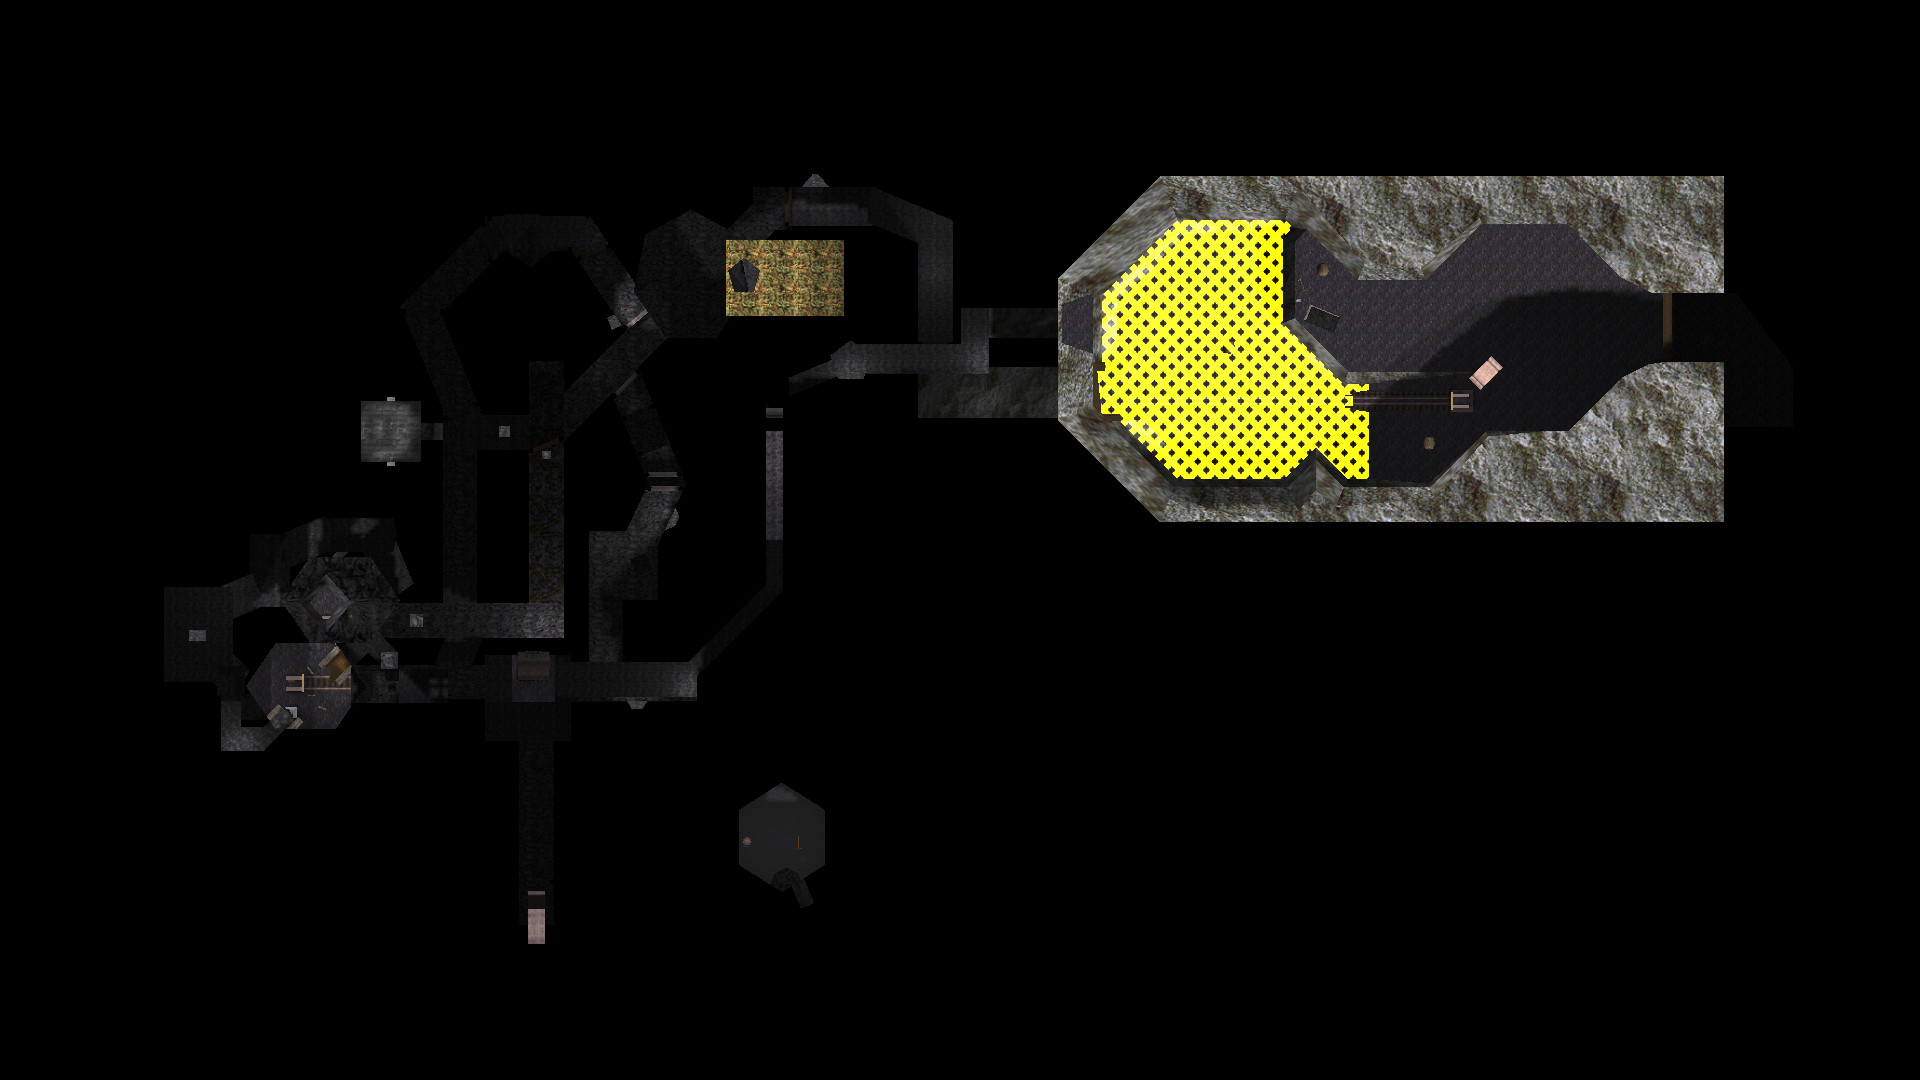
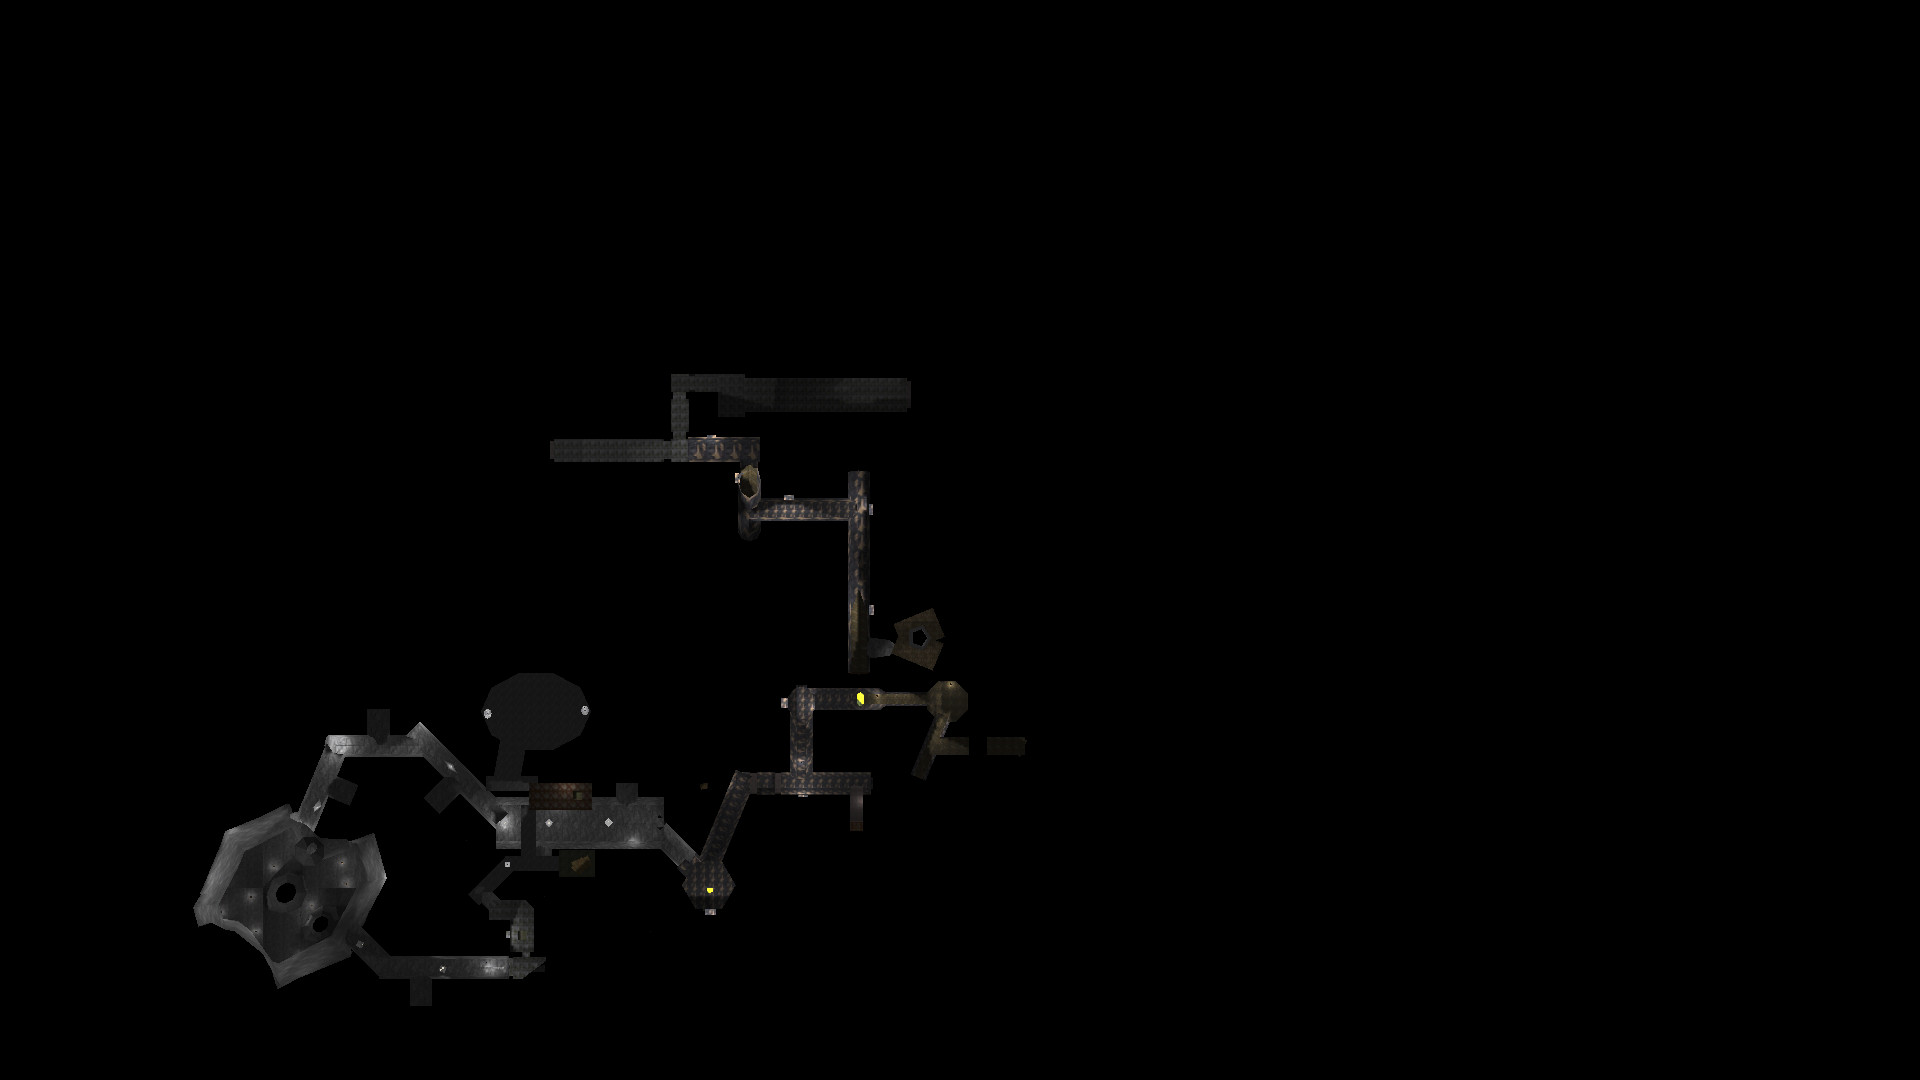
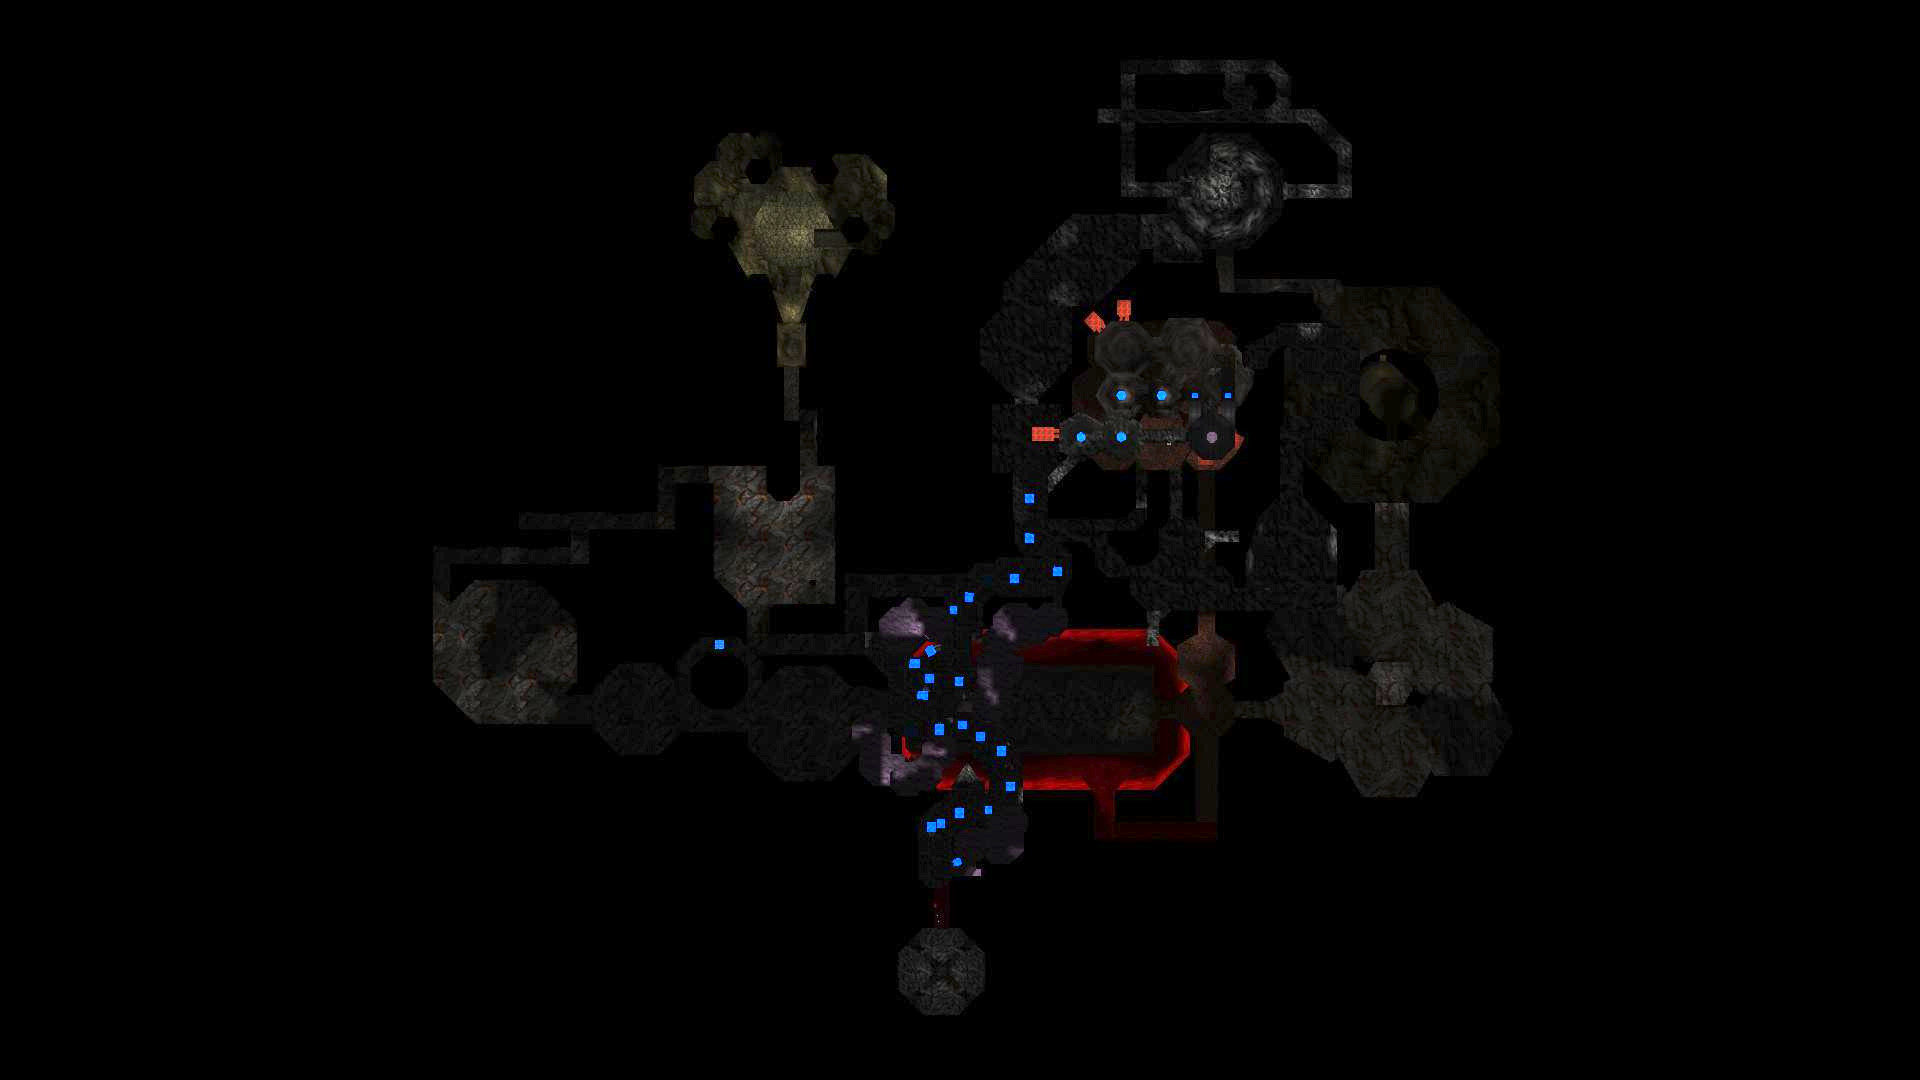
Assassins
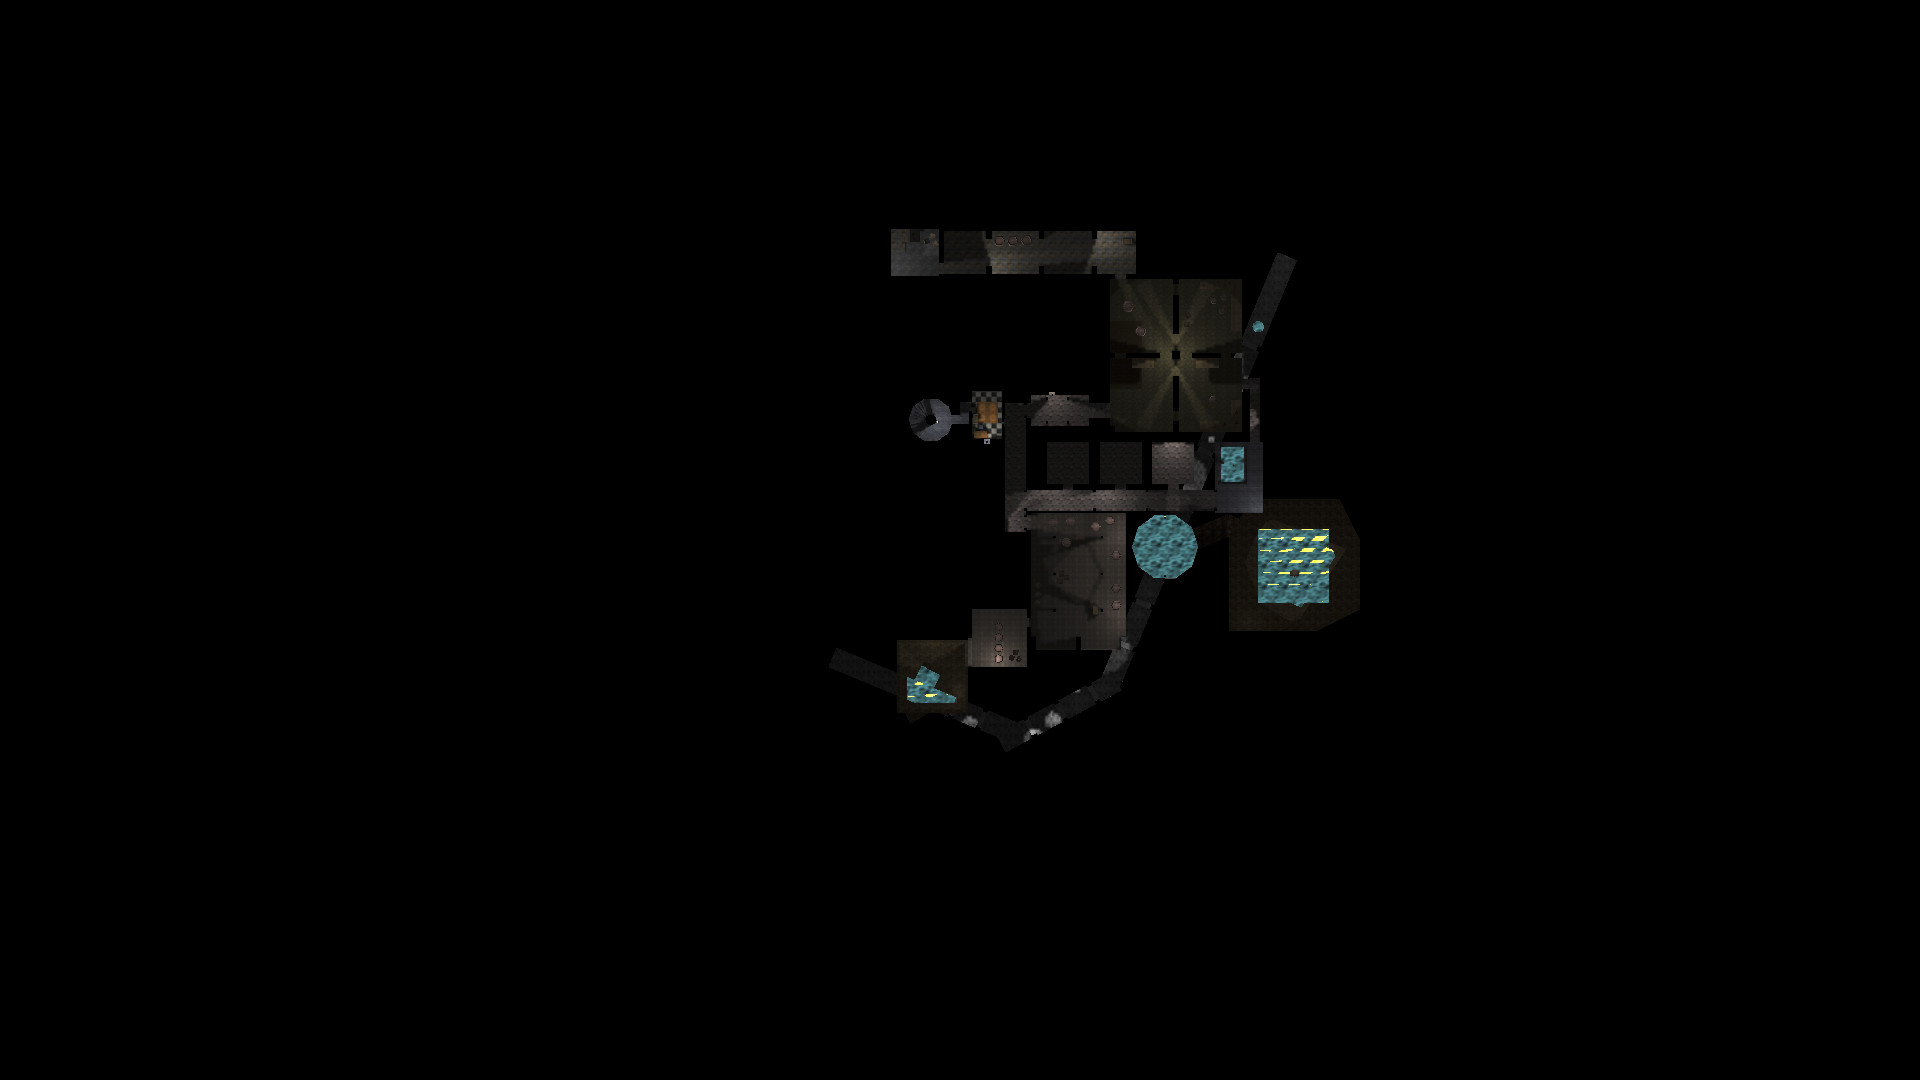
 The positioning of the underground river.

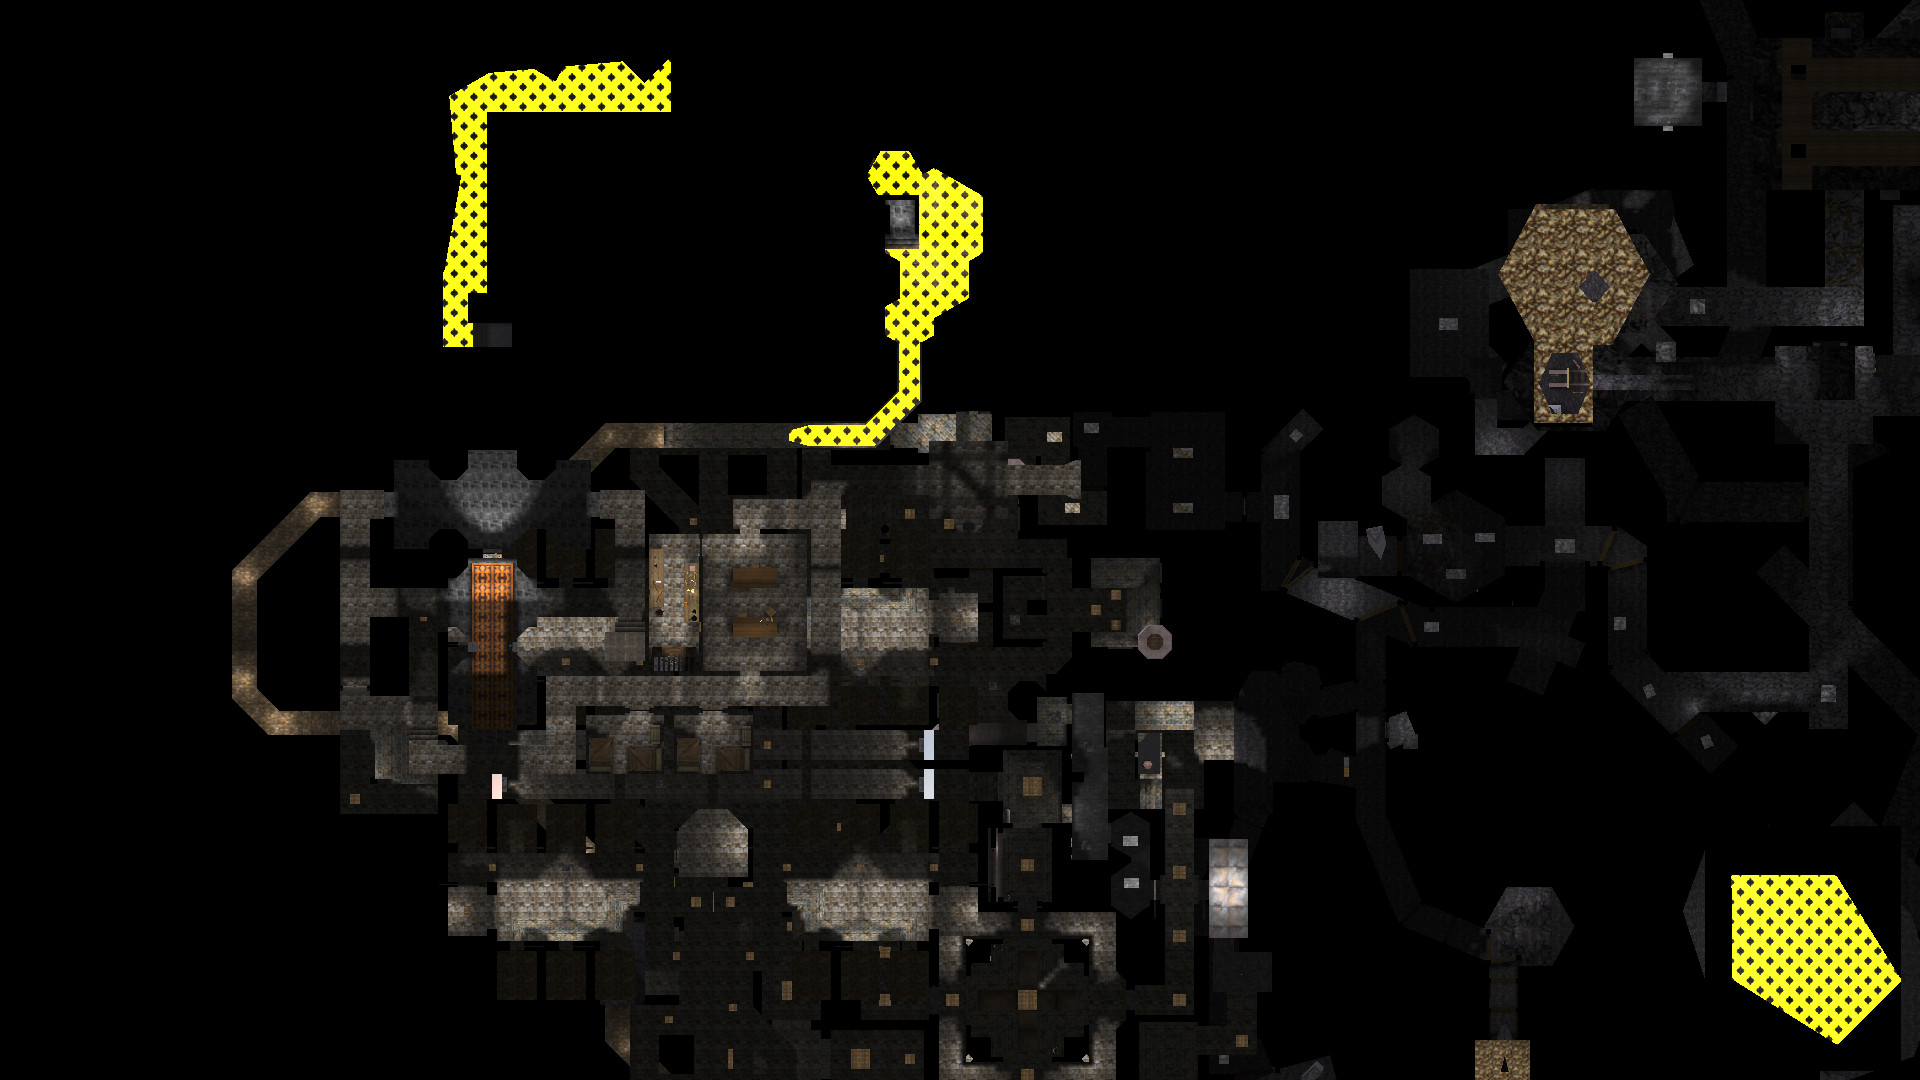
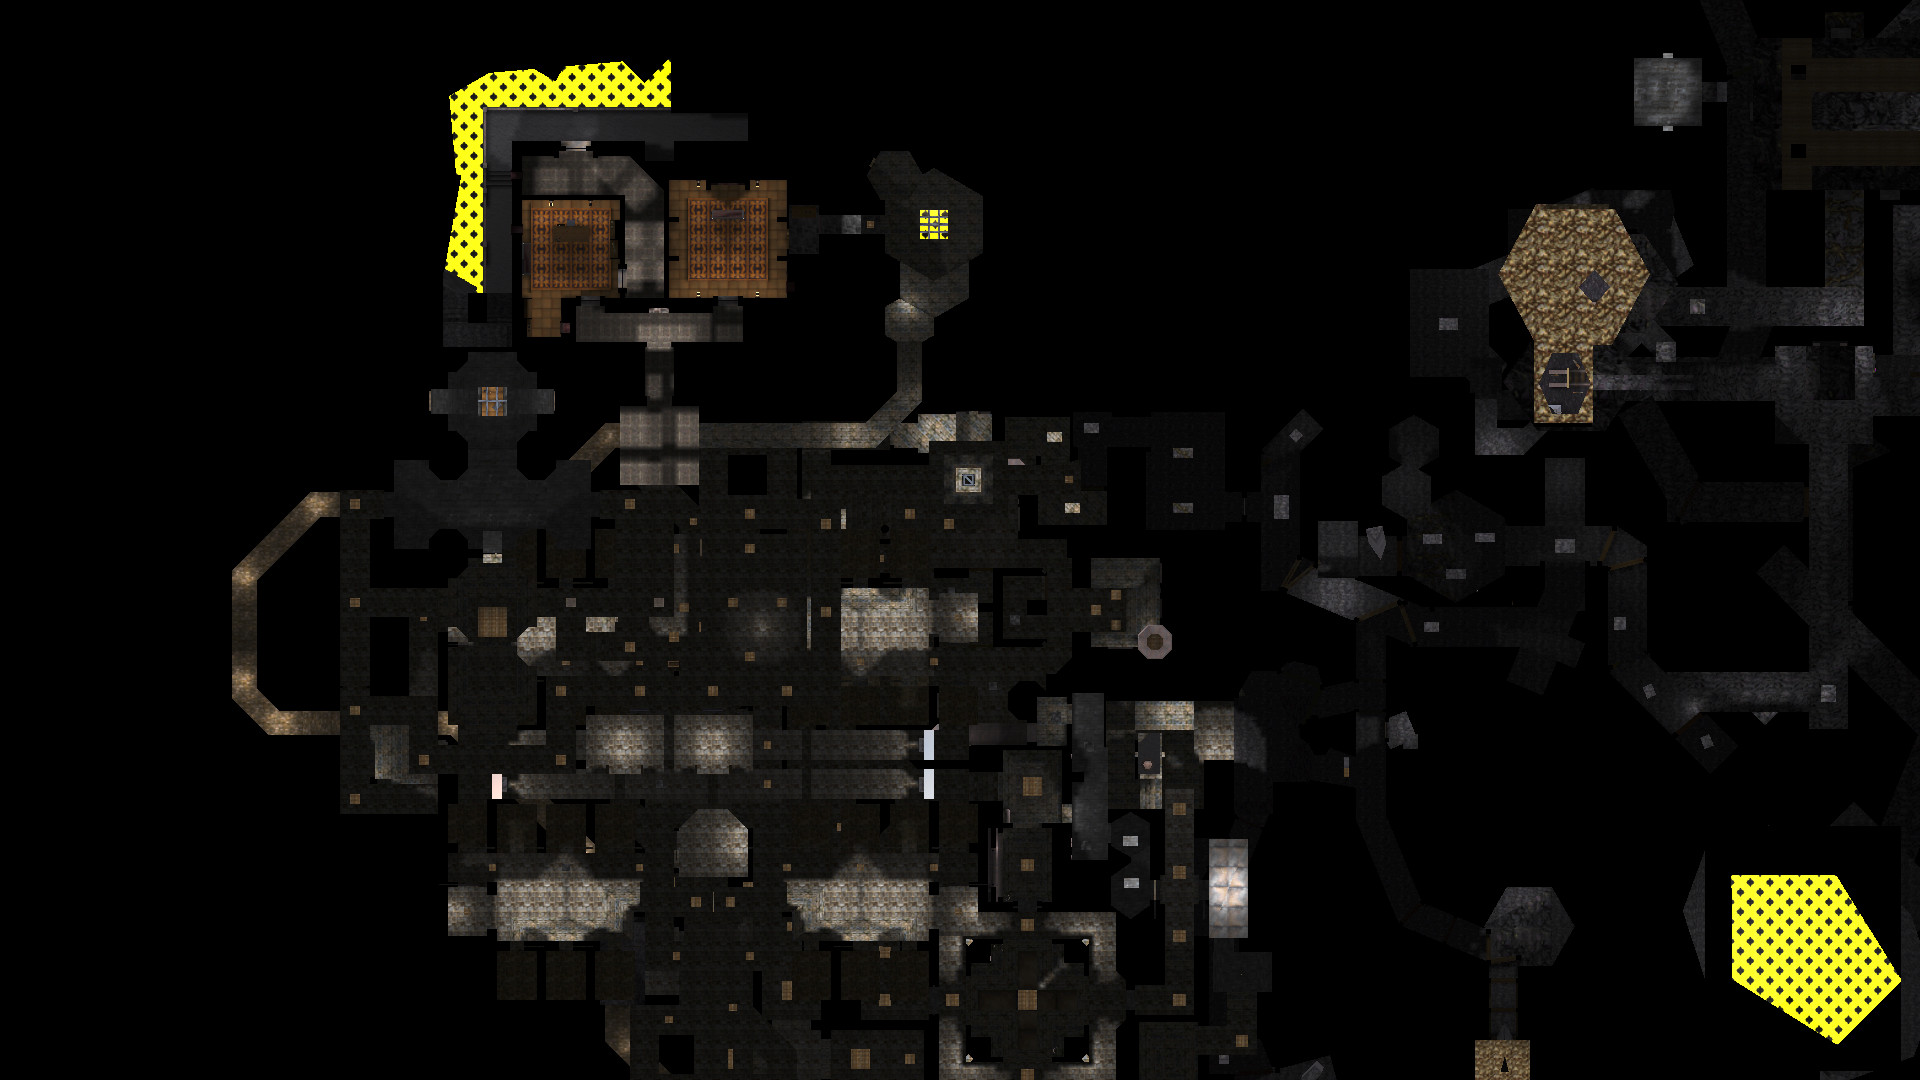
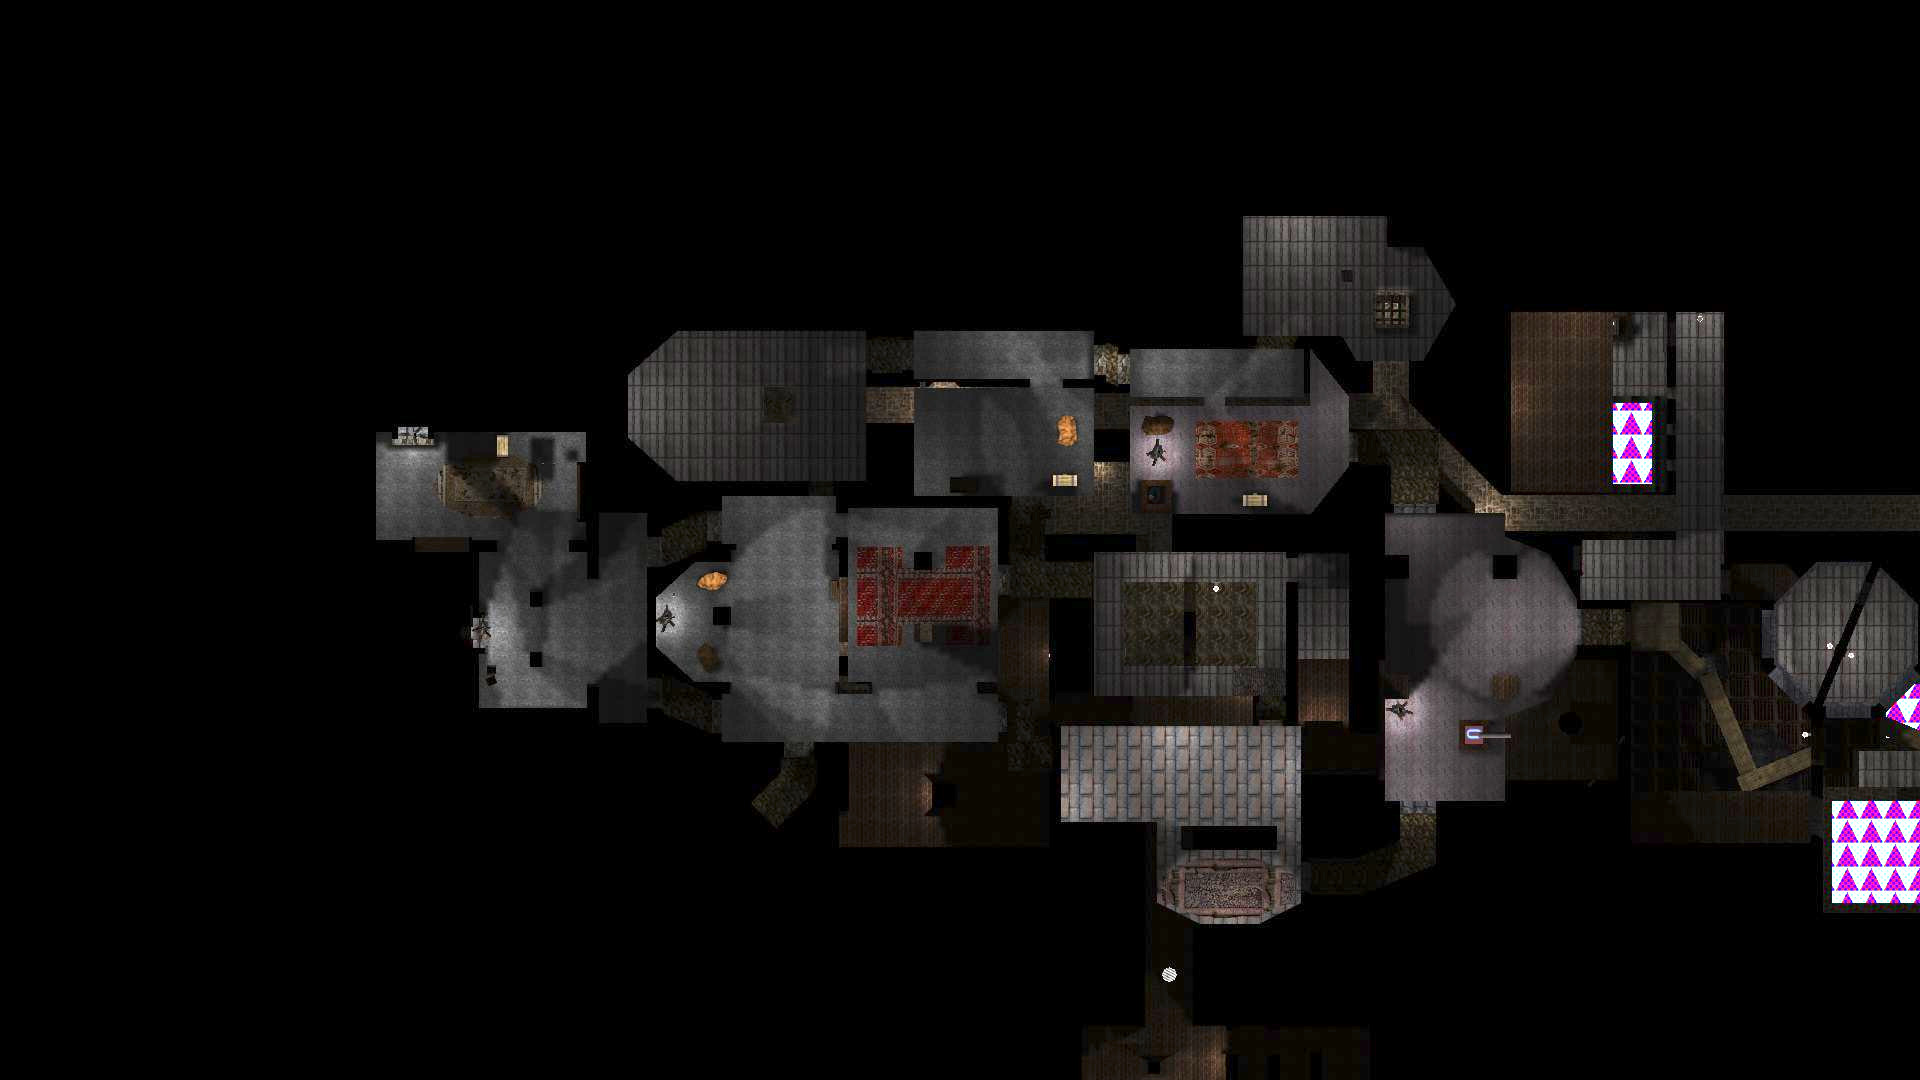
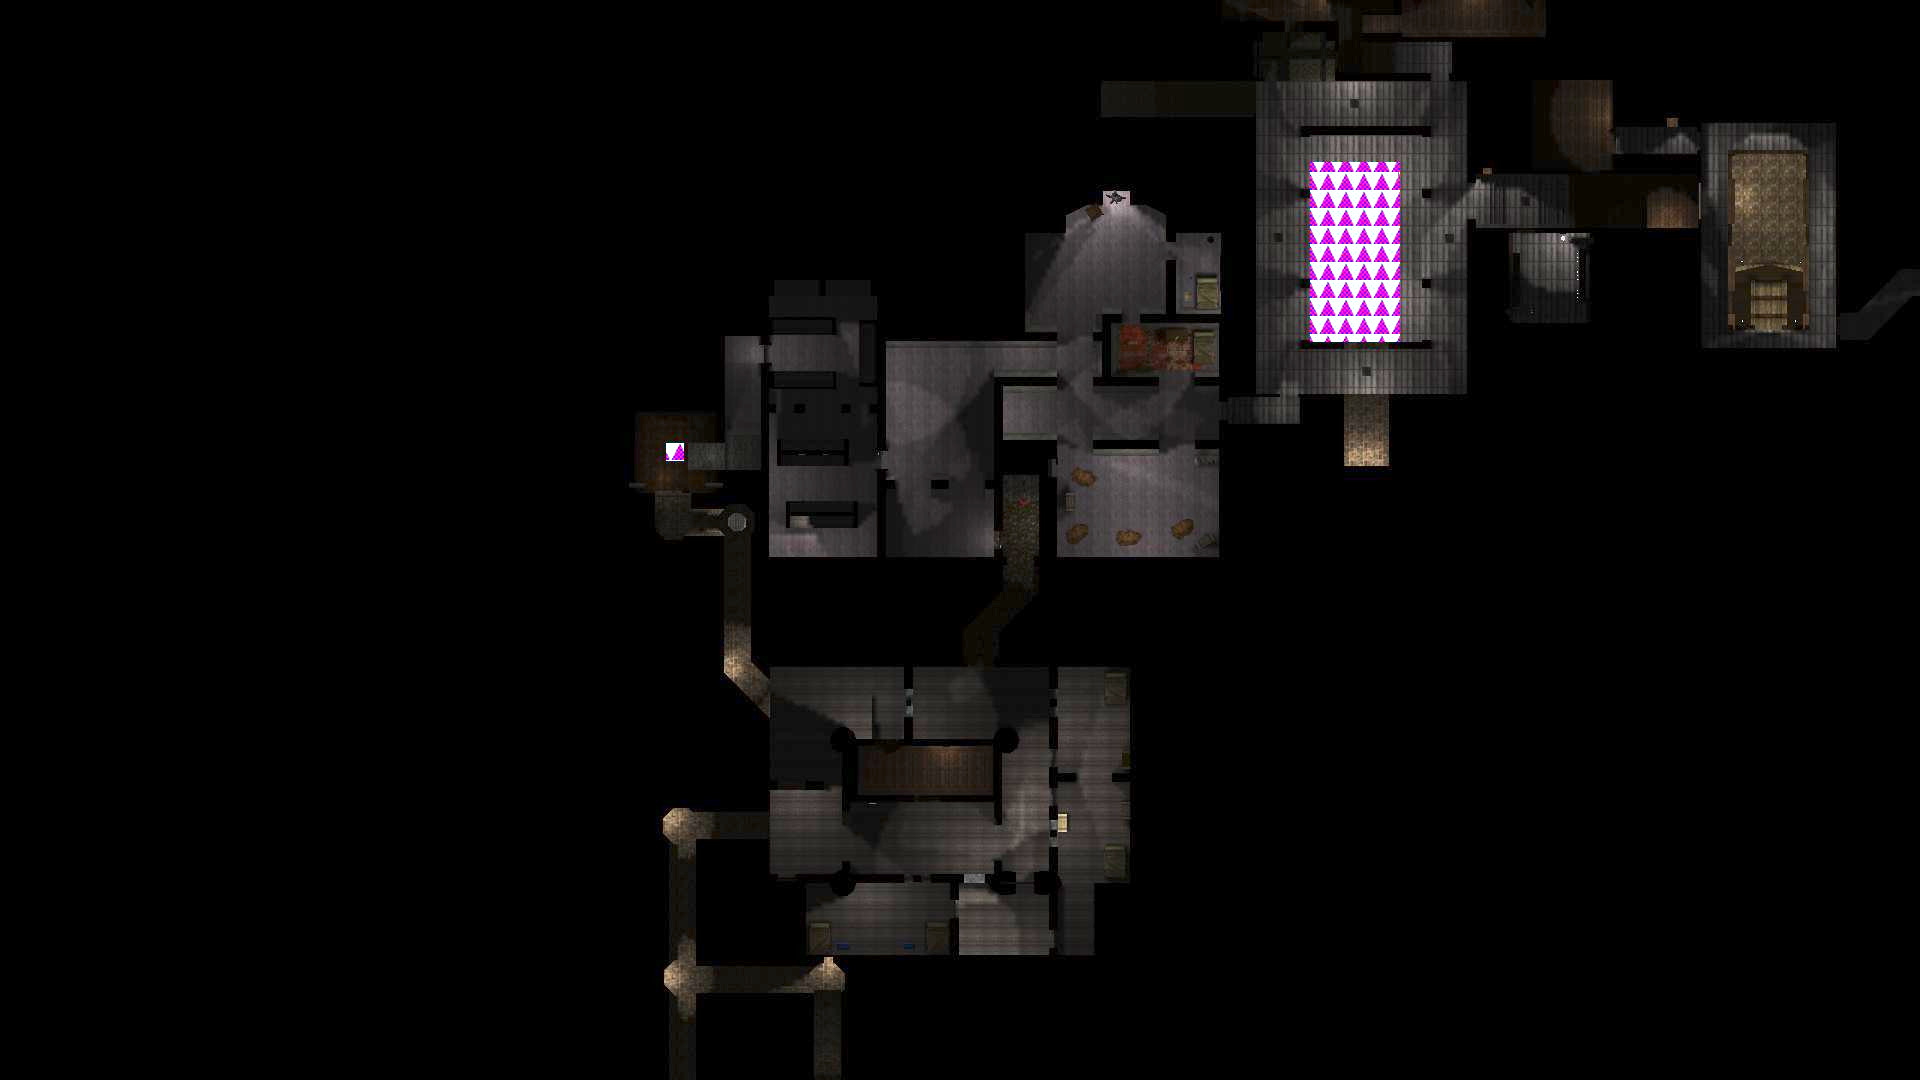
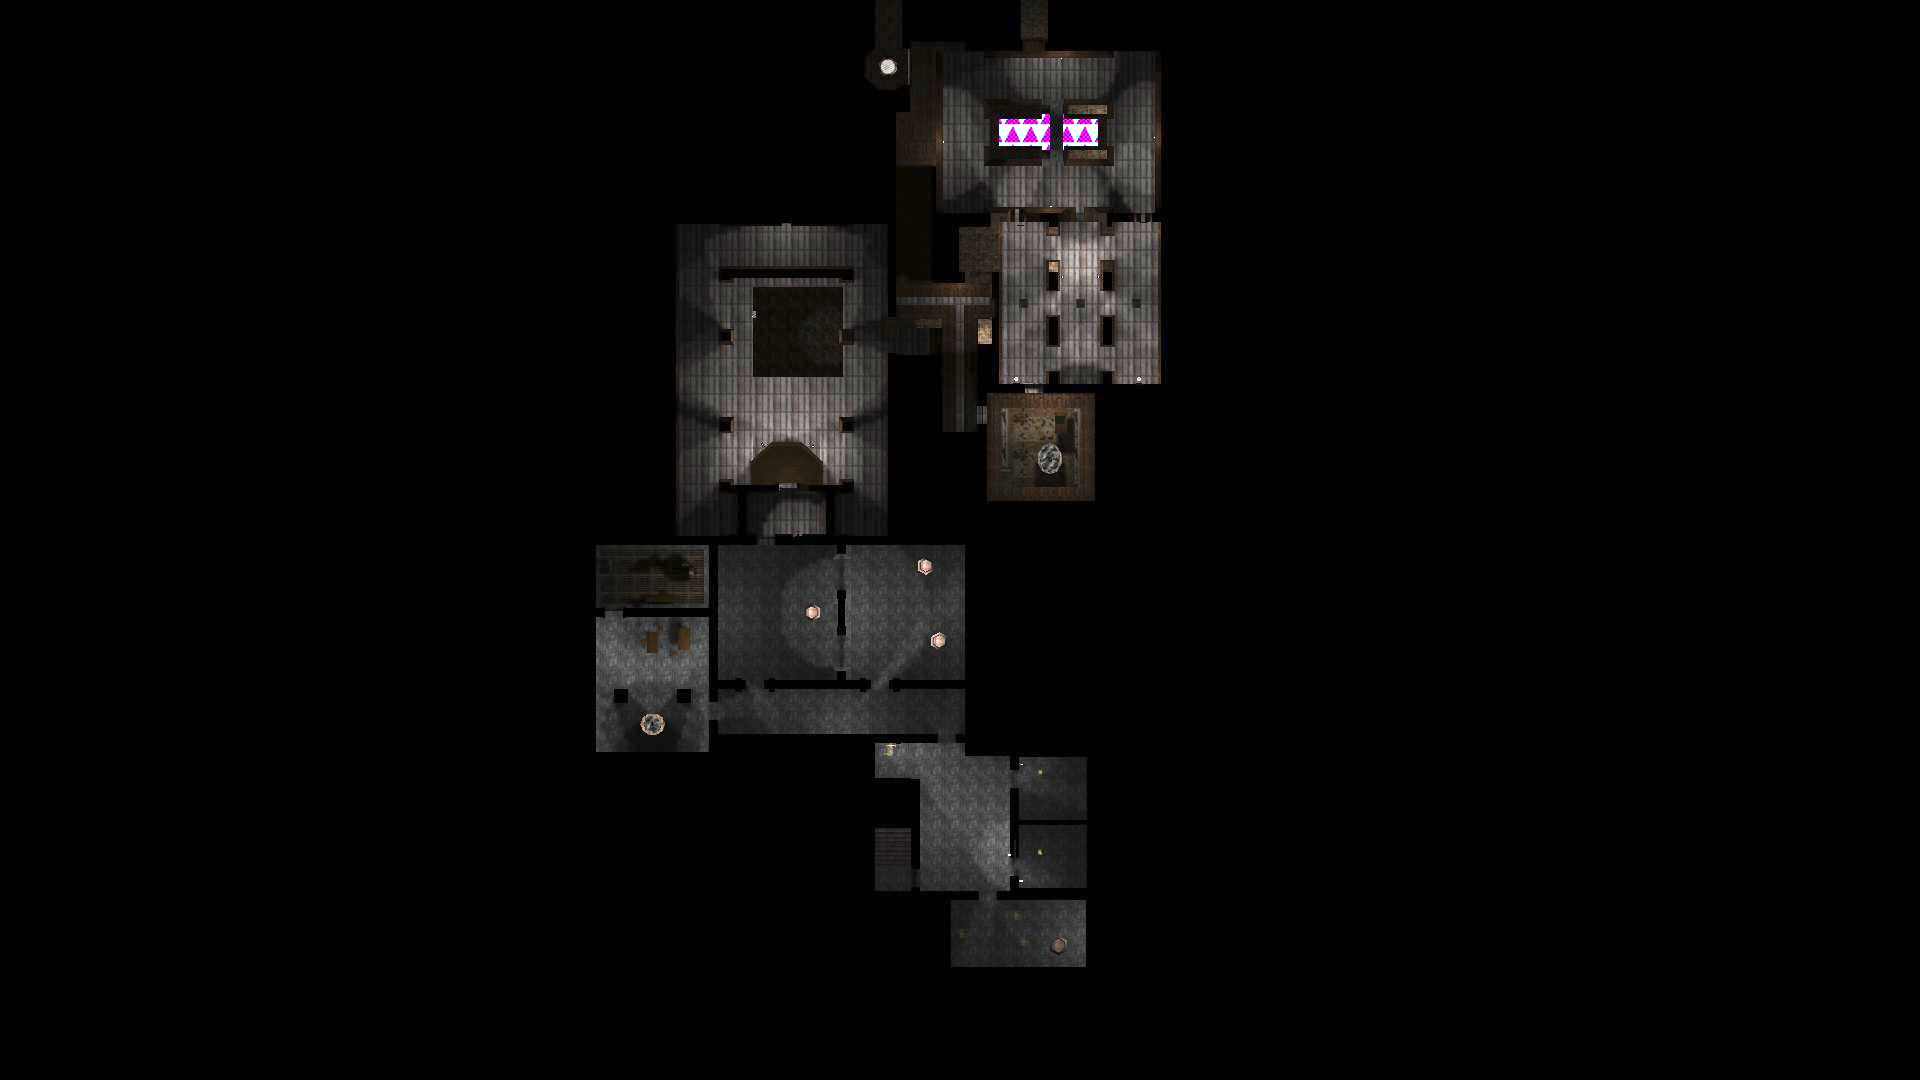
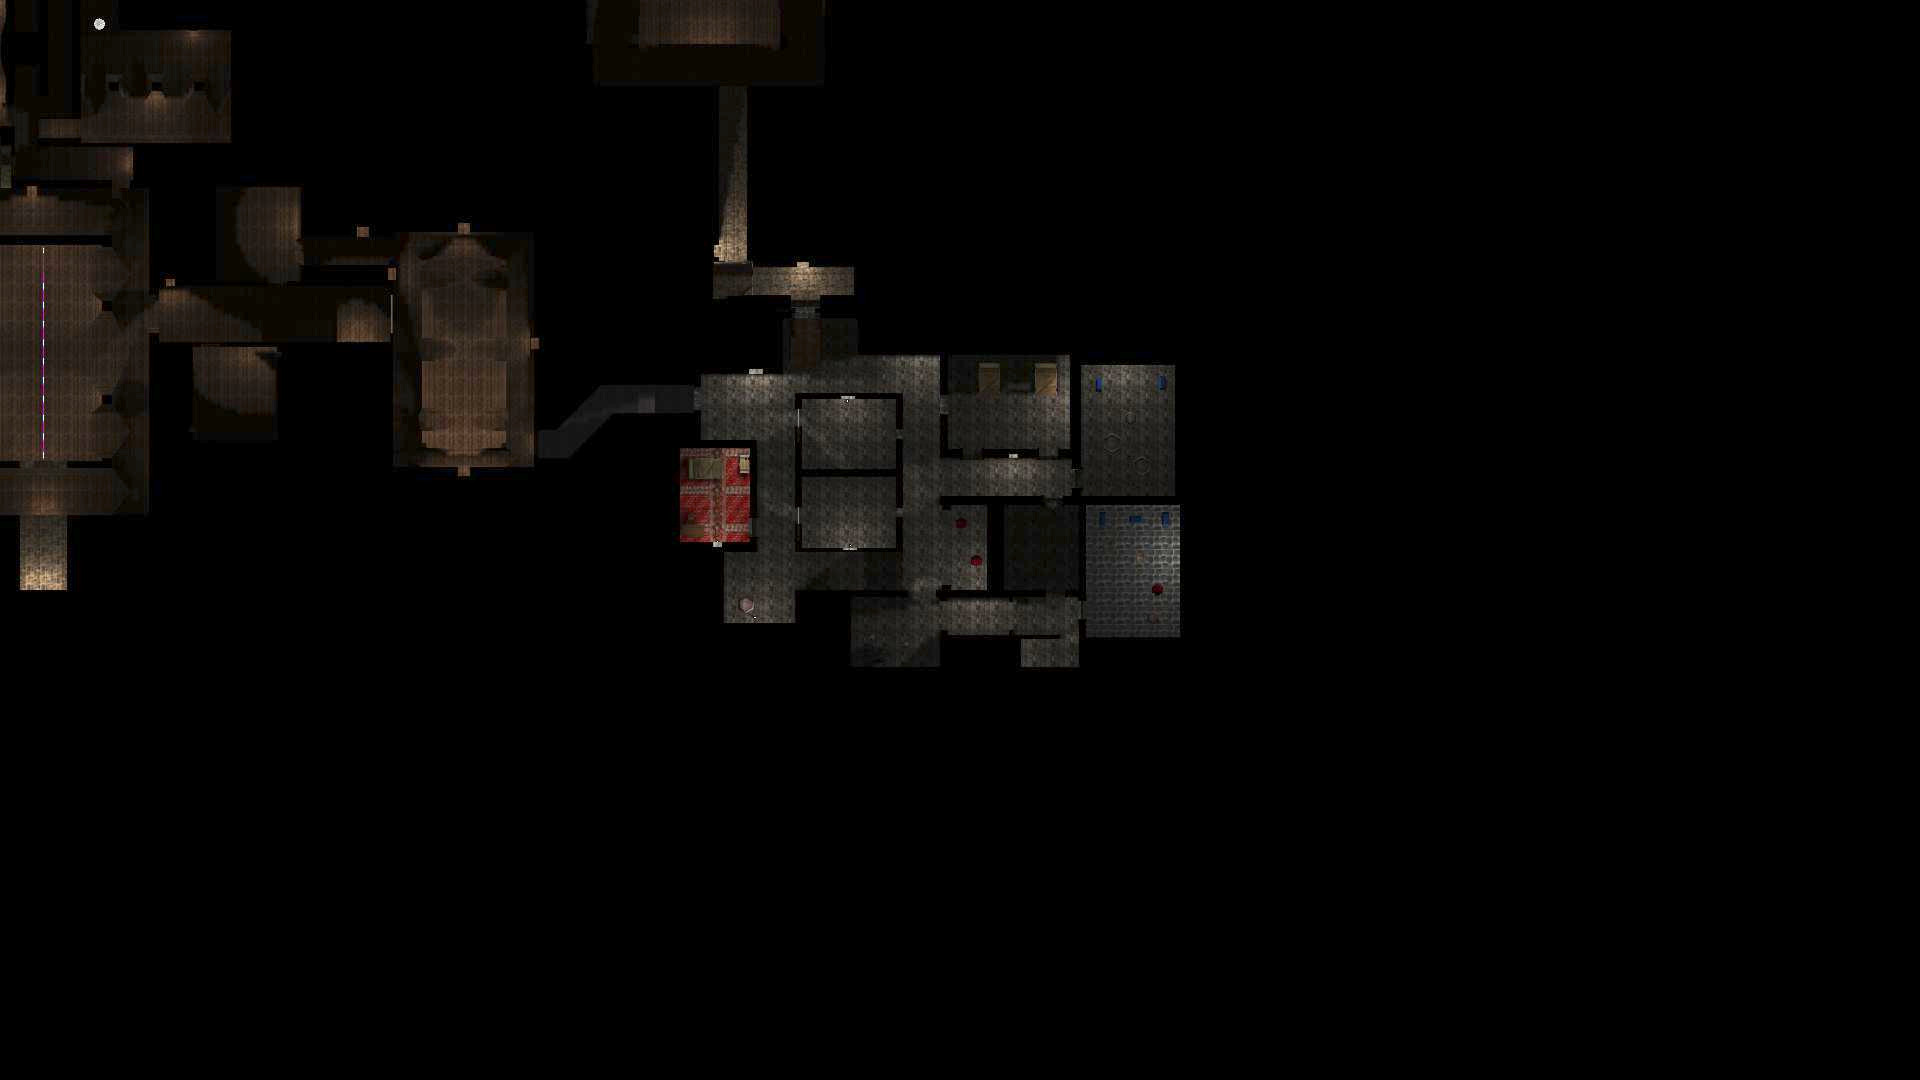
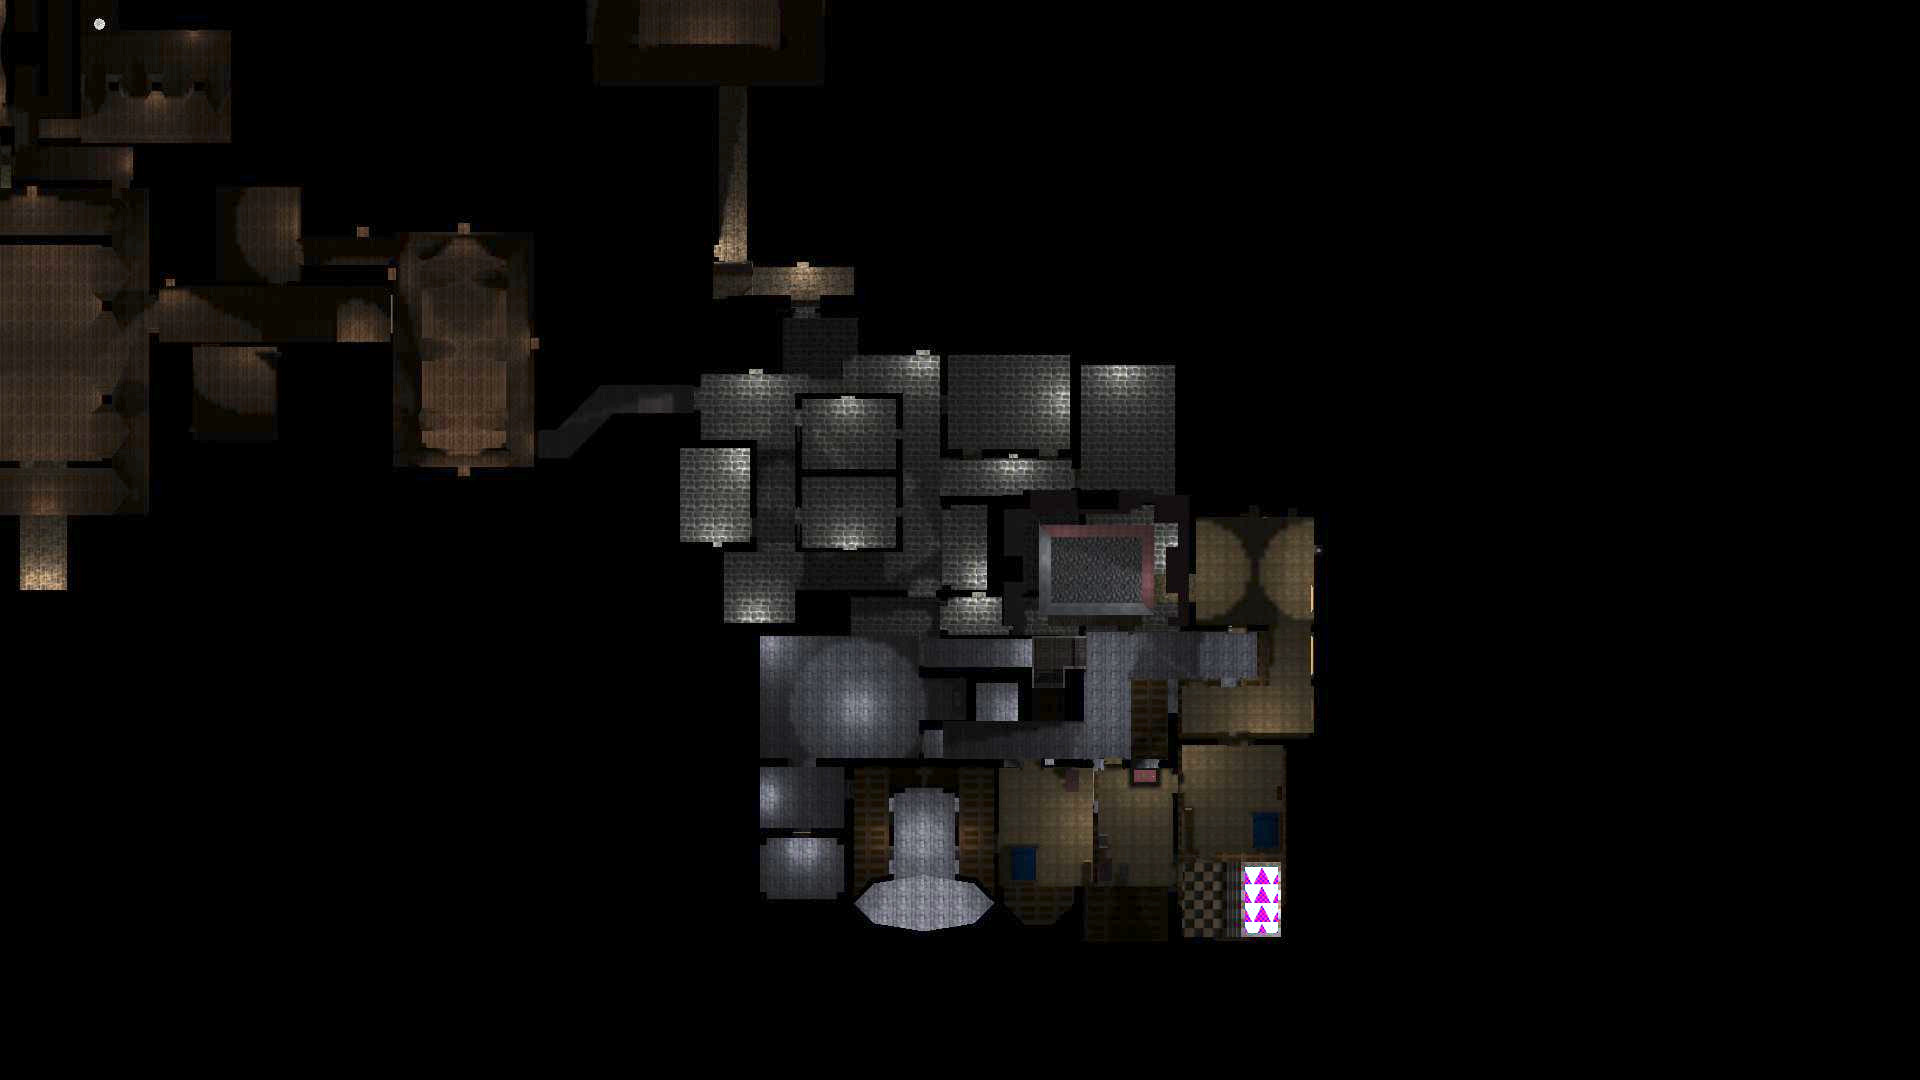
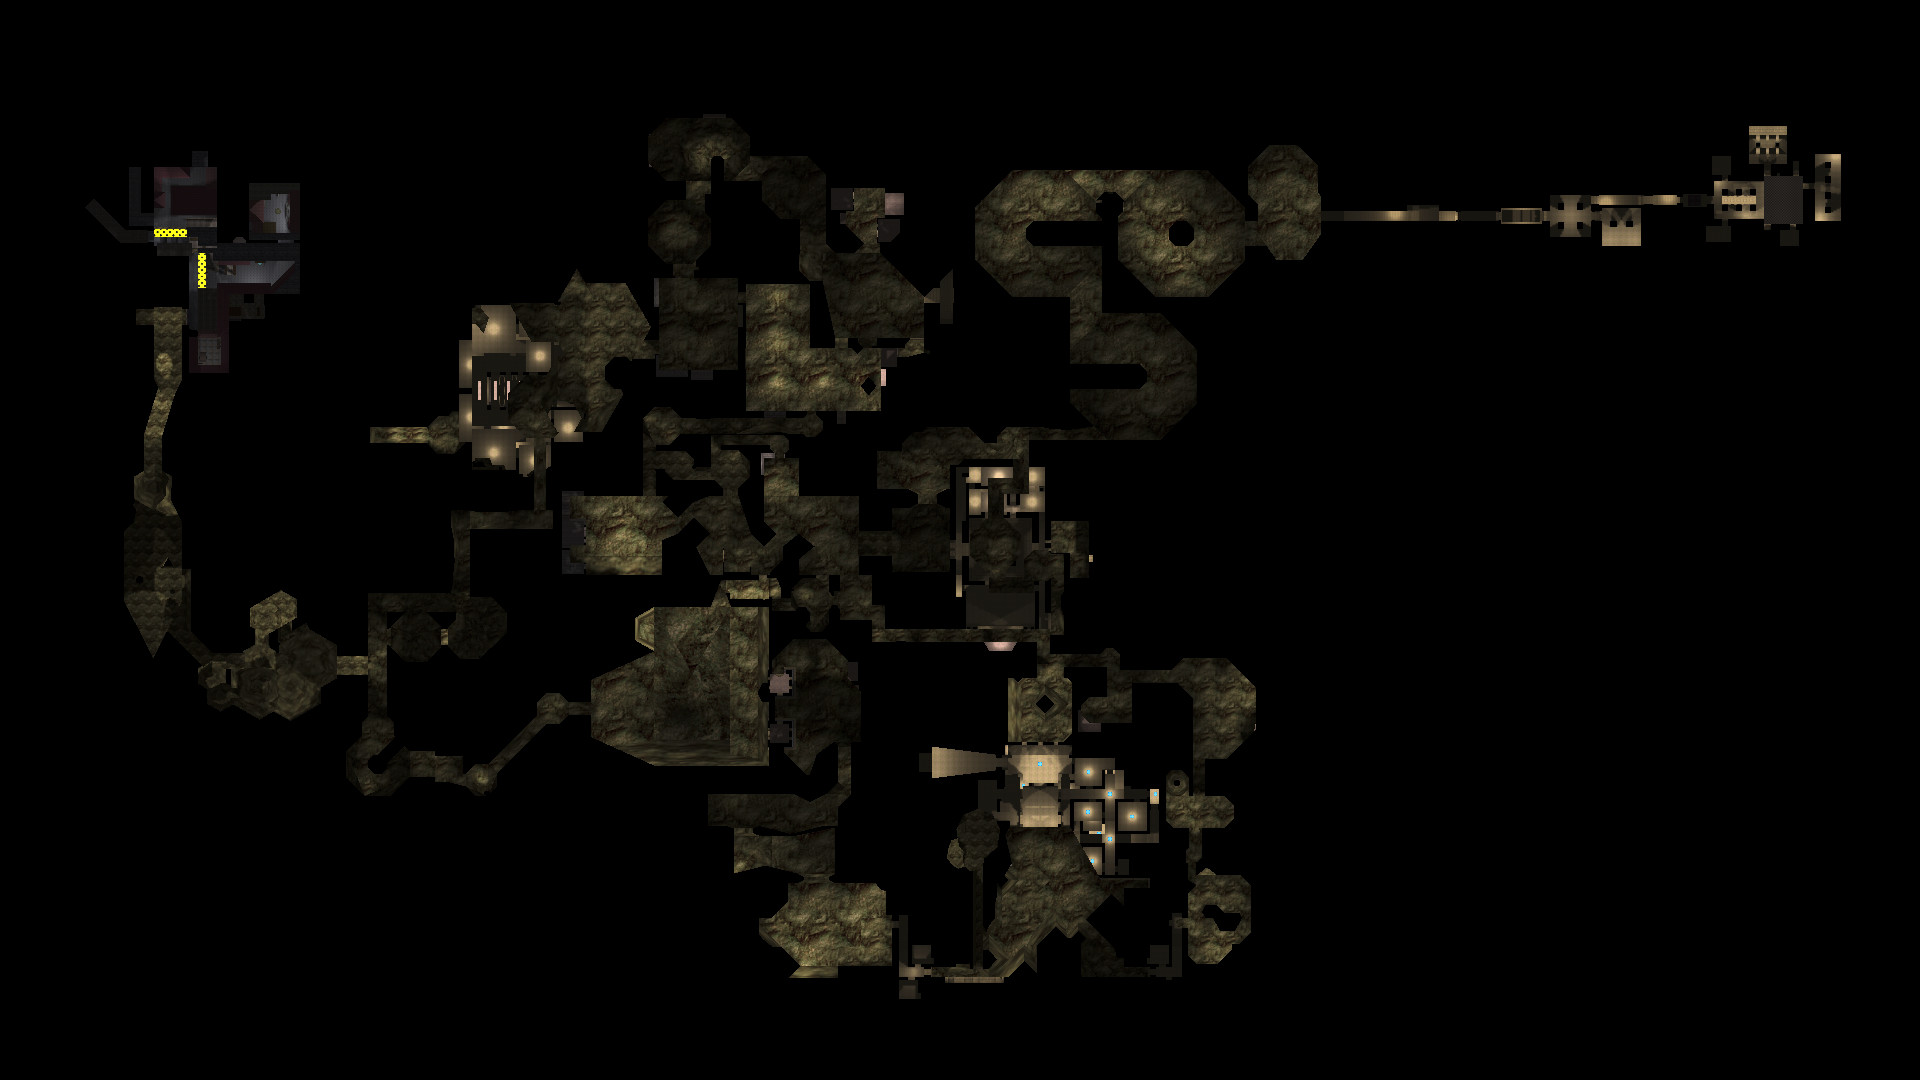
Thieves’ Guild
 Overview of the Thieves’ Guild level. Note that the following images will be rotated compared this one; I oriented the overview this way so it would fit nicely on the screen.
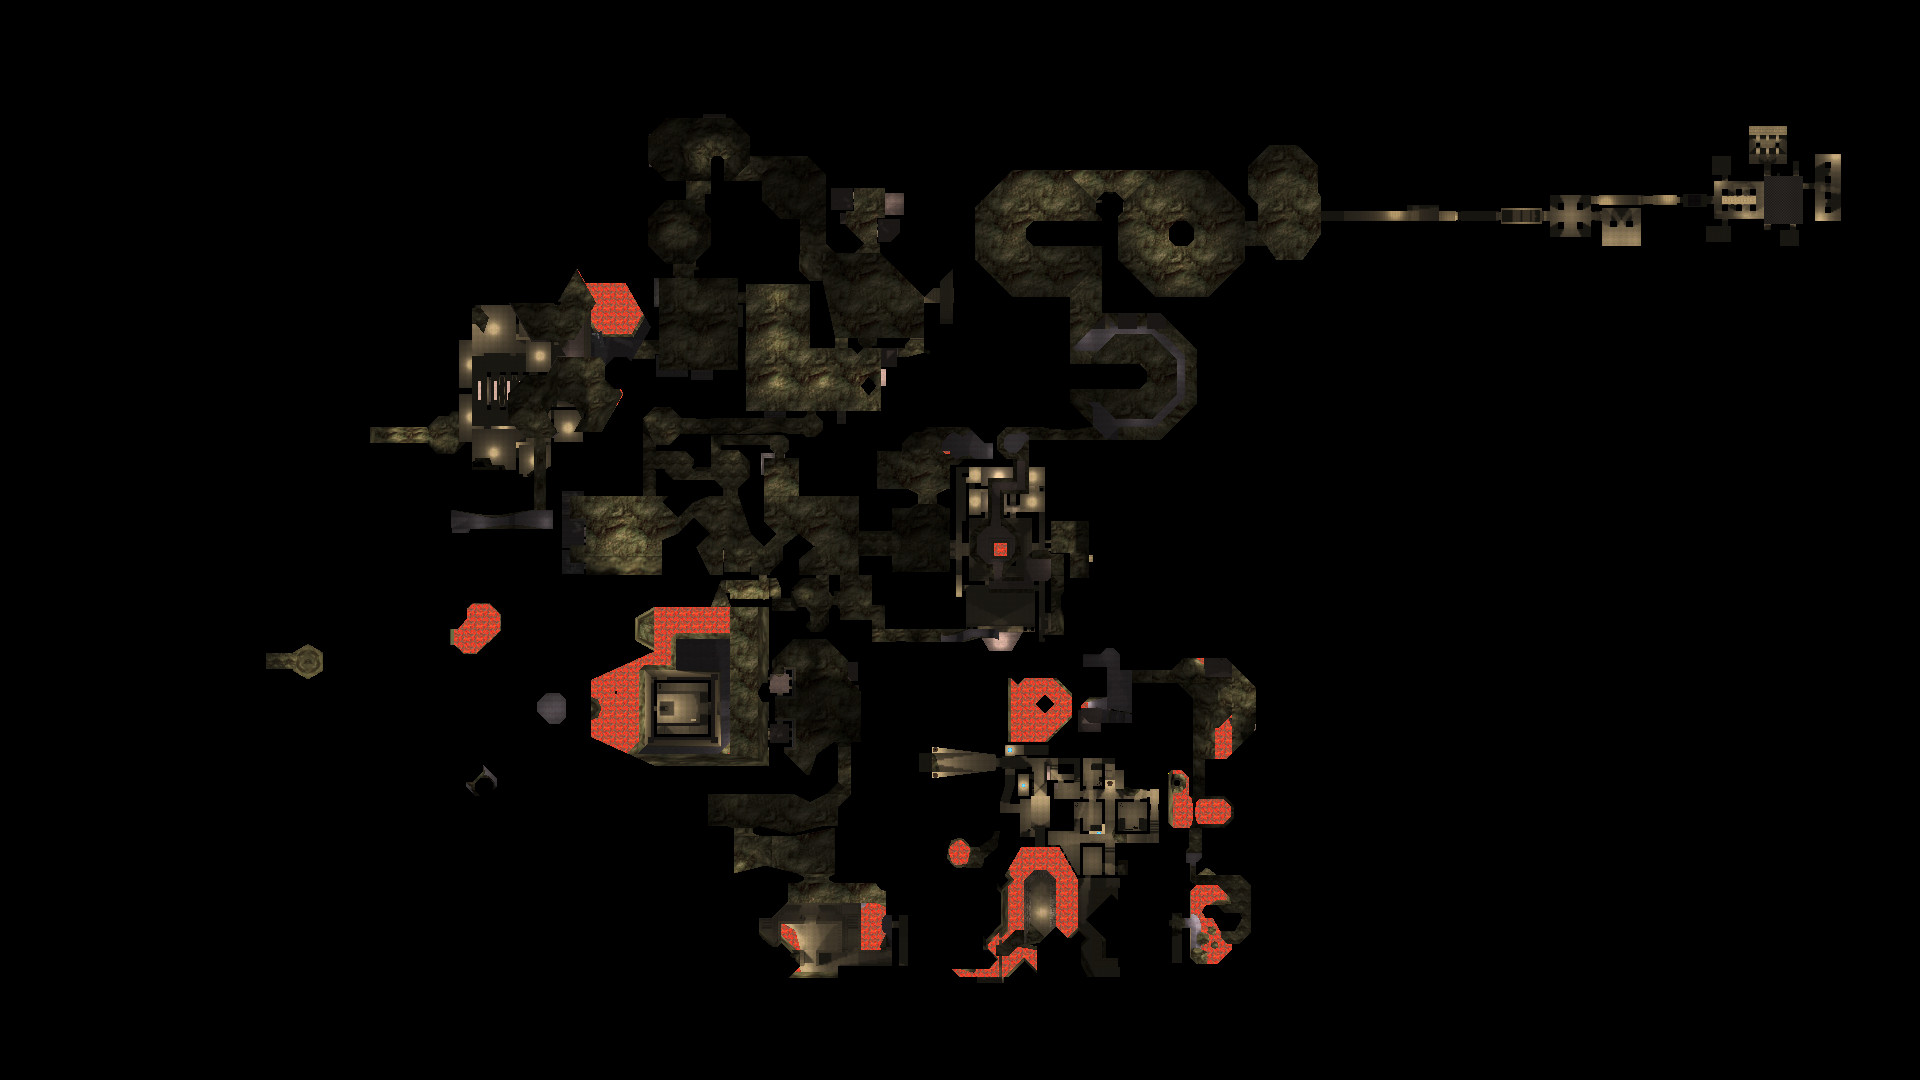
 Starting area, above ground.
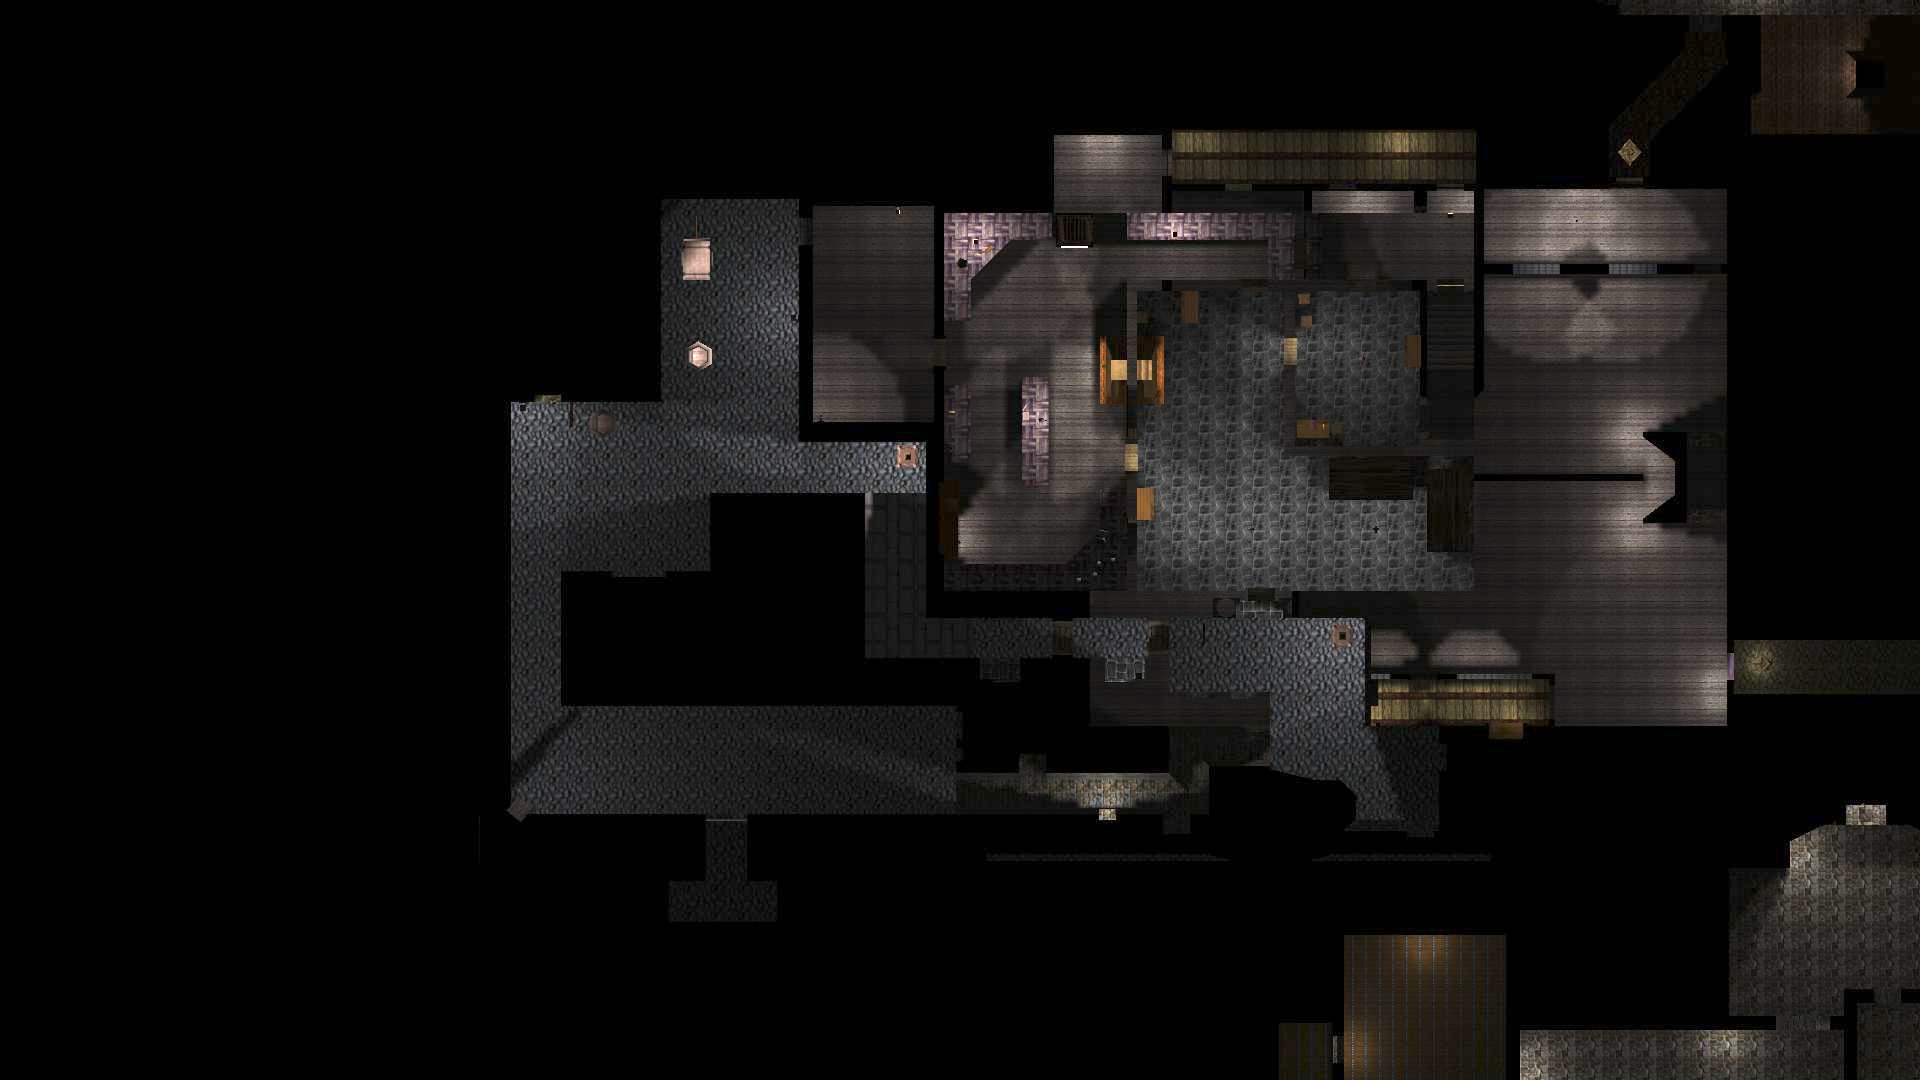
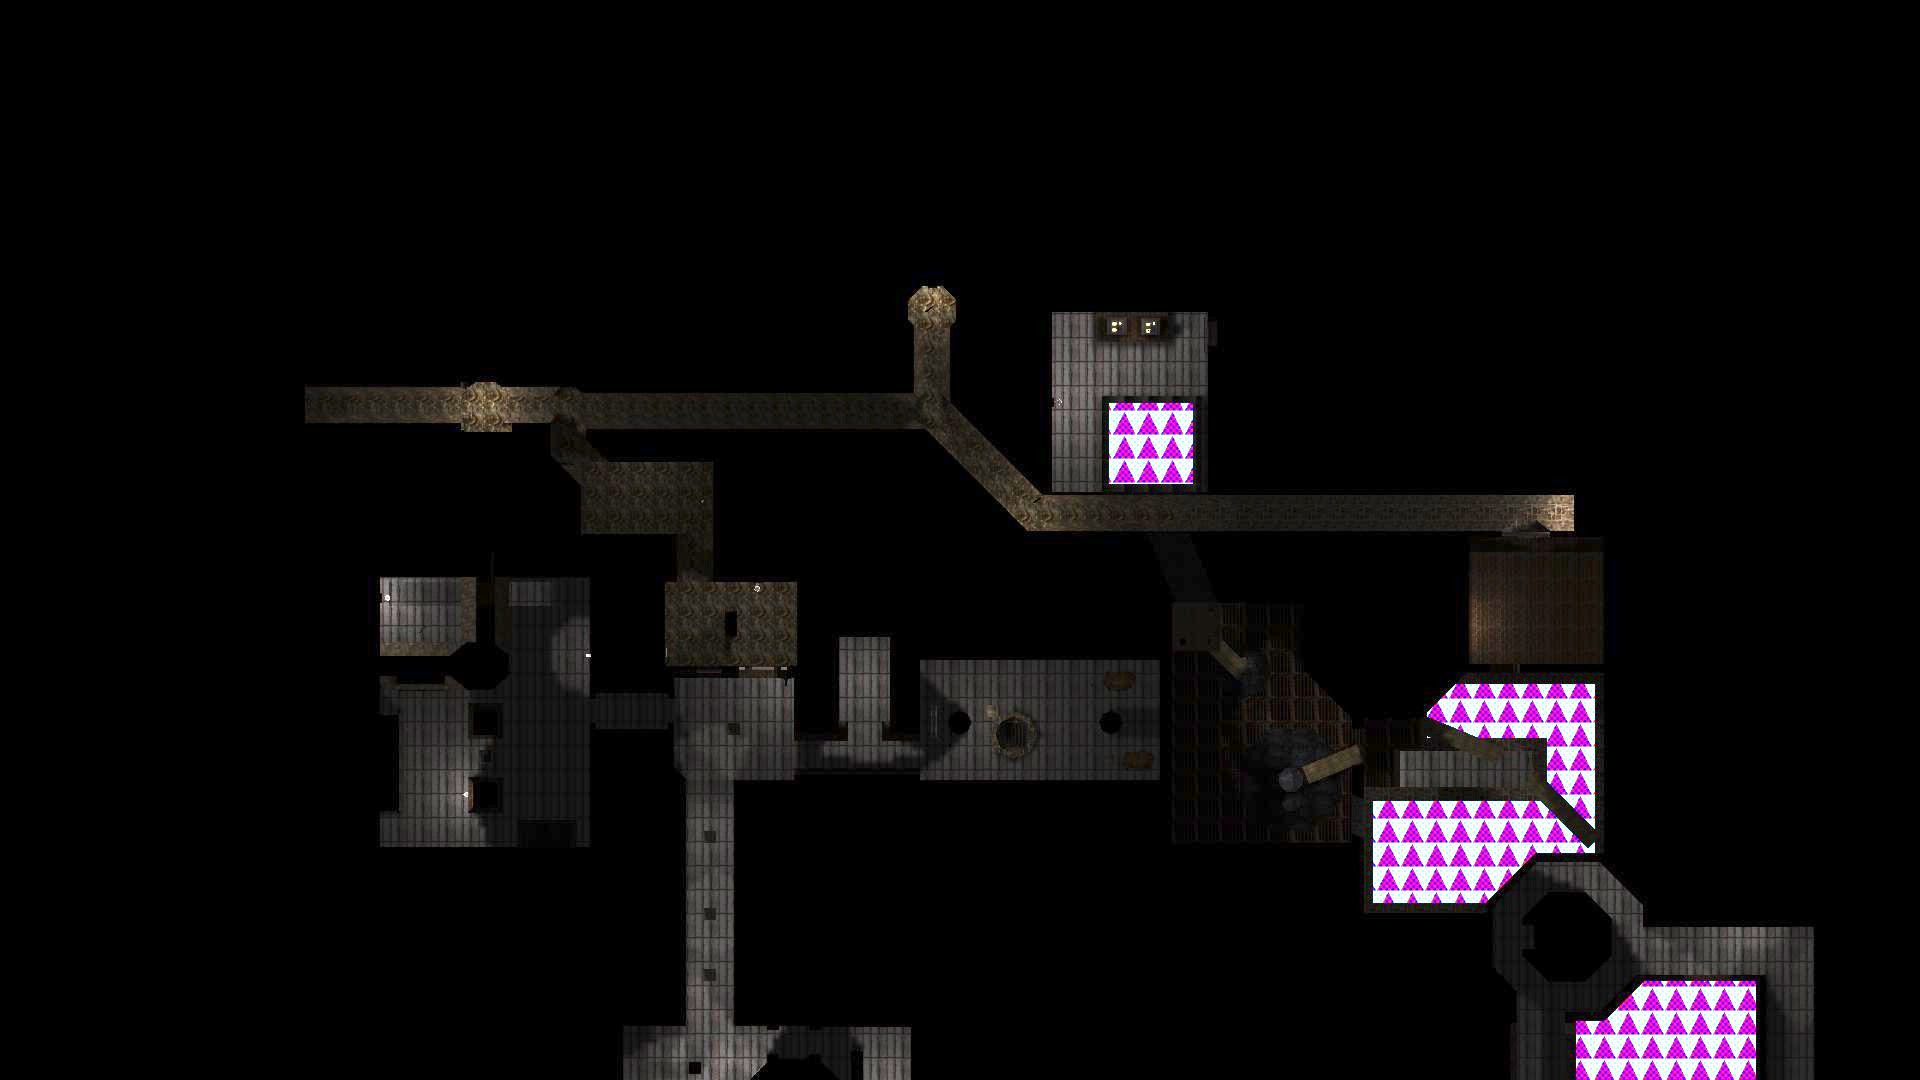
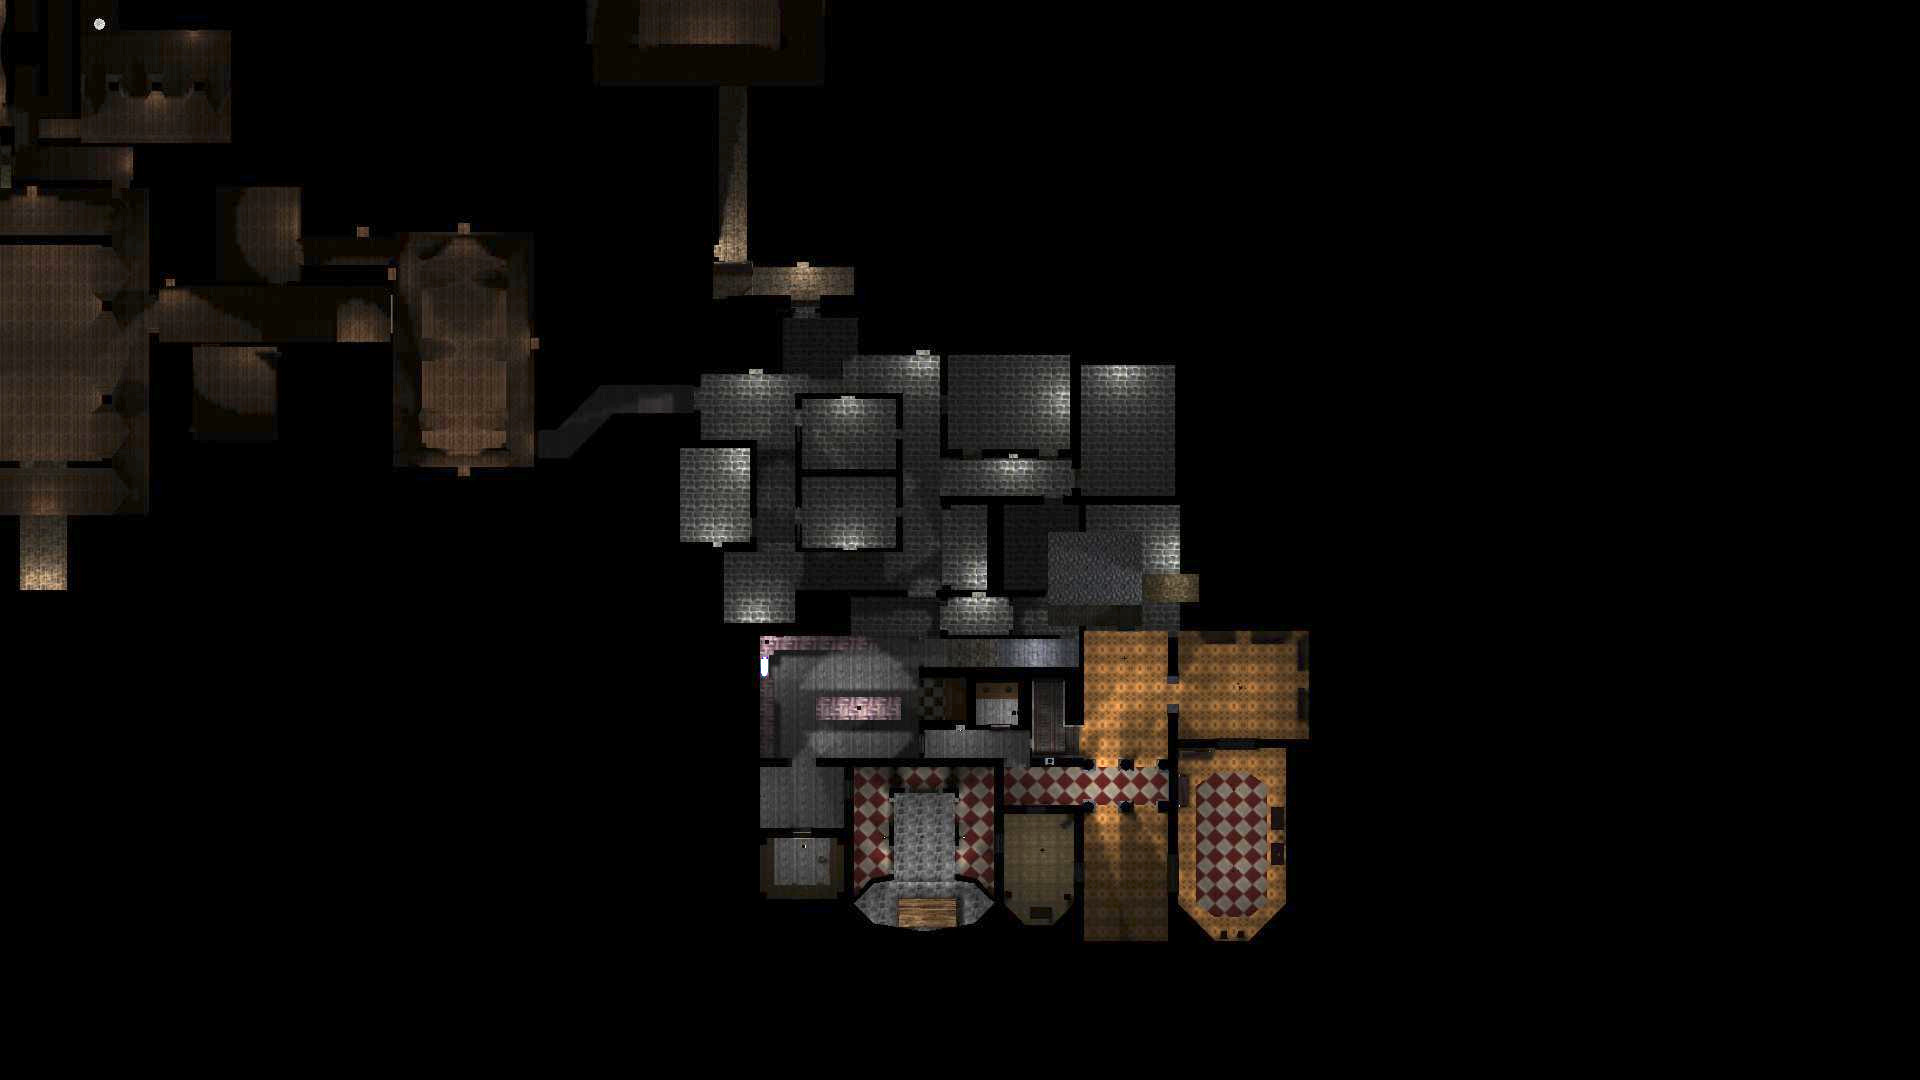
 Casino
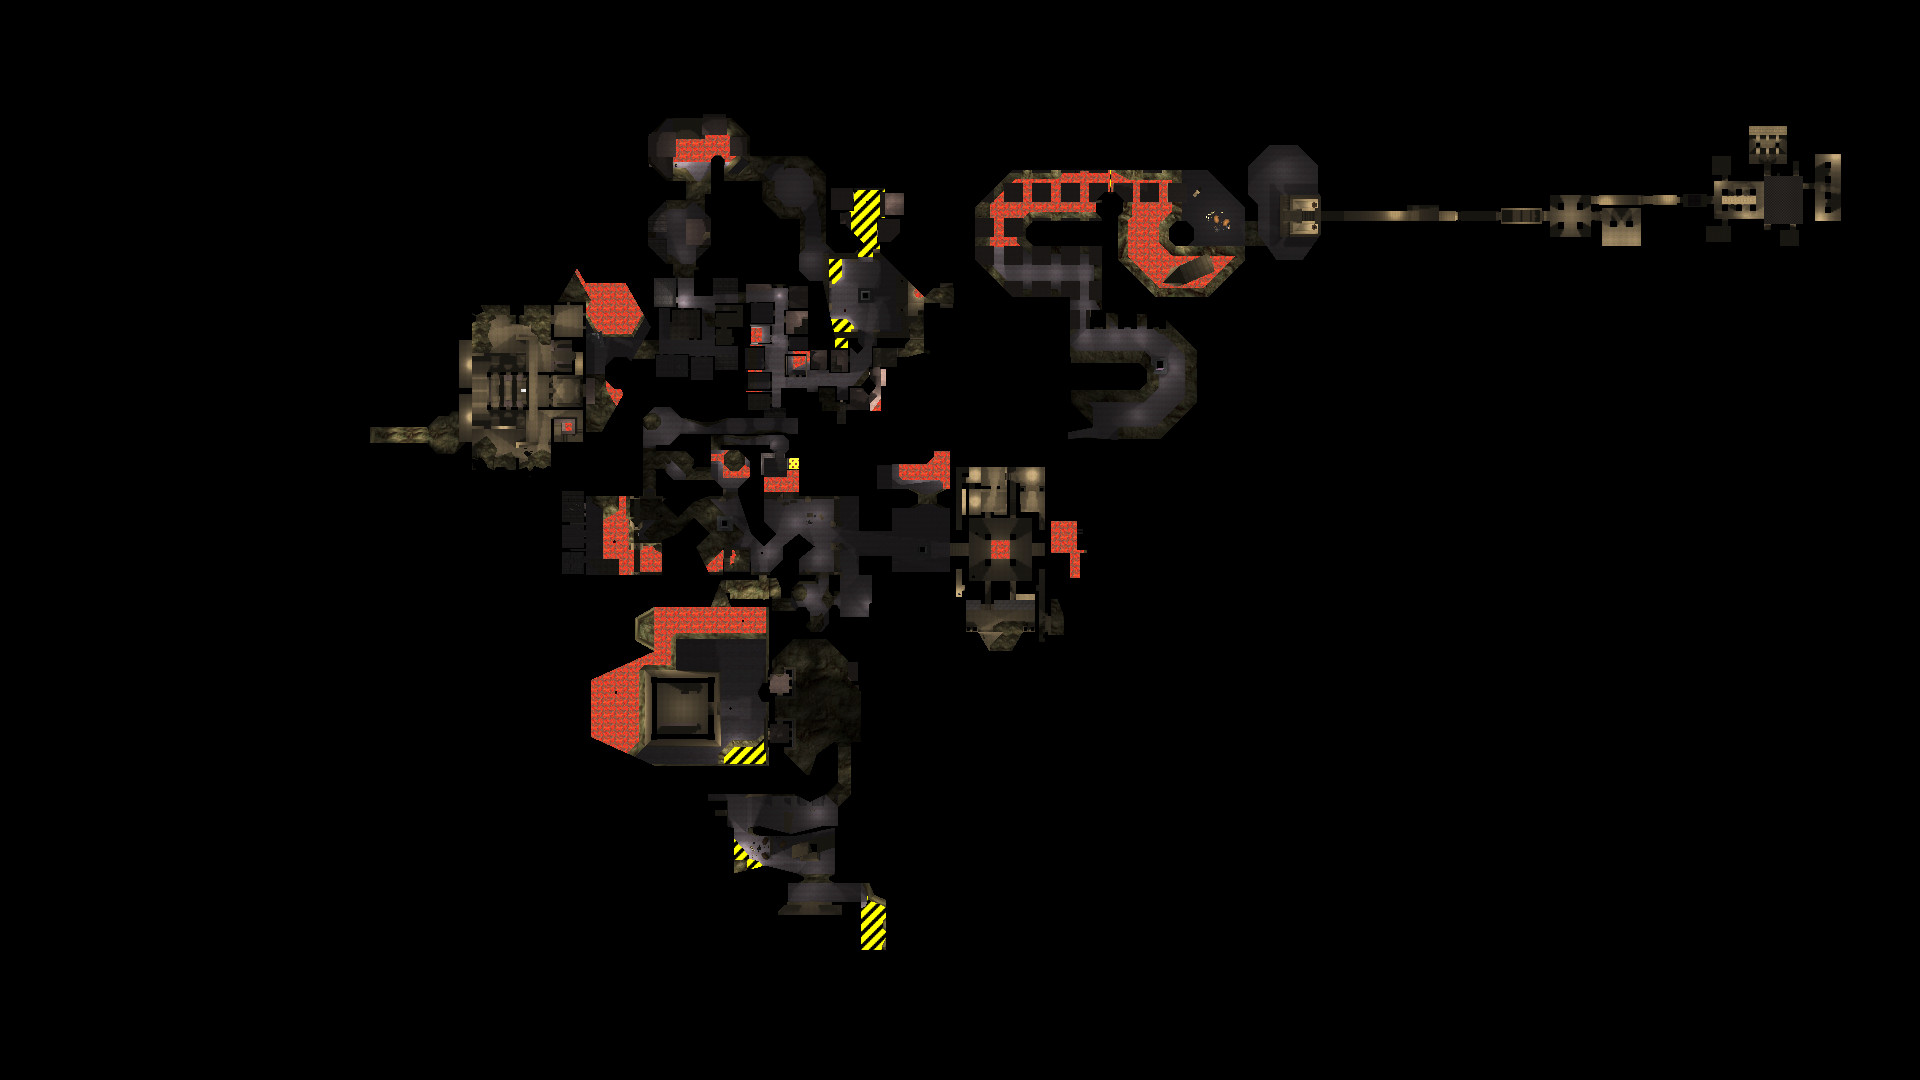
 A lot of people seem to dislike various things about this level.
I don’t feel the same, and don’t generally feel unpleasantly lost while playing. I like that it starts out looking like you’re infiltrating a pub, then you end up deep in an interconnected underground thieves’ city.
However, I must admit that, even having played it relatively recently, and having looked at this bird’s eye view, I still struggle to label the rest of these photos.
The Sword
Later. Not a Thief Gold map, just incredibly complex and I want to do it justice.
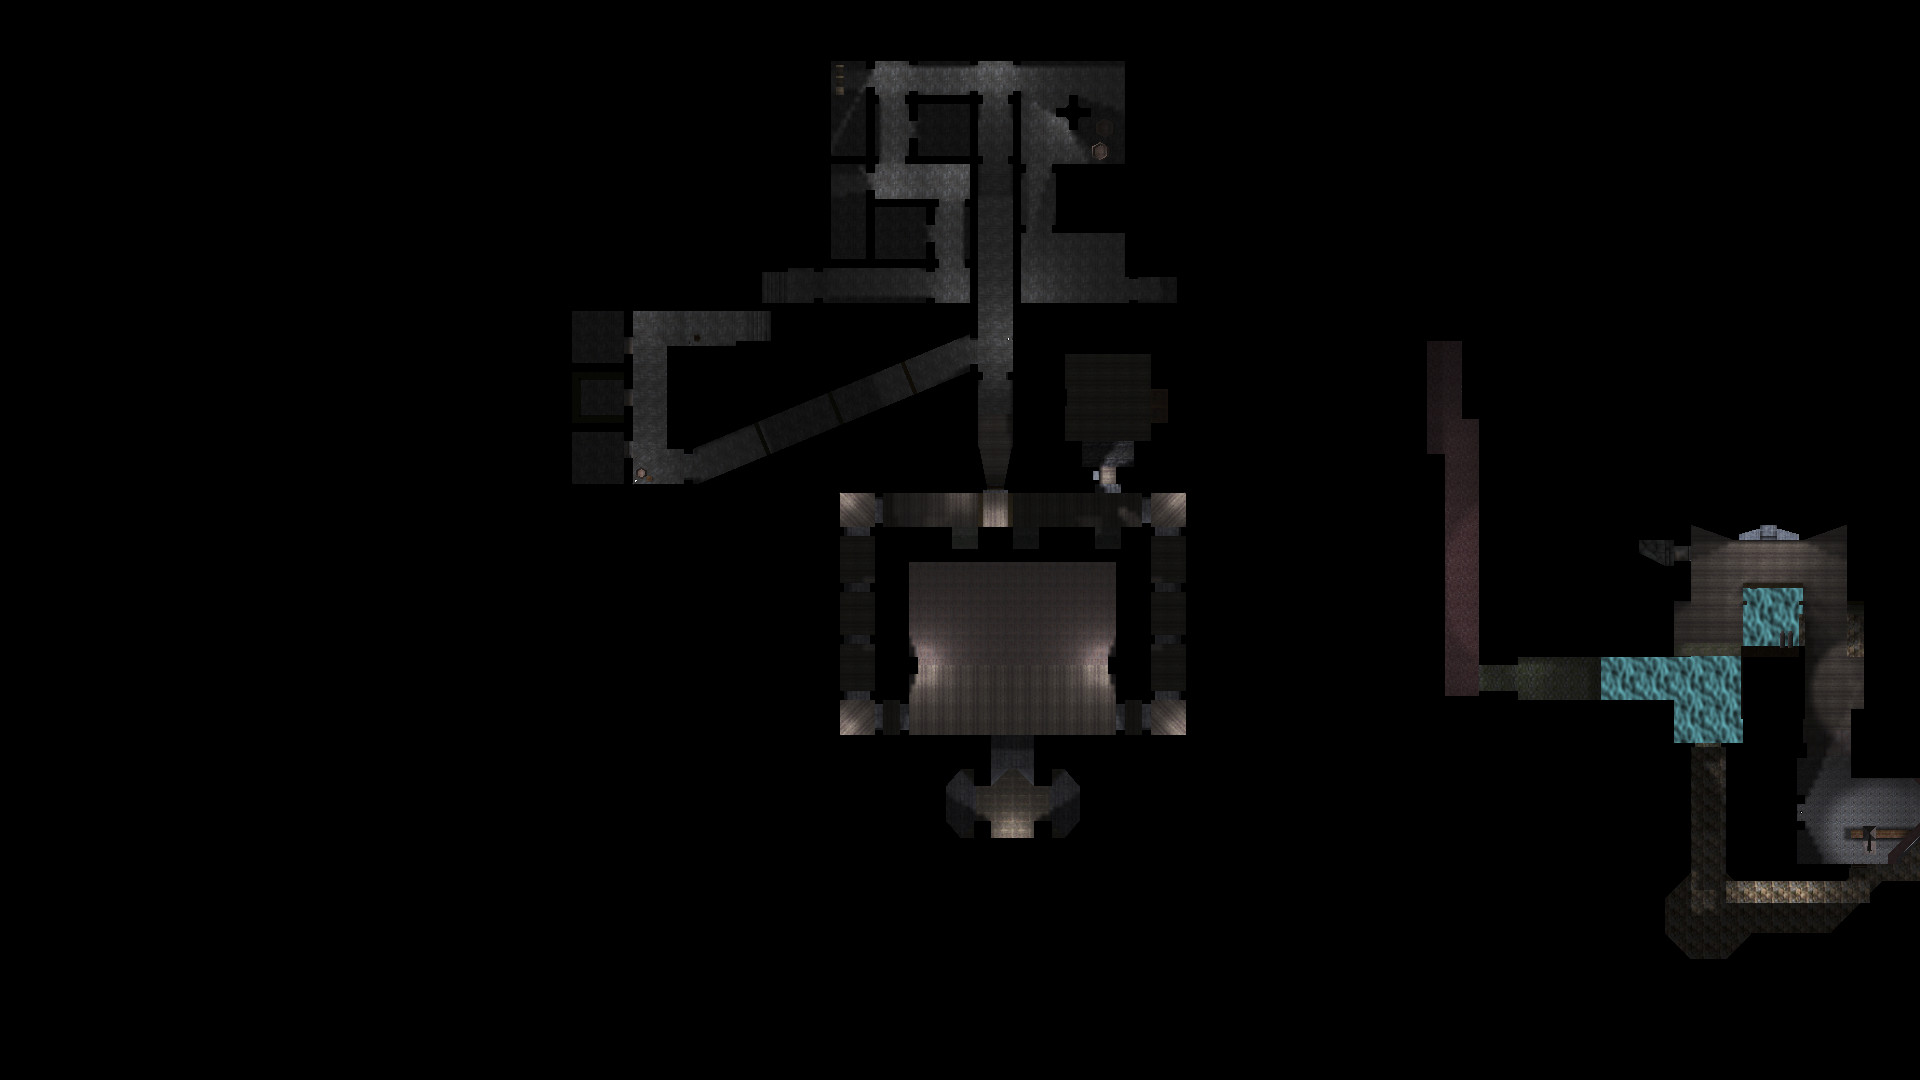
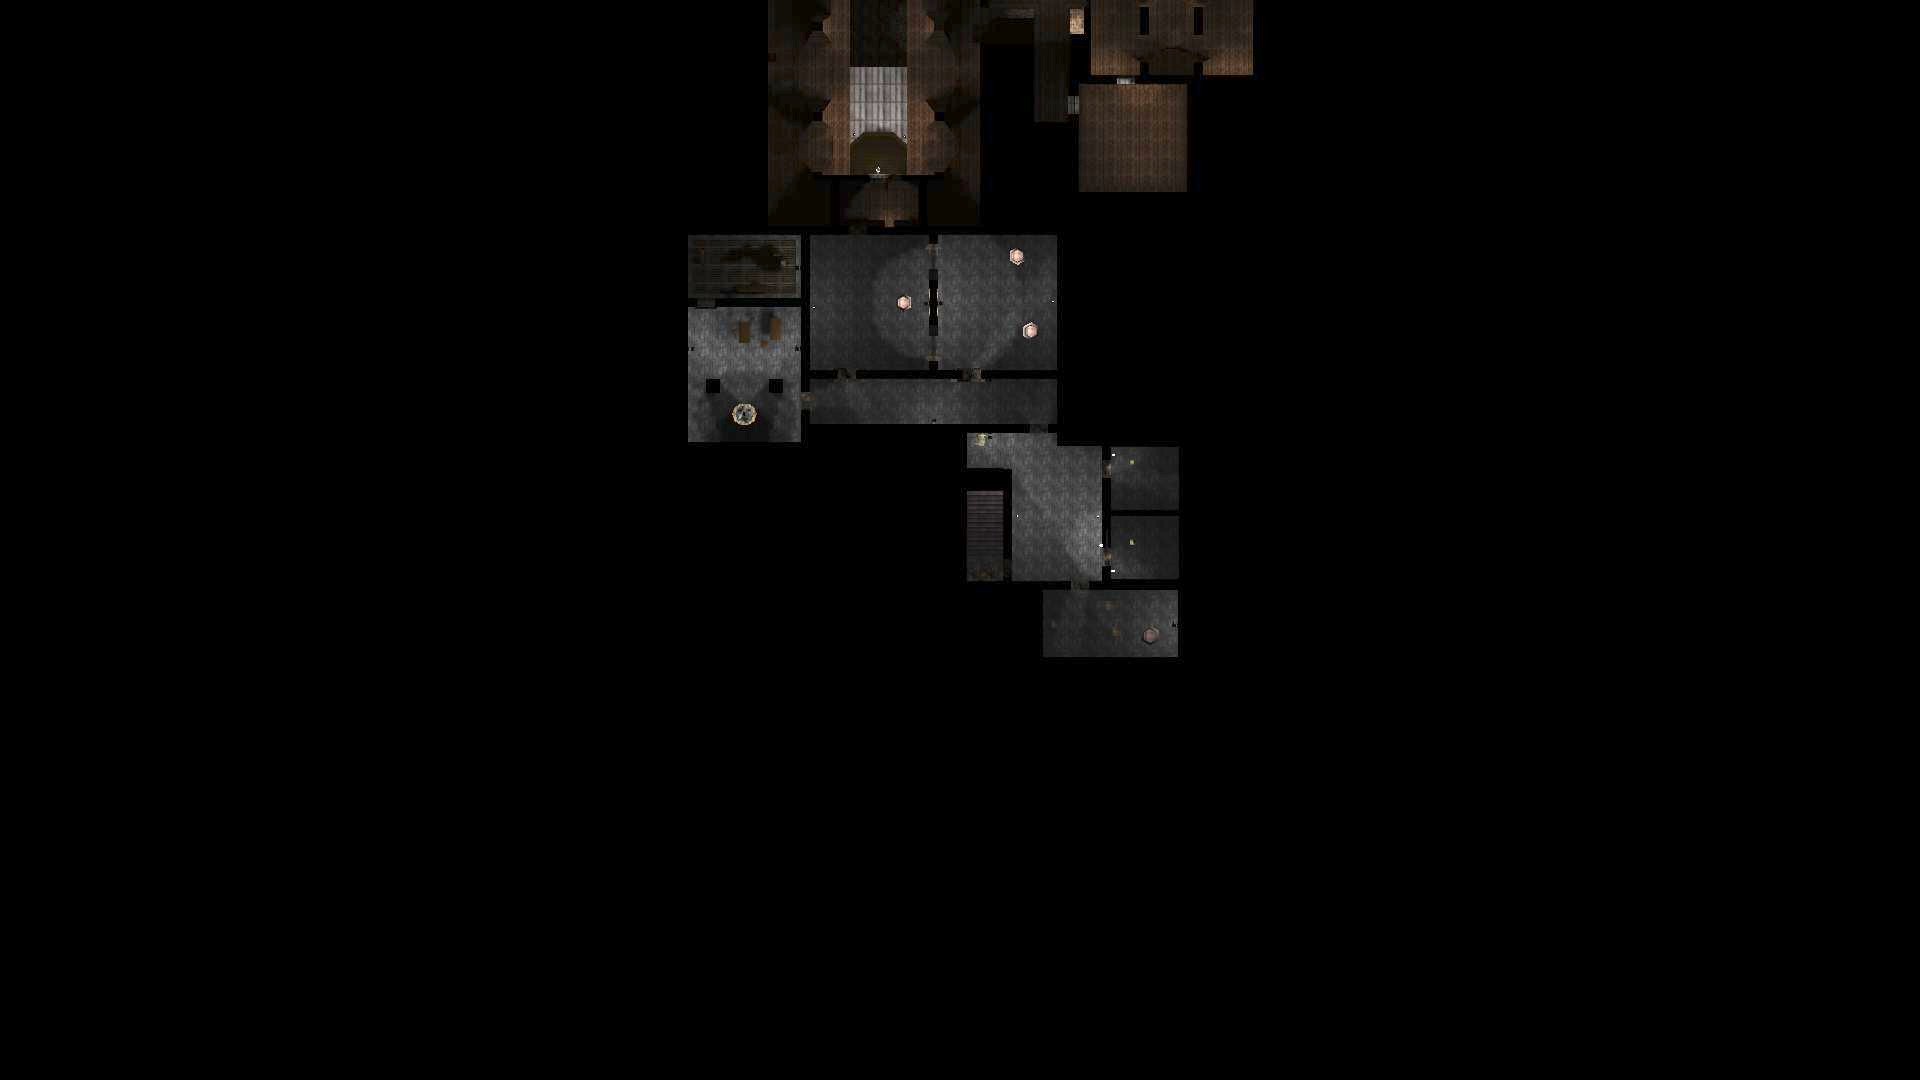
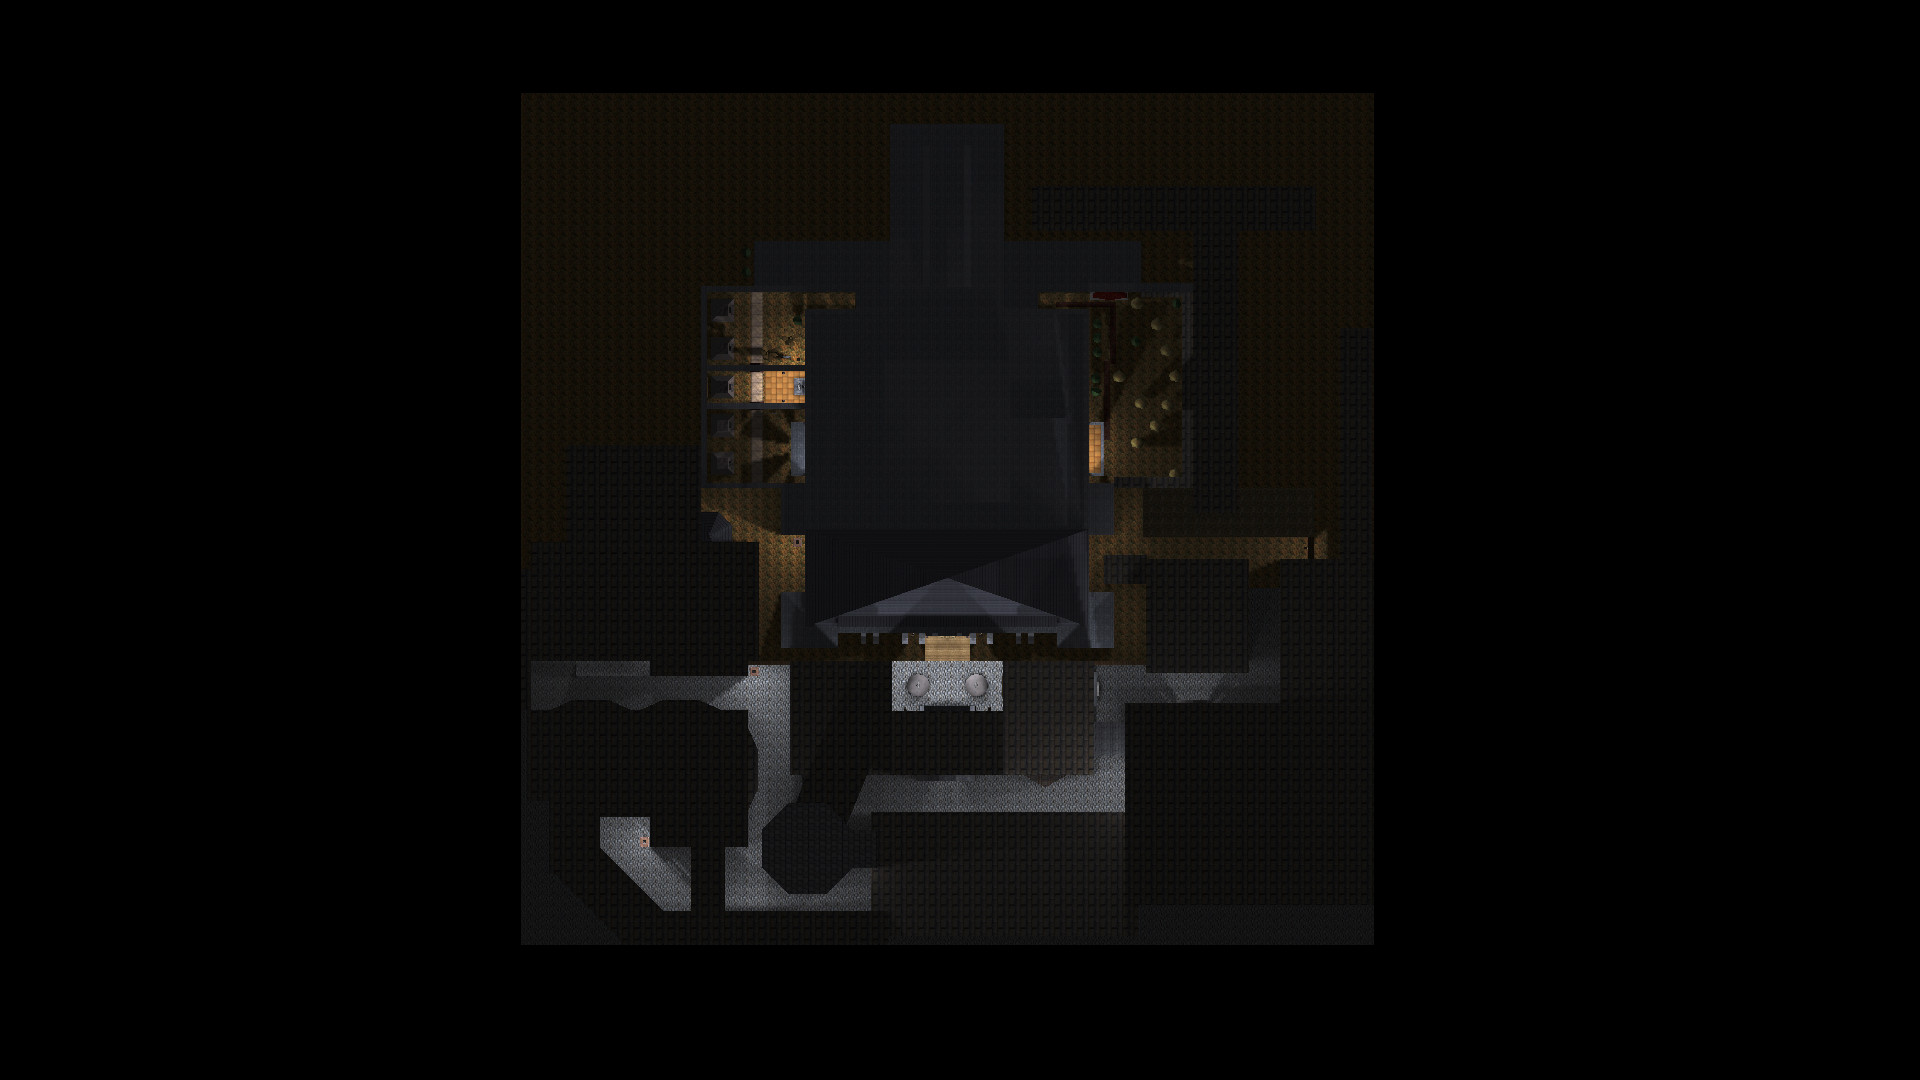
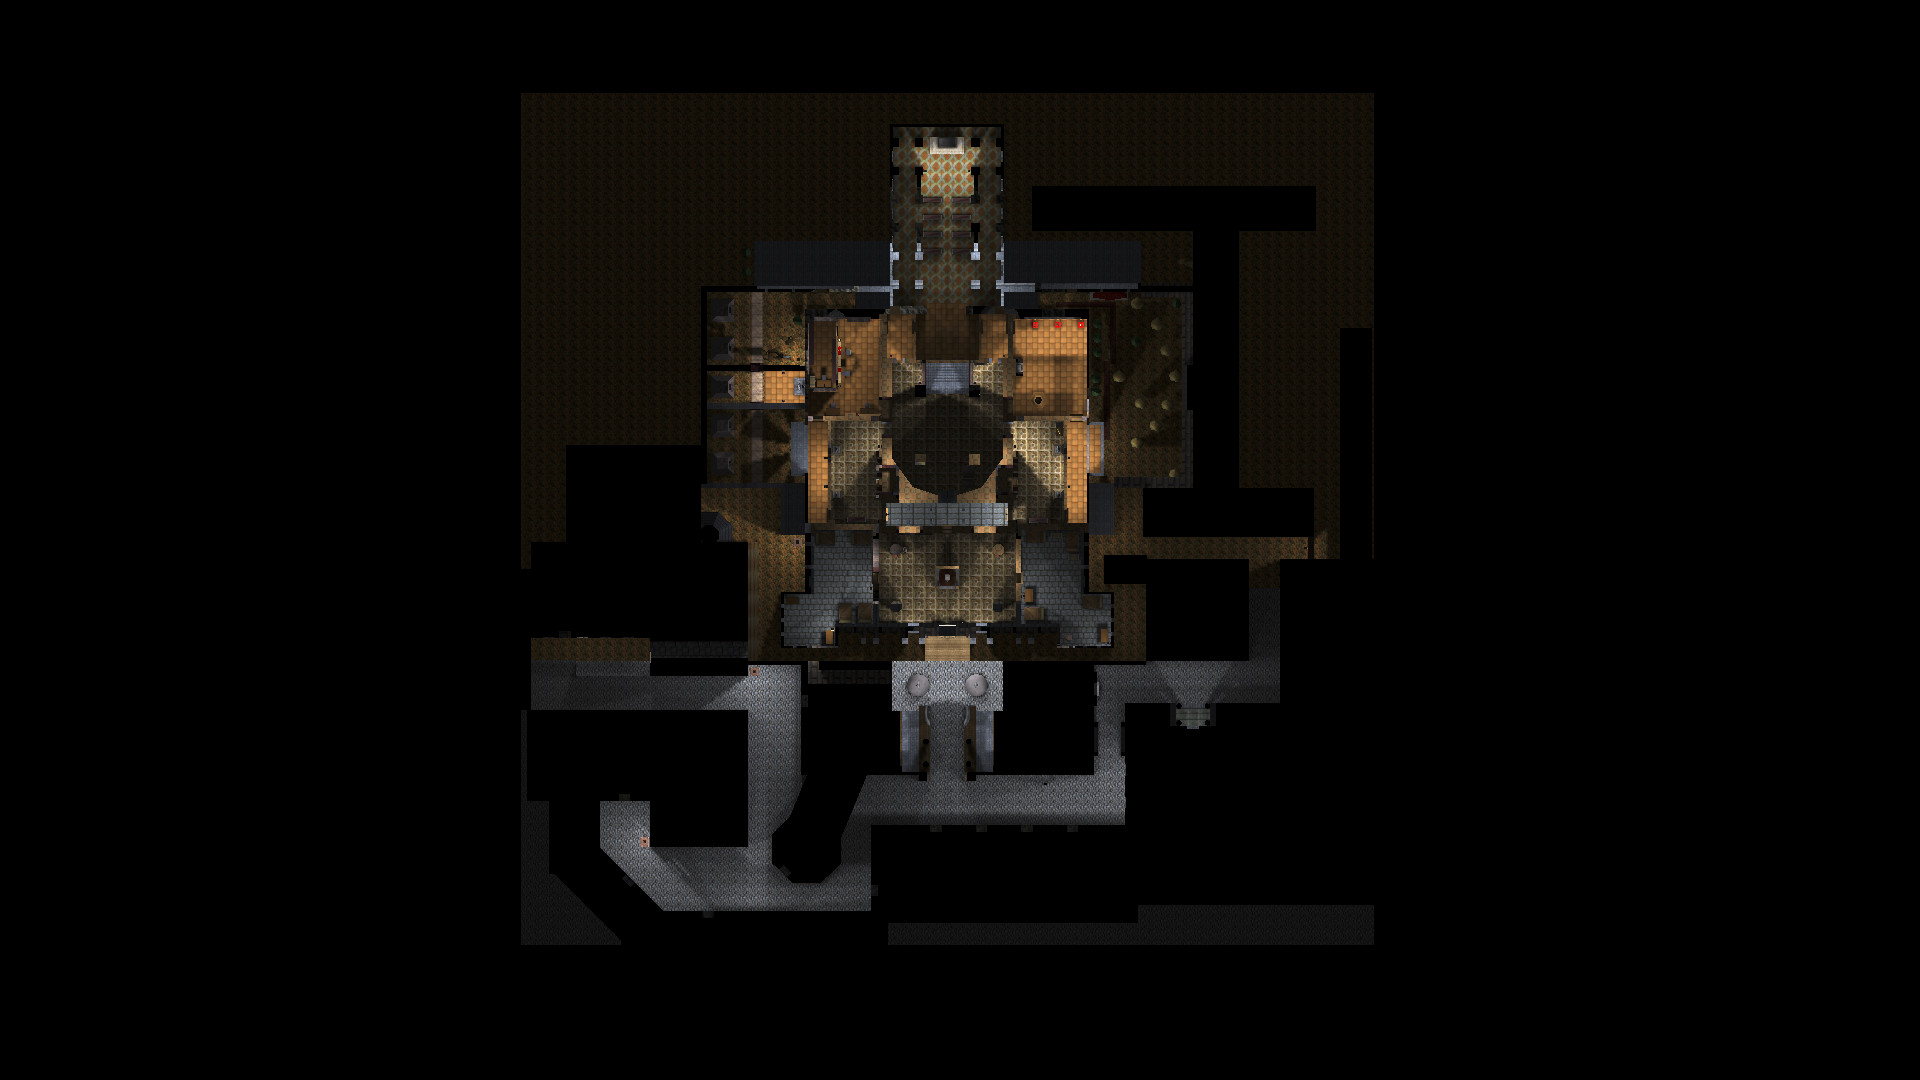
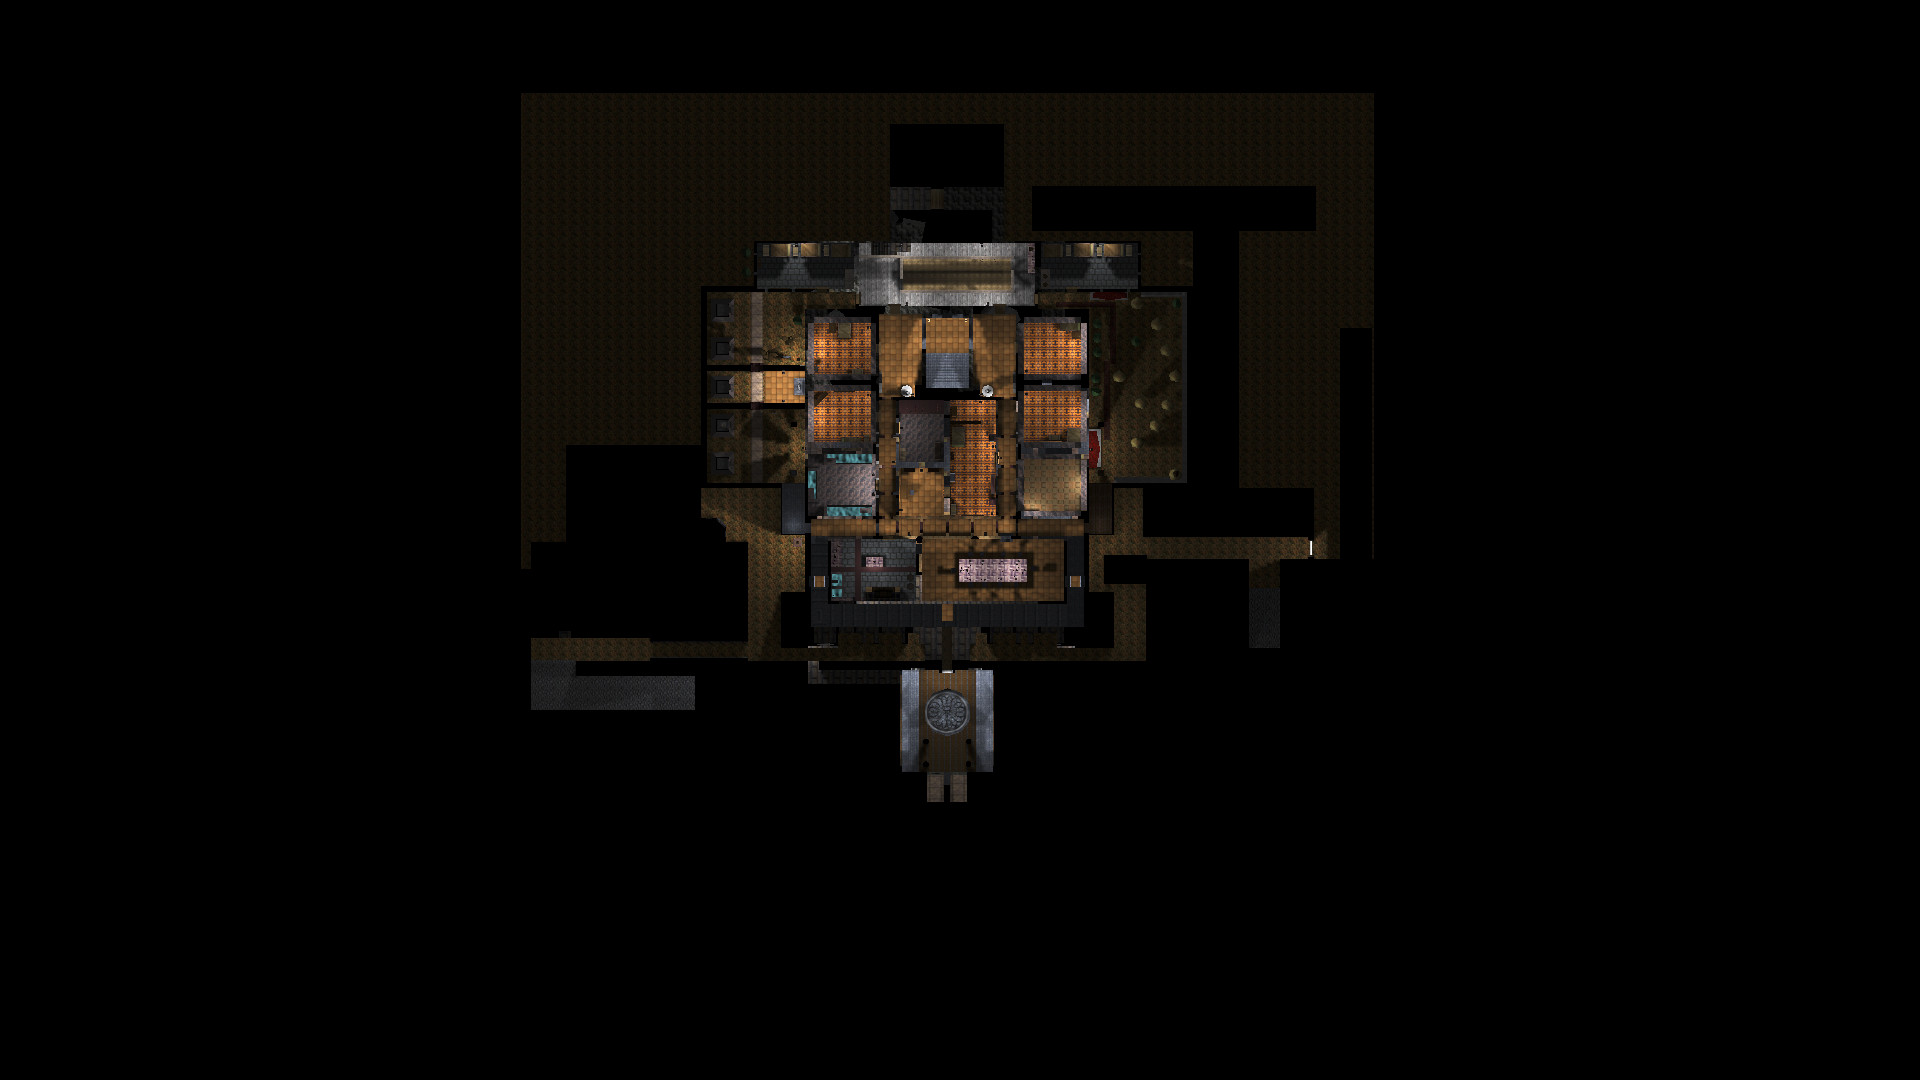
The Haunted Cathedral
 This level is quite flat and (IMO) relatively uninteresting to look at close-up, so it was easy to sum it up in just a couple of photos.
The Mage Towers
I think this level caused me some technical troubles last time I tried to get pics of it, so I’ll have to return later.
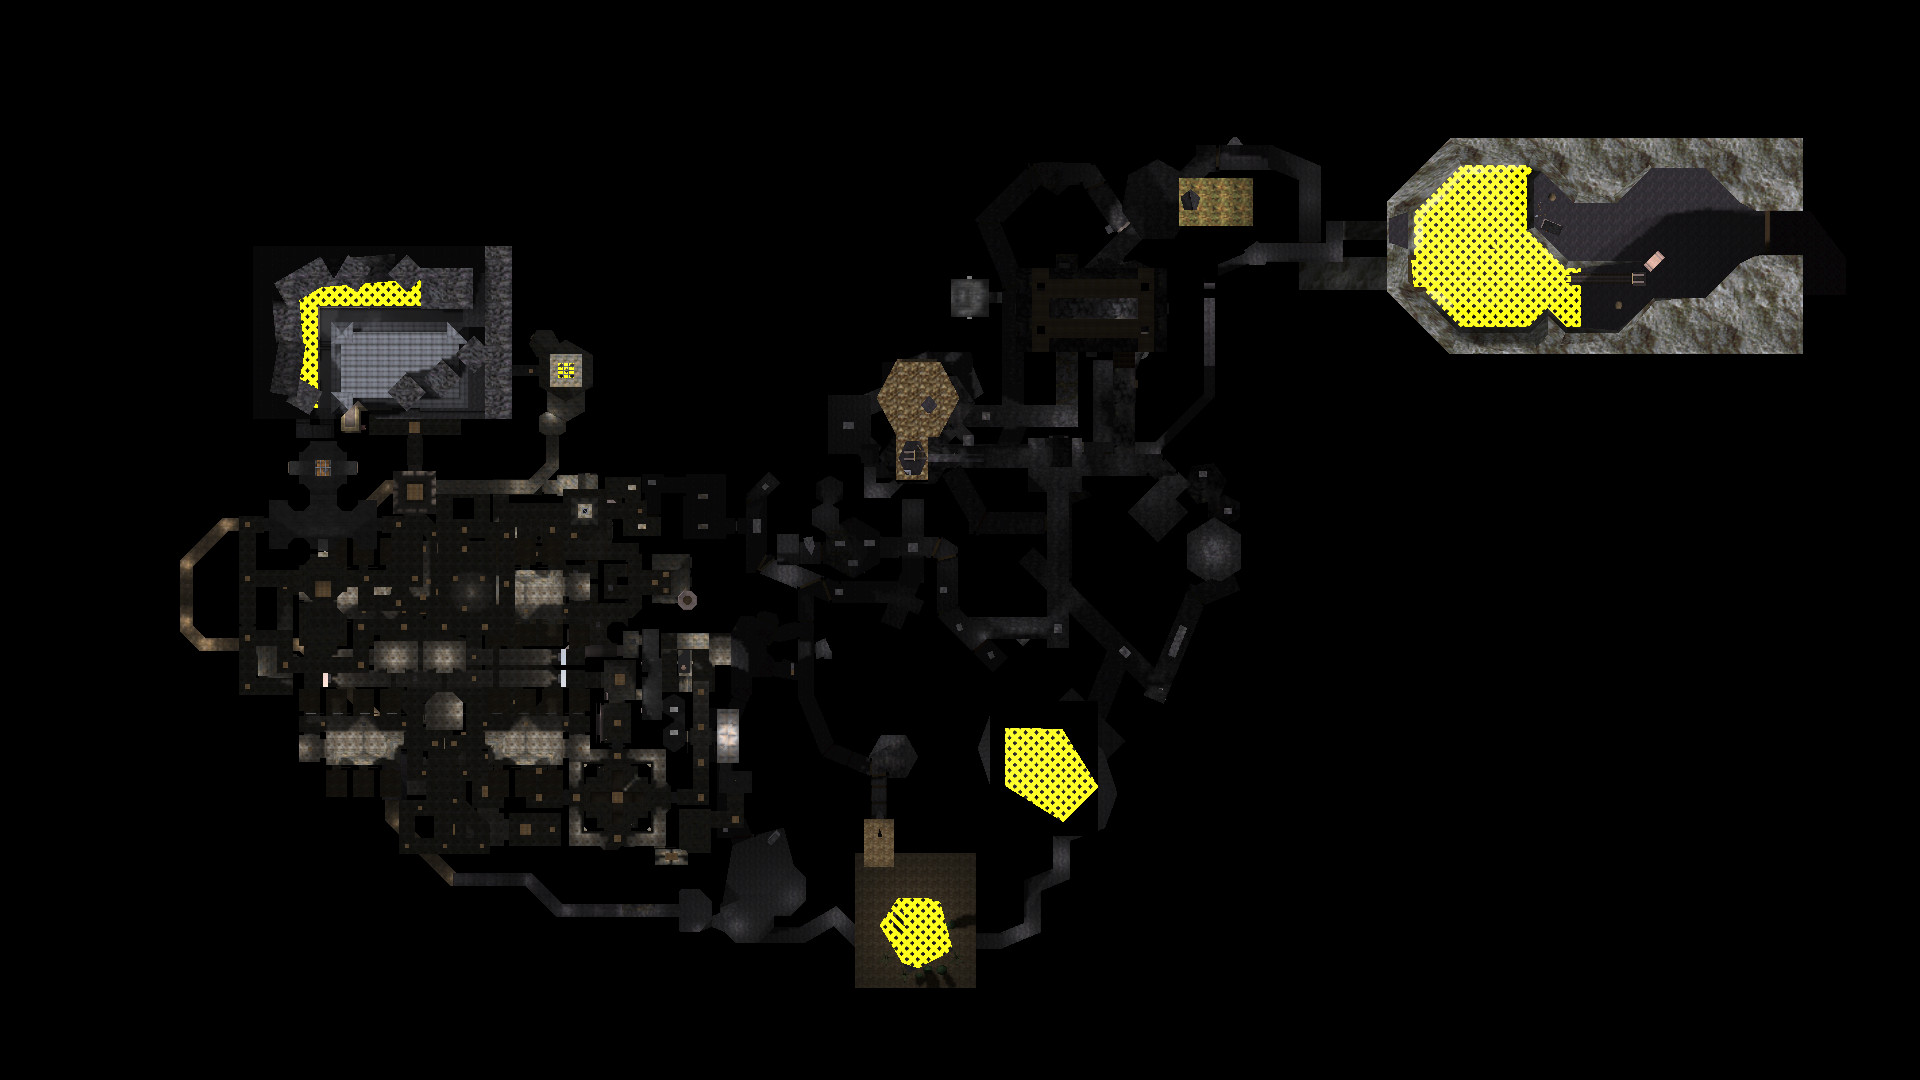
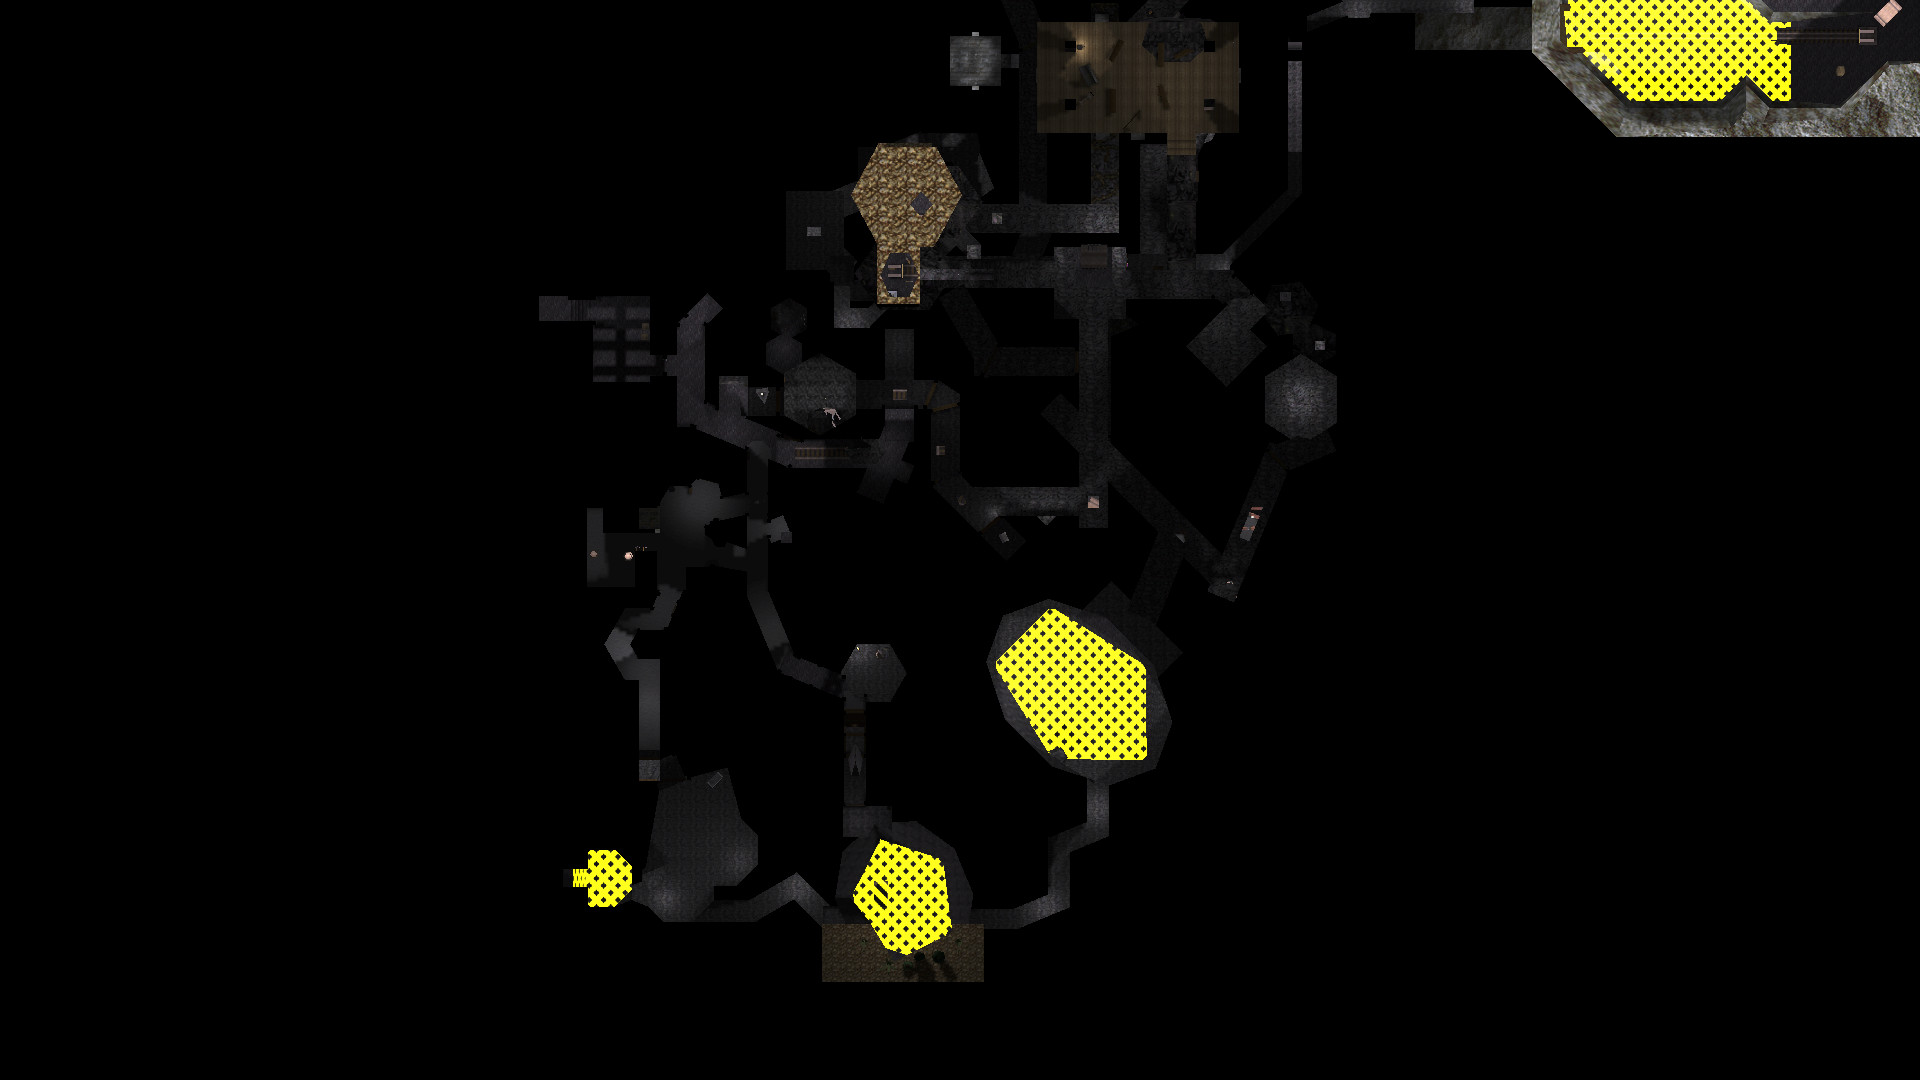
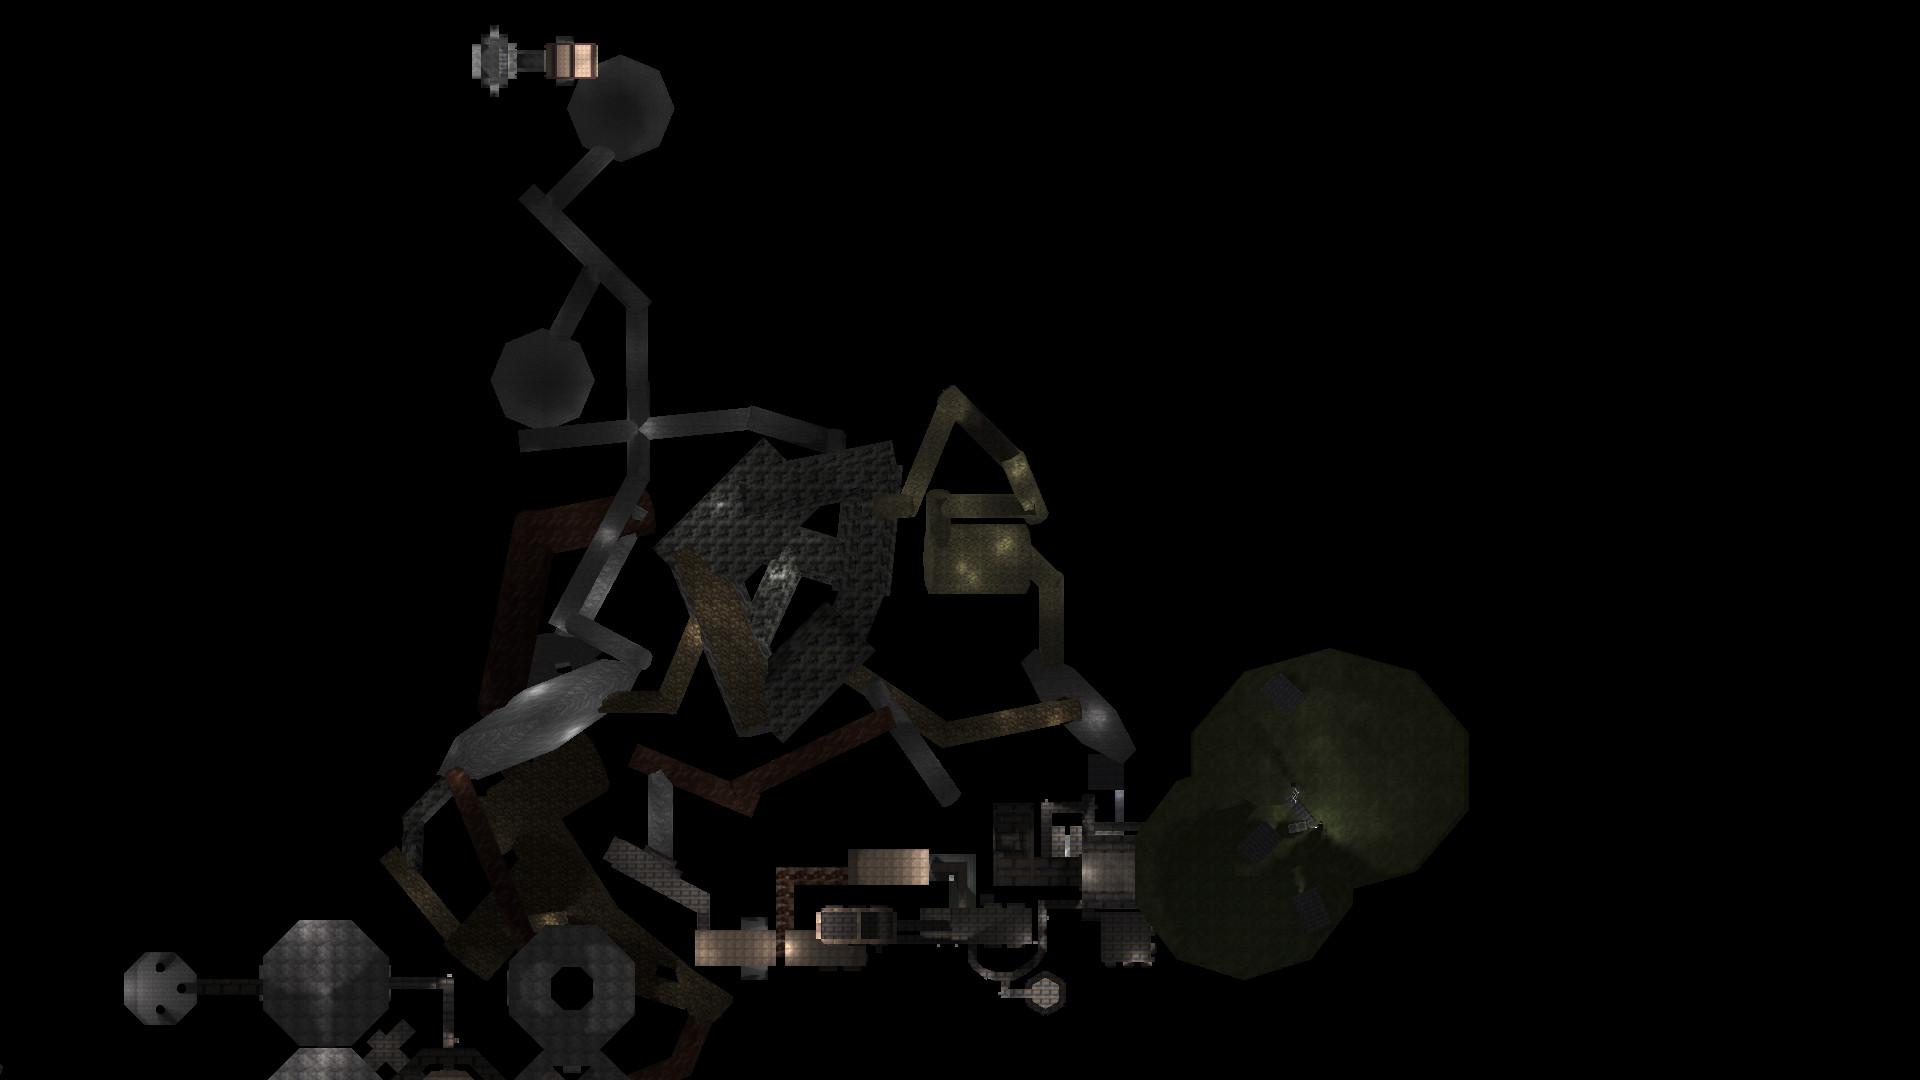
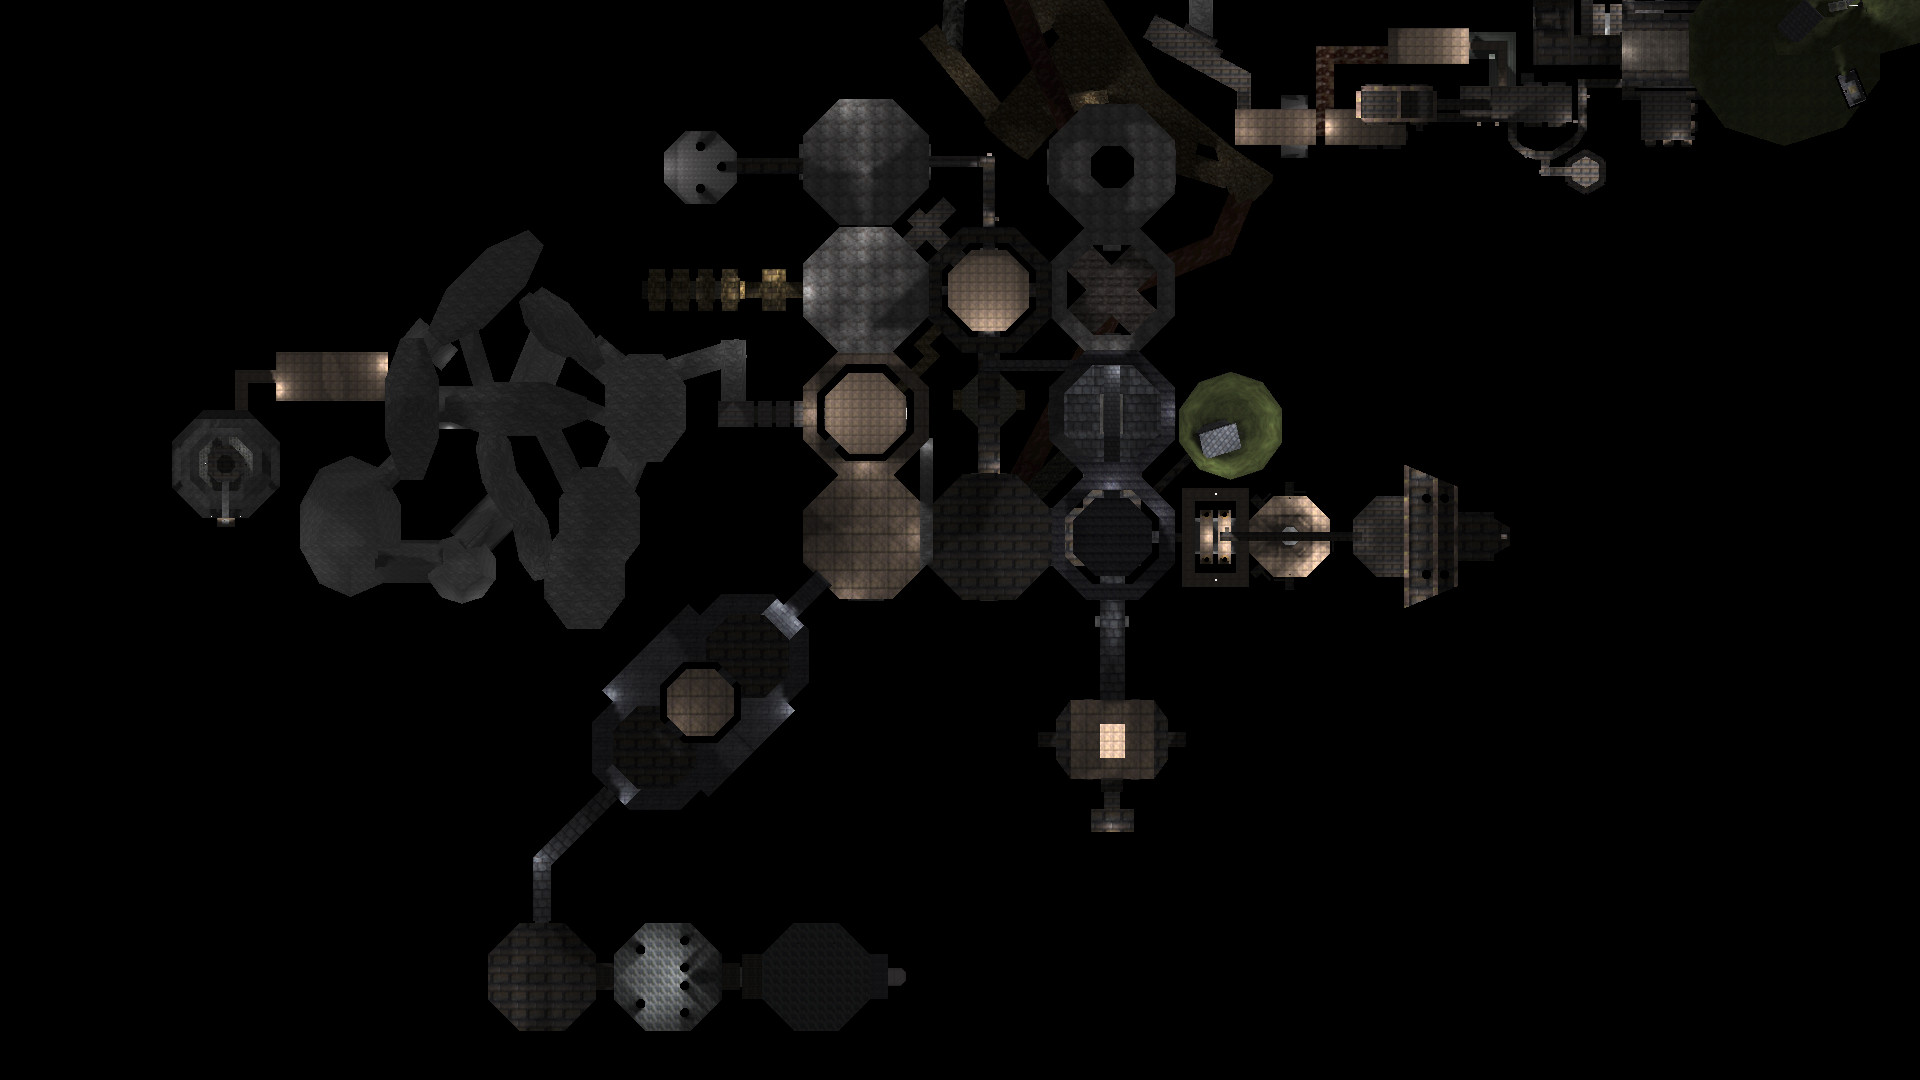
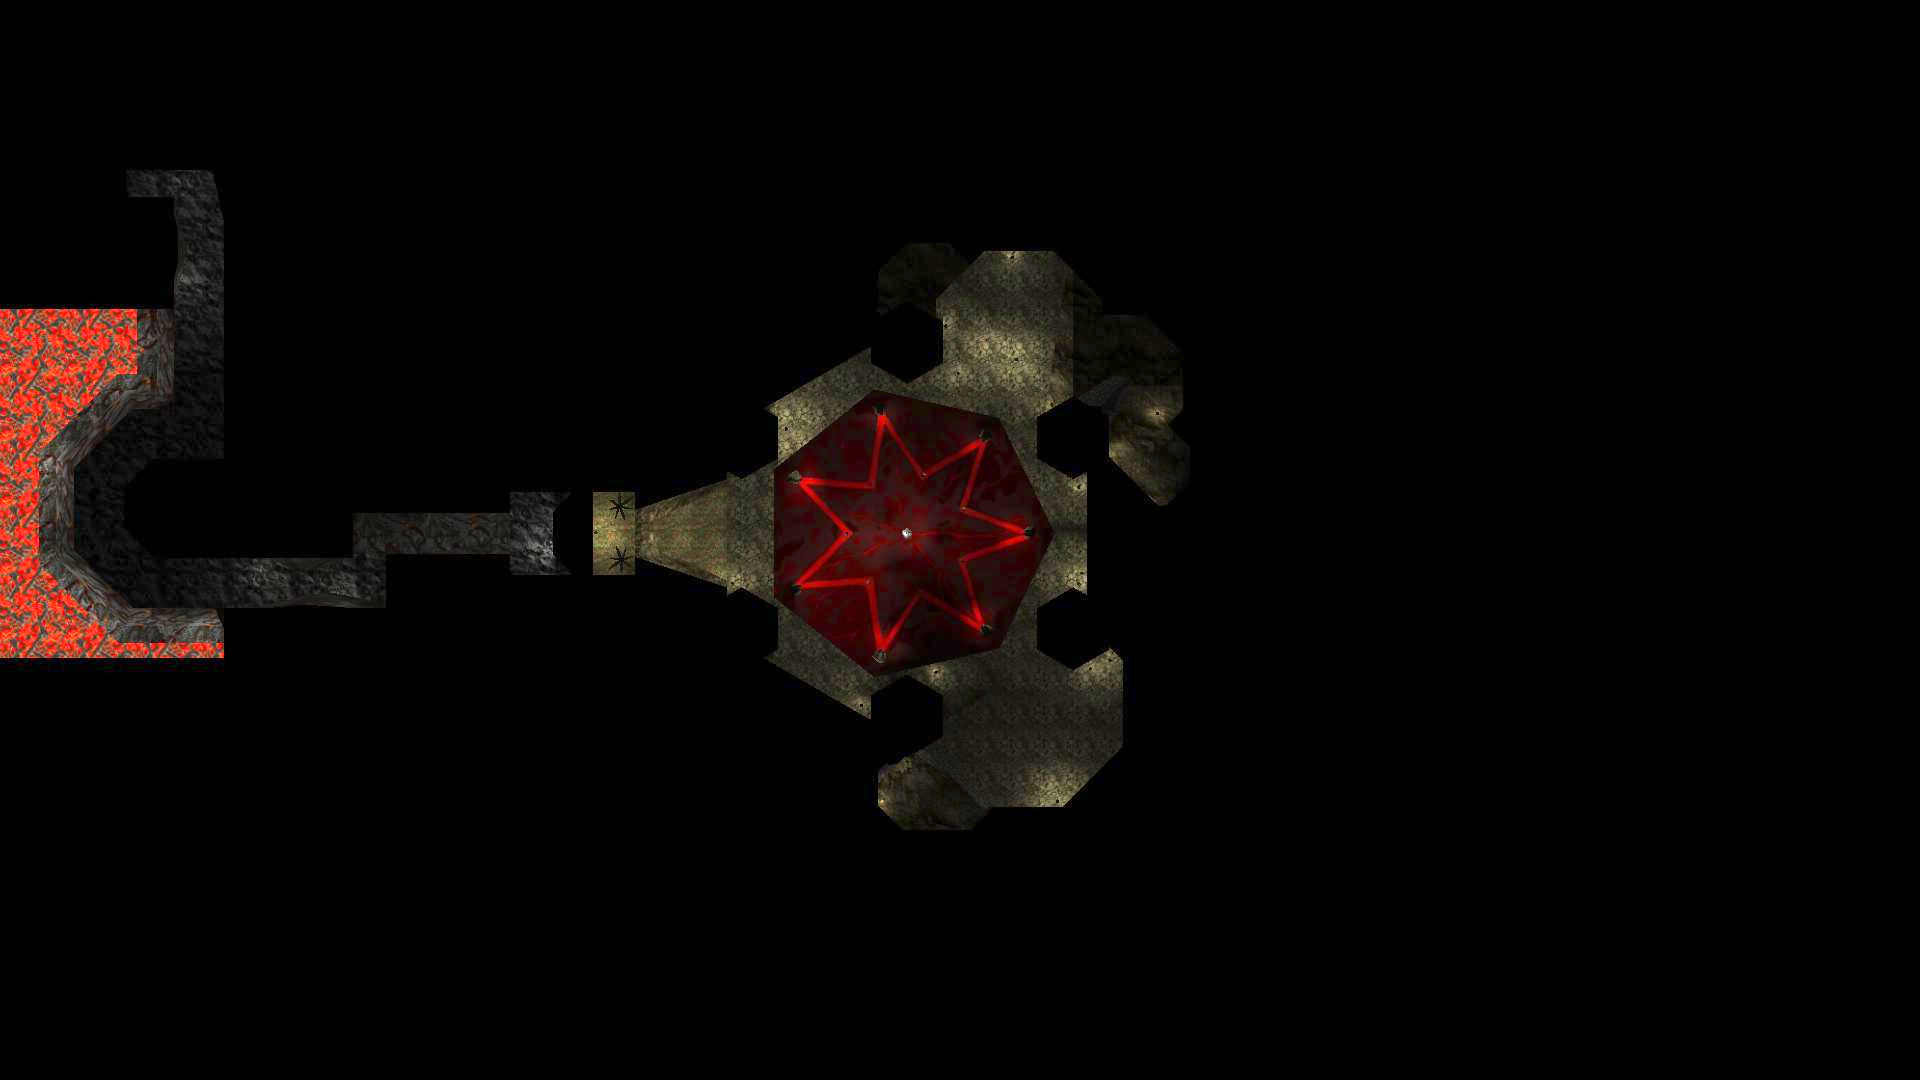
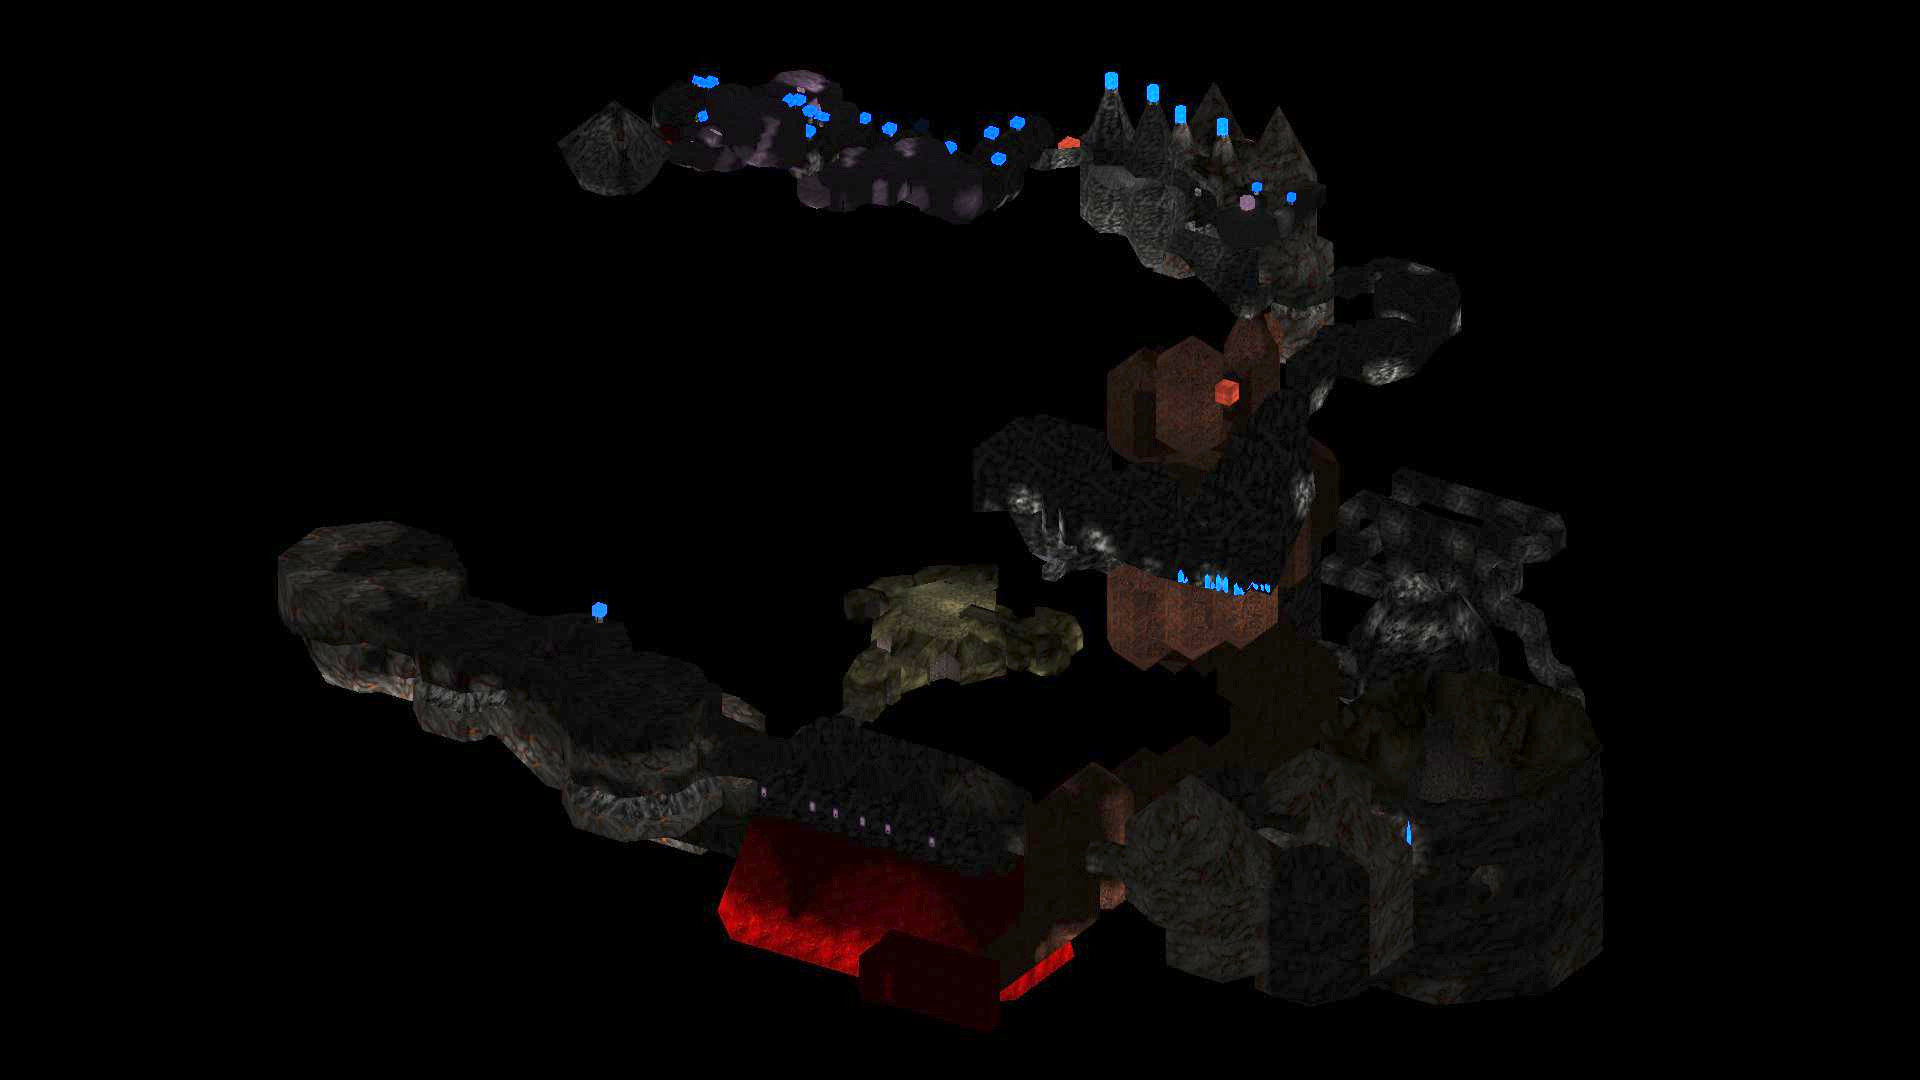
The Lost City
Song of the Caverns
 The eponymous caverns. Such a good mislead.

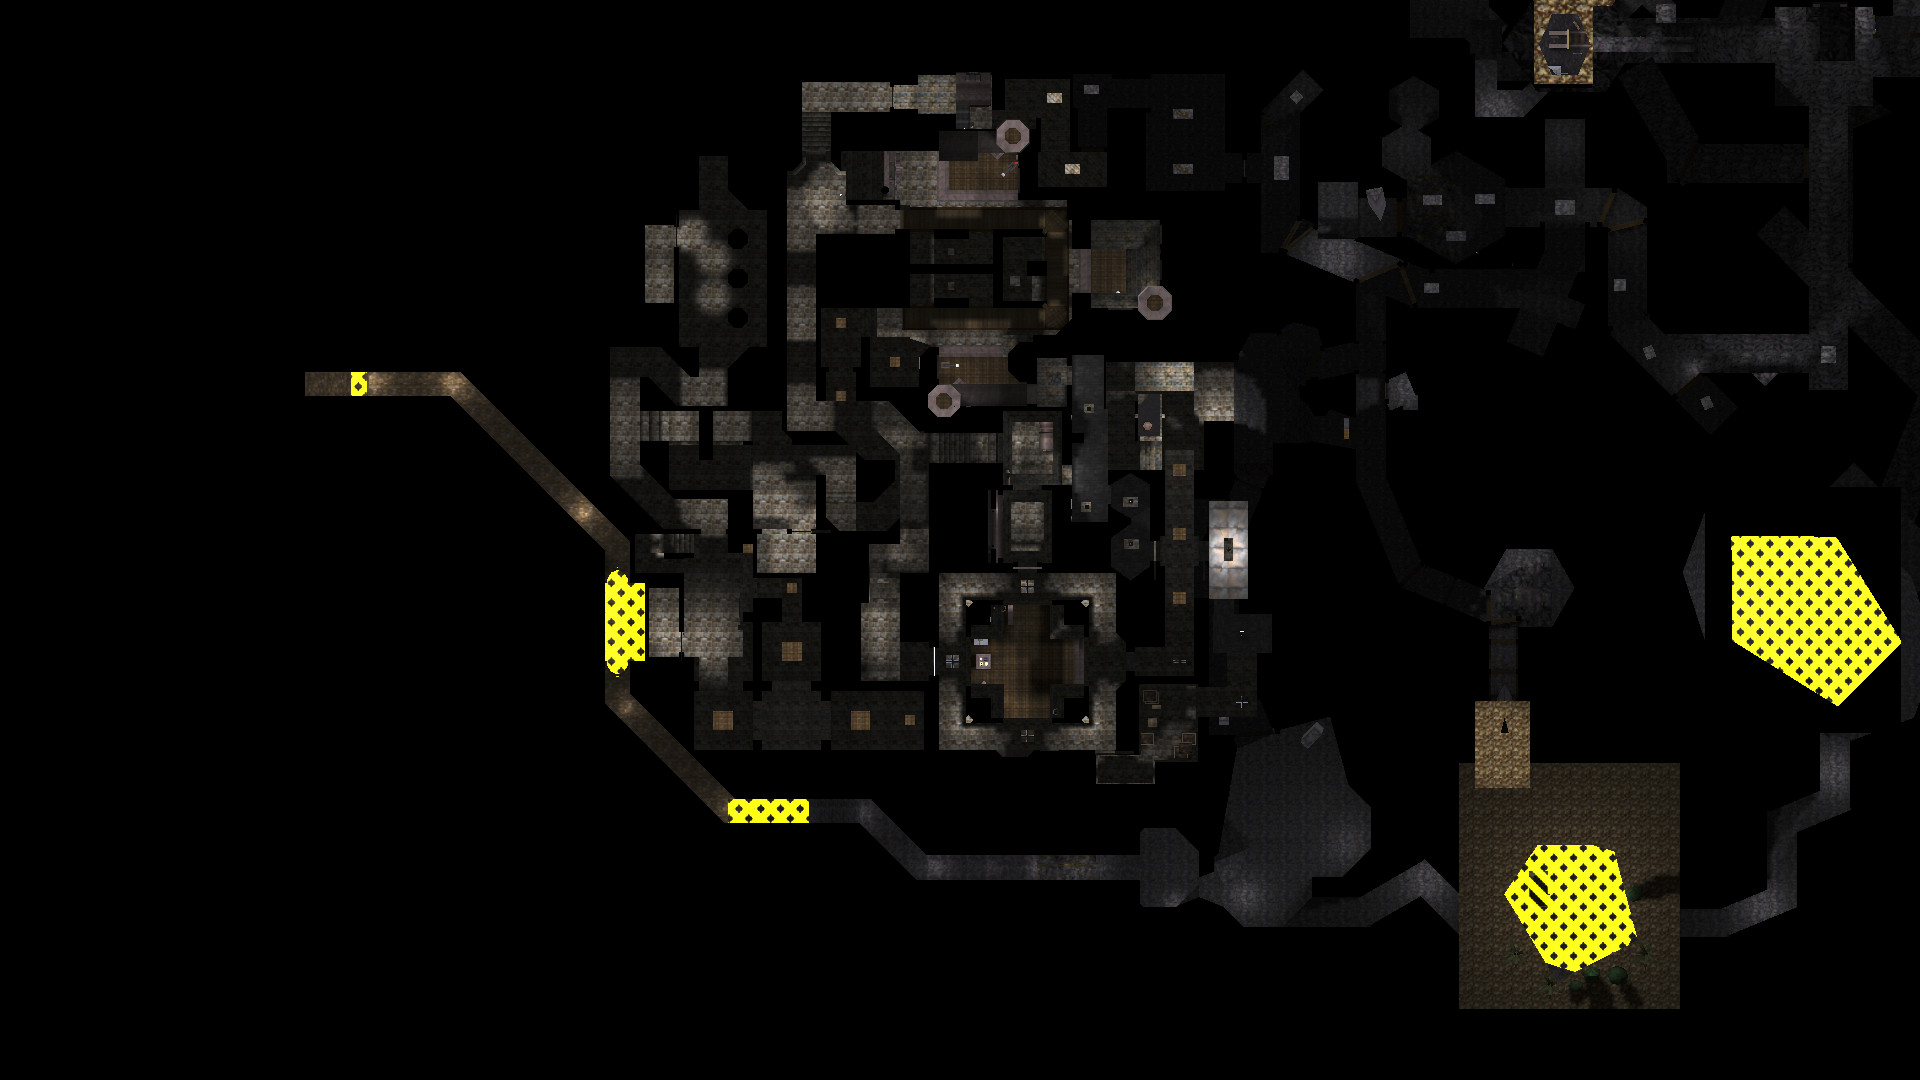
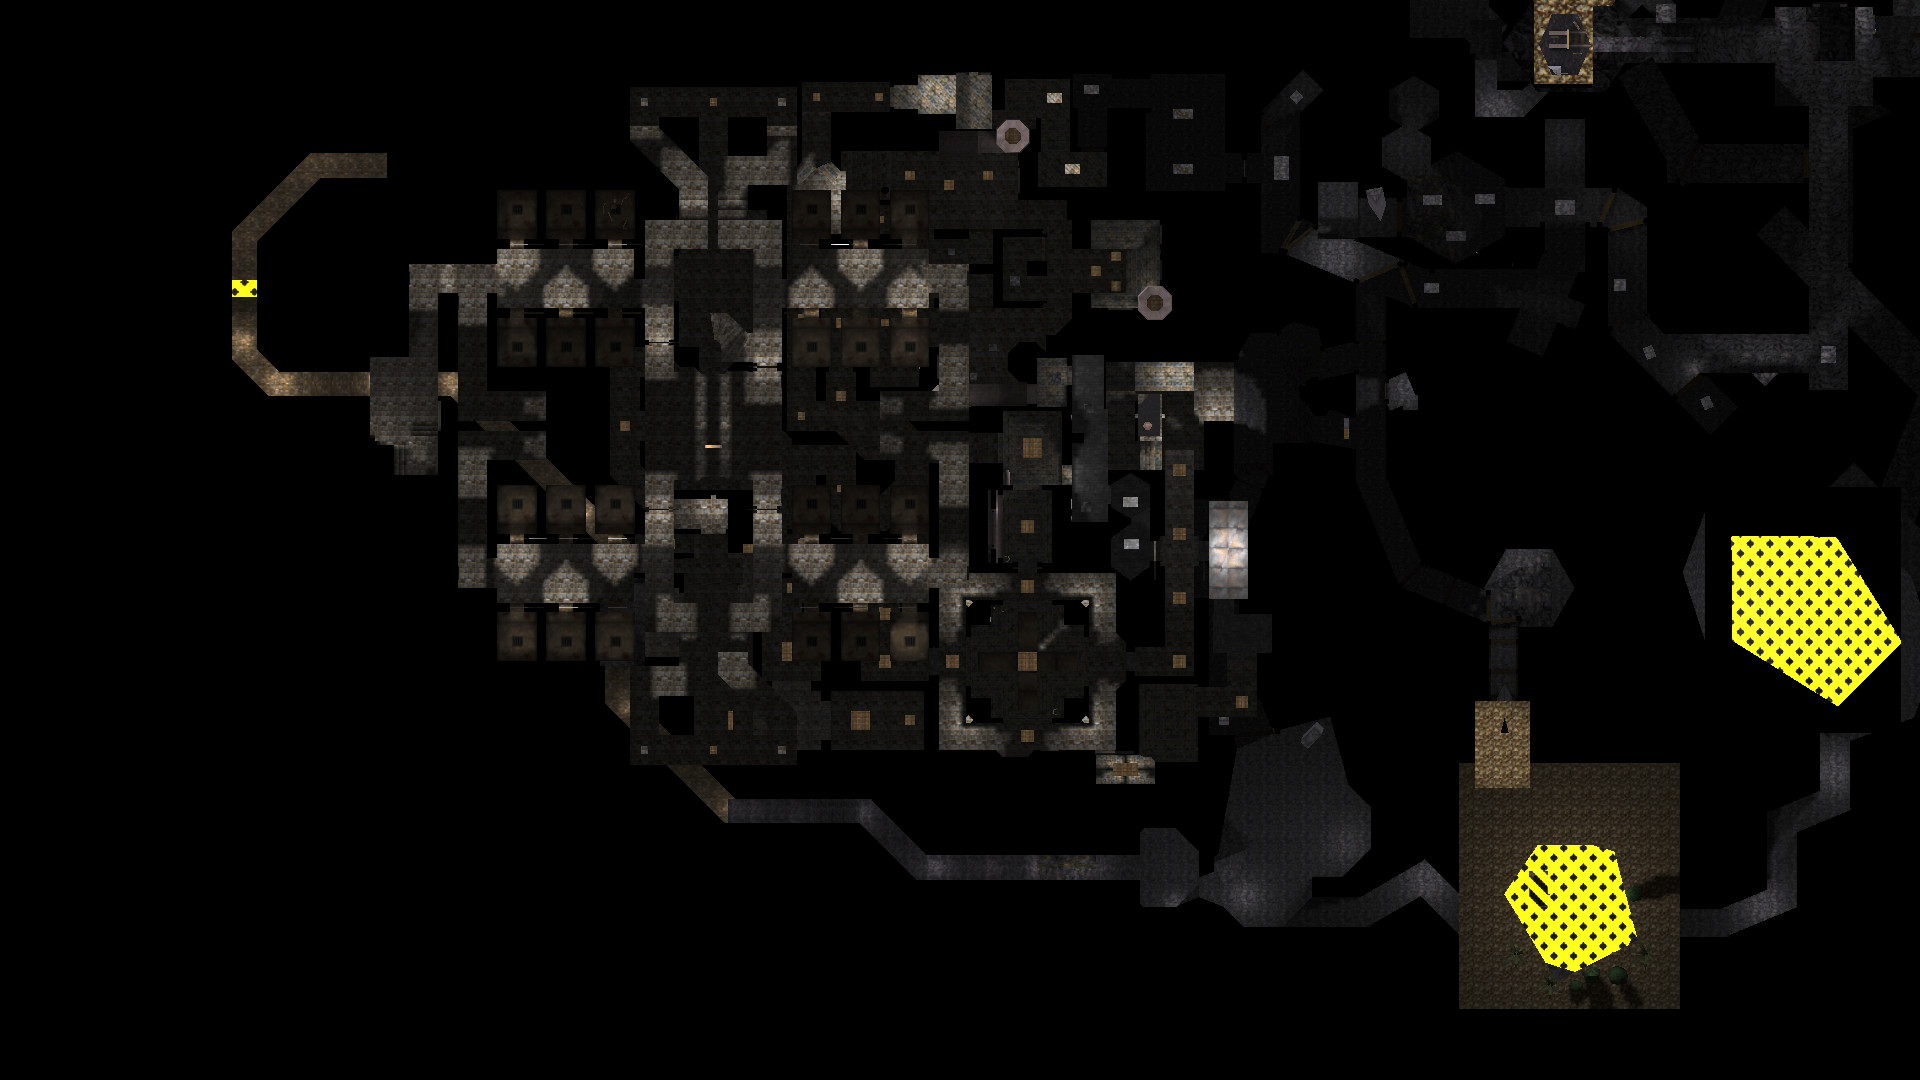
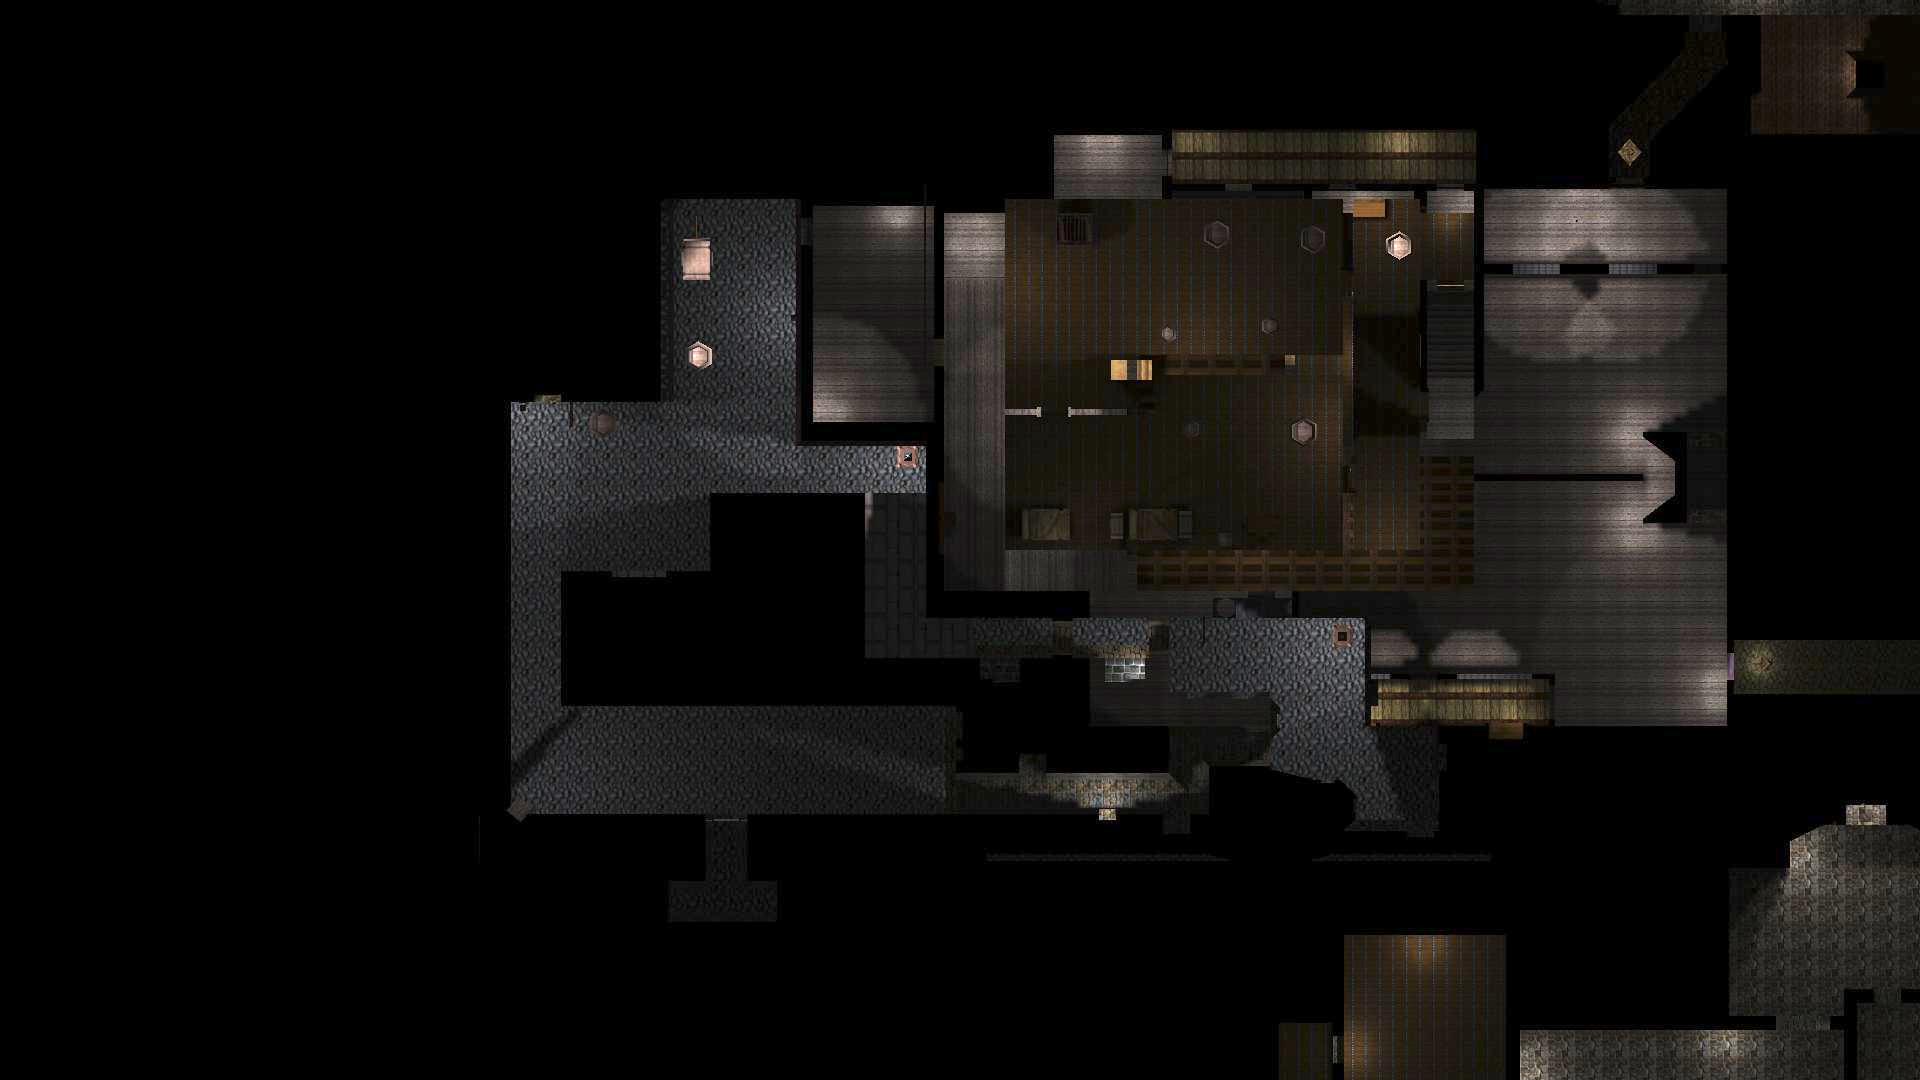
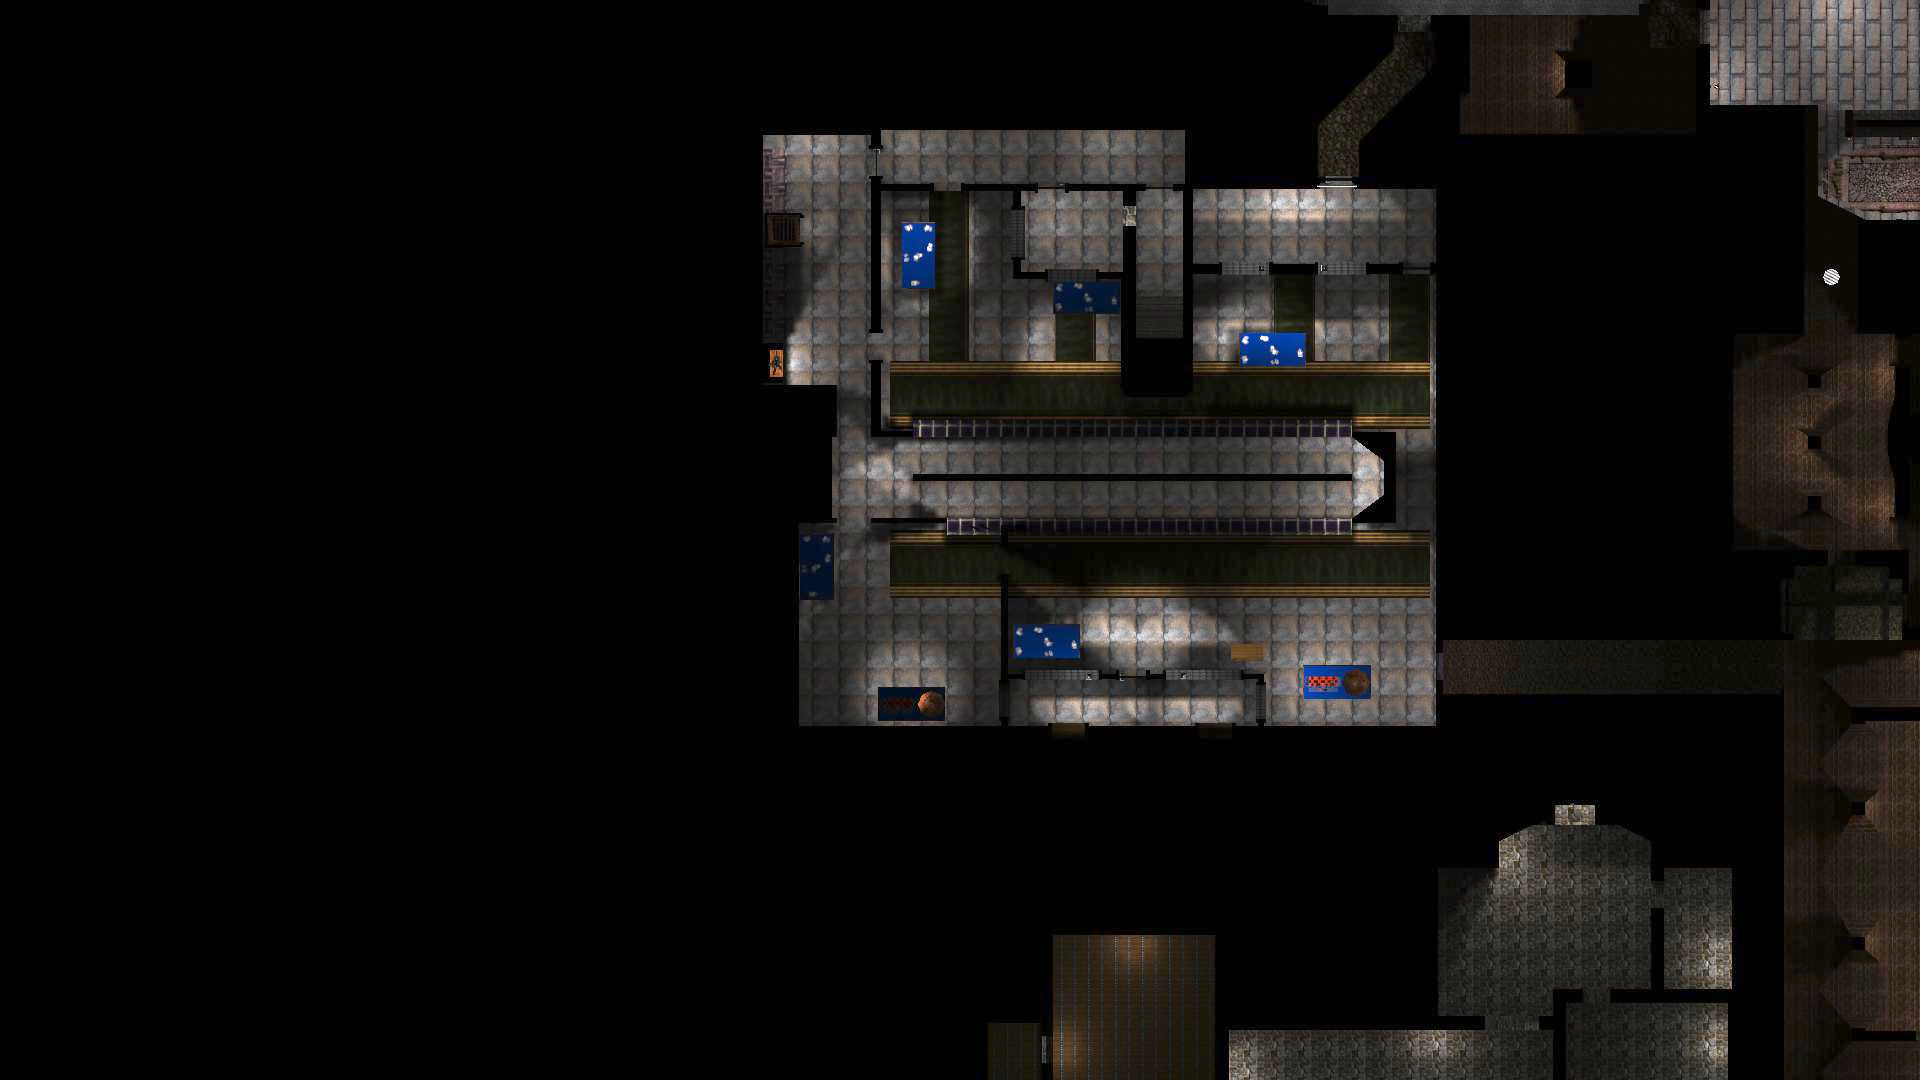
Undercover
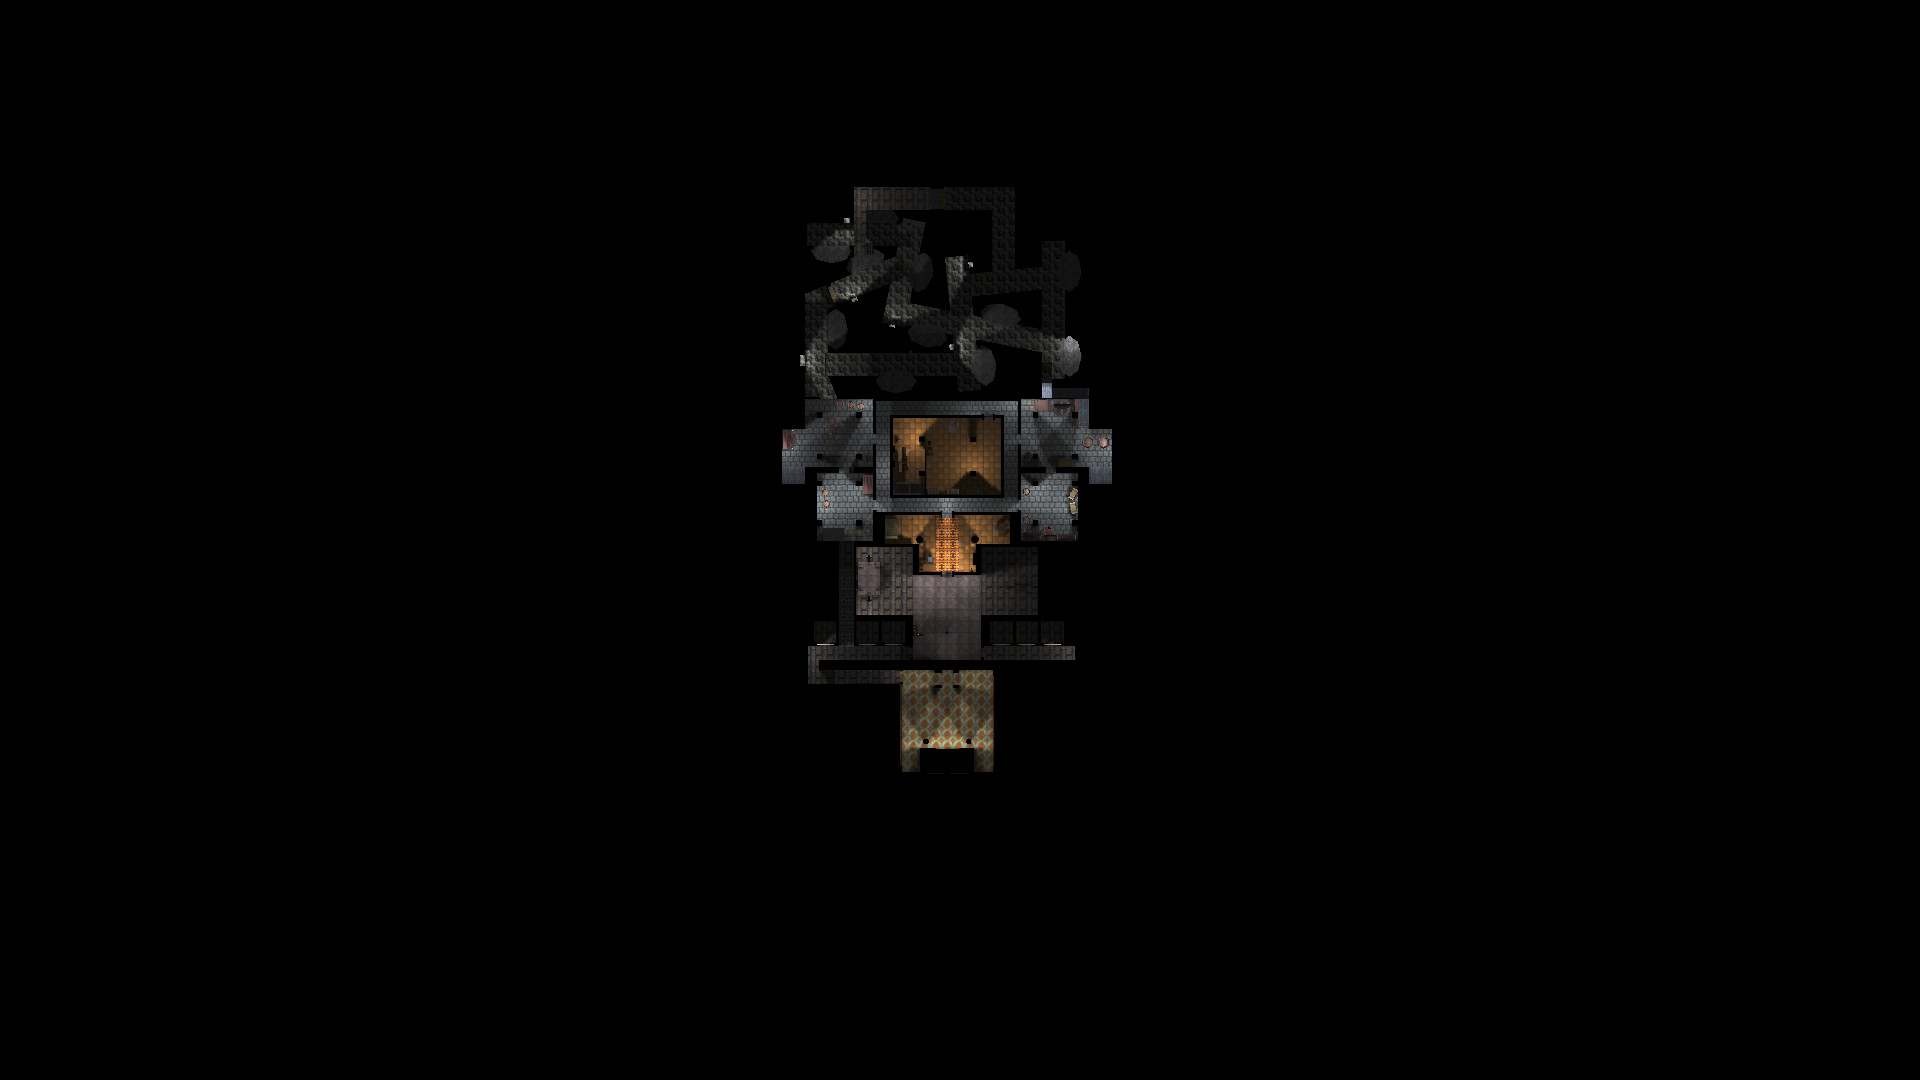
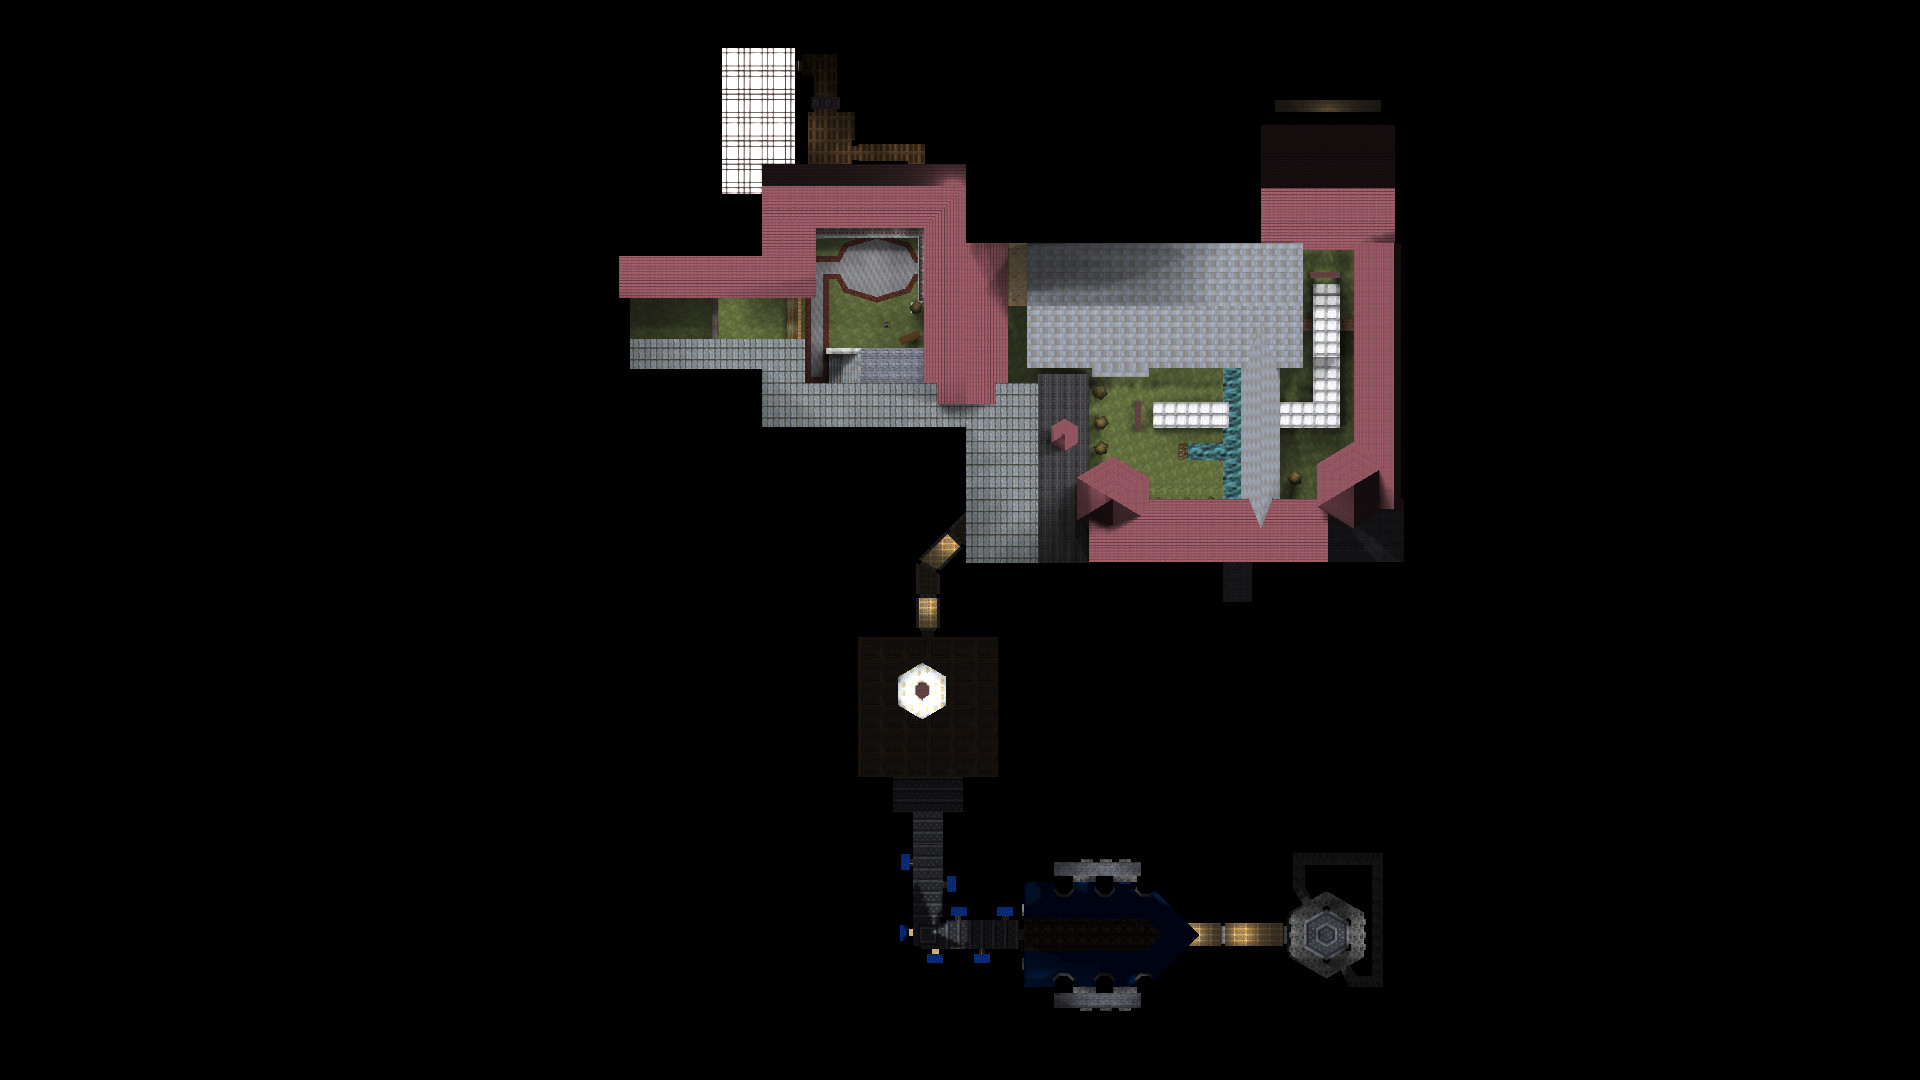
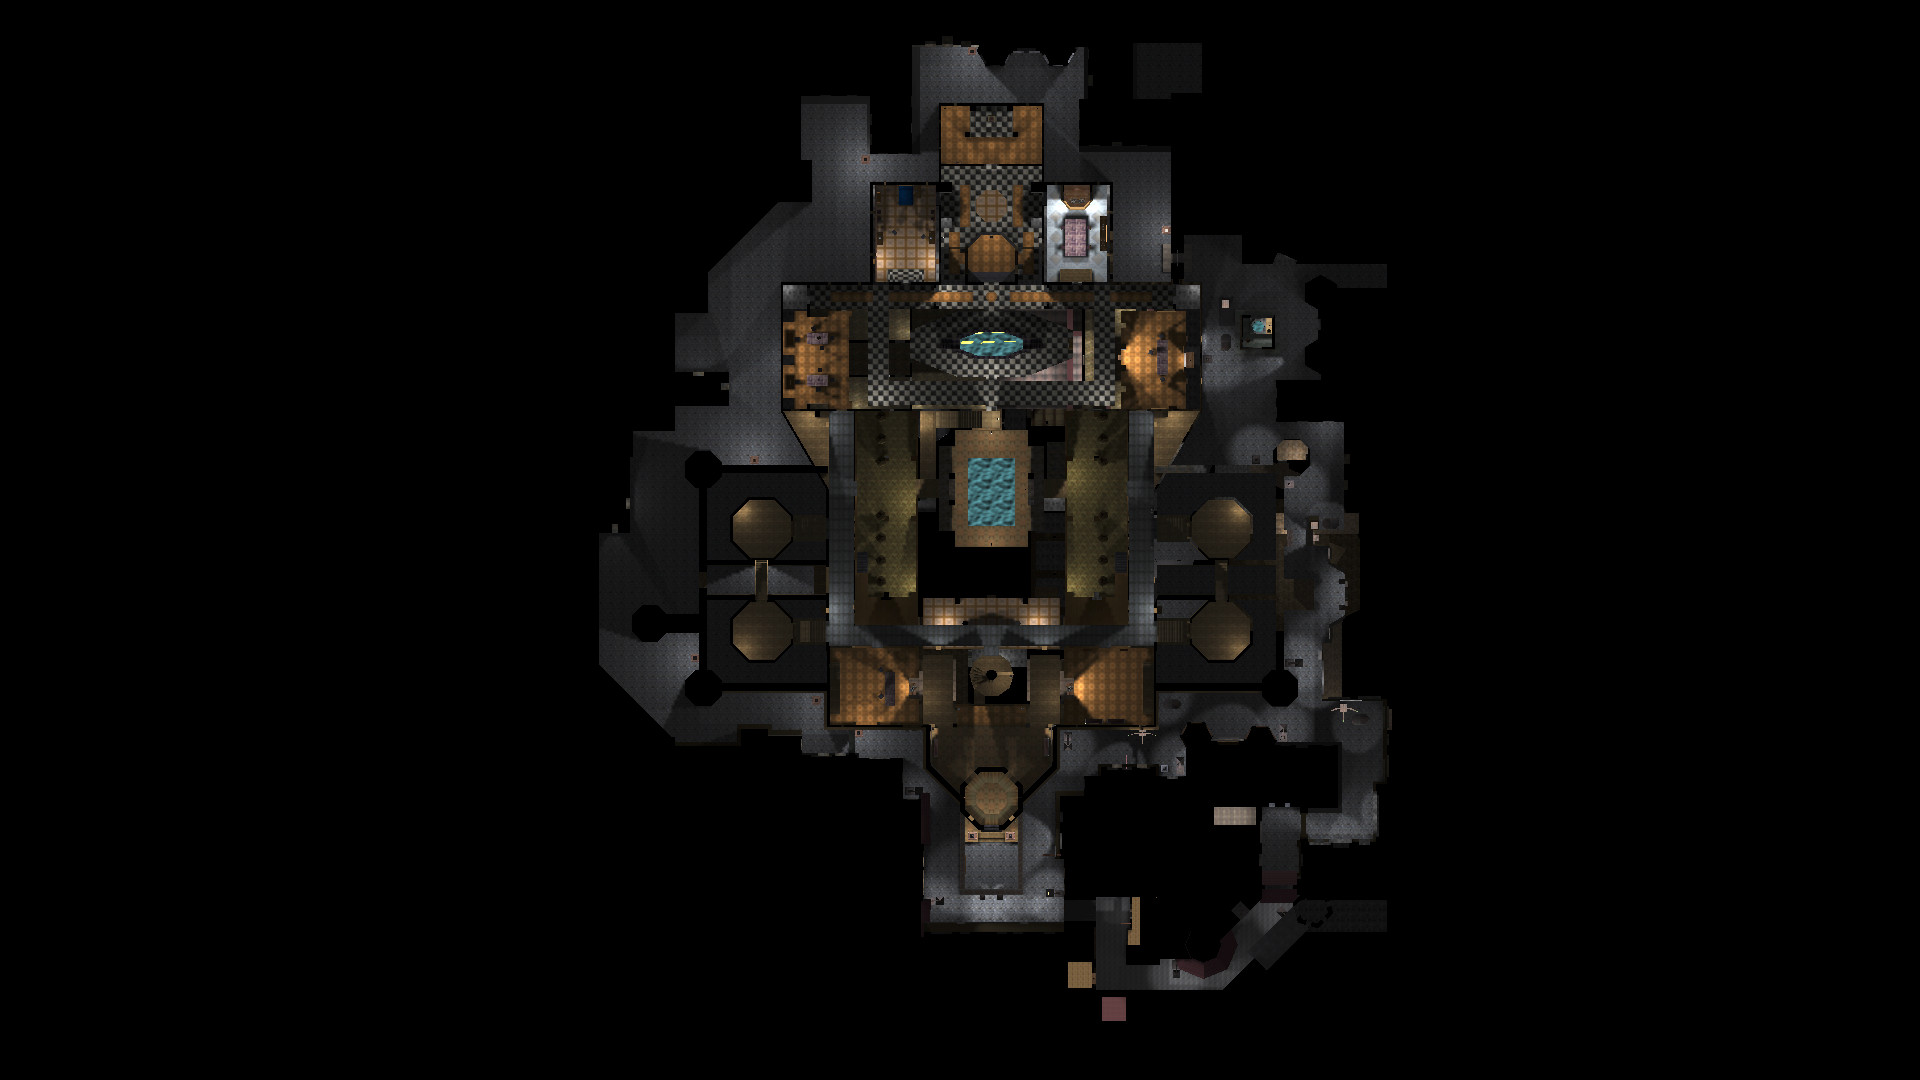
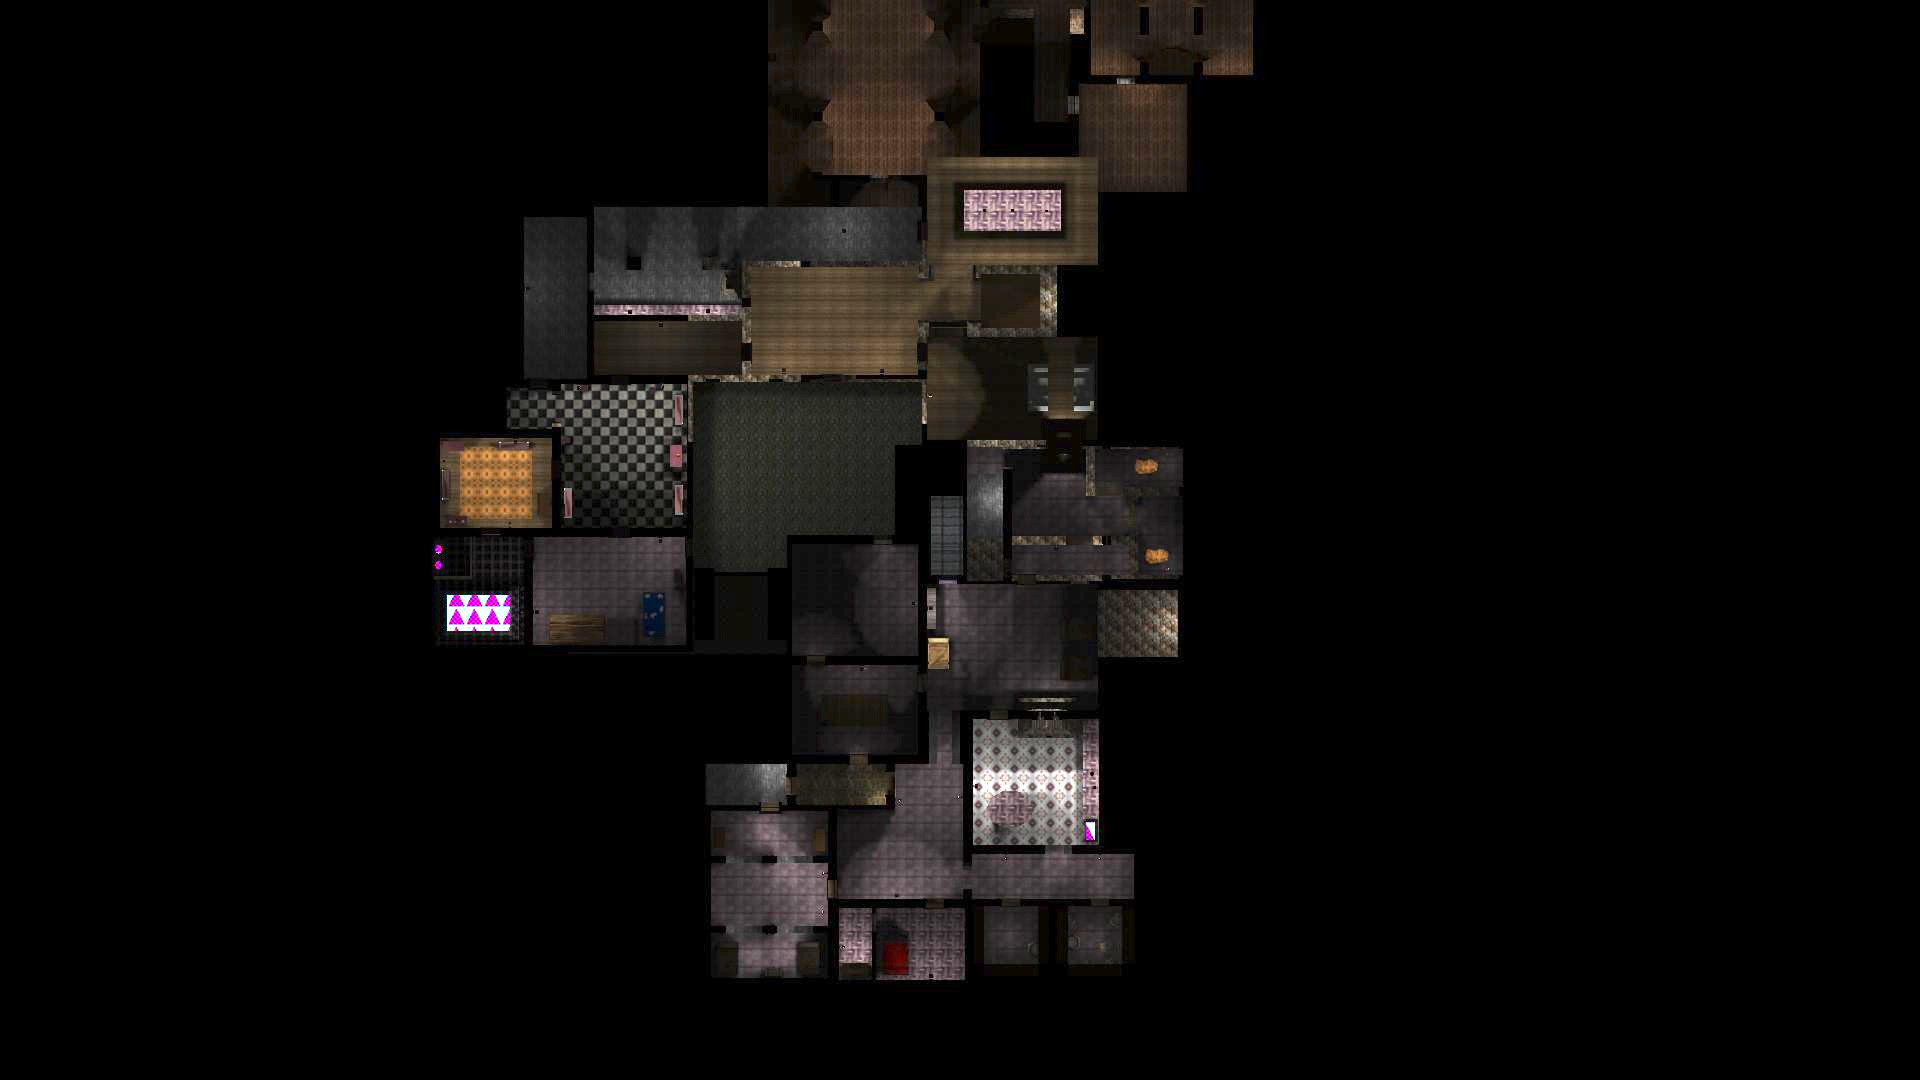
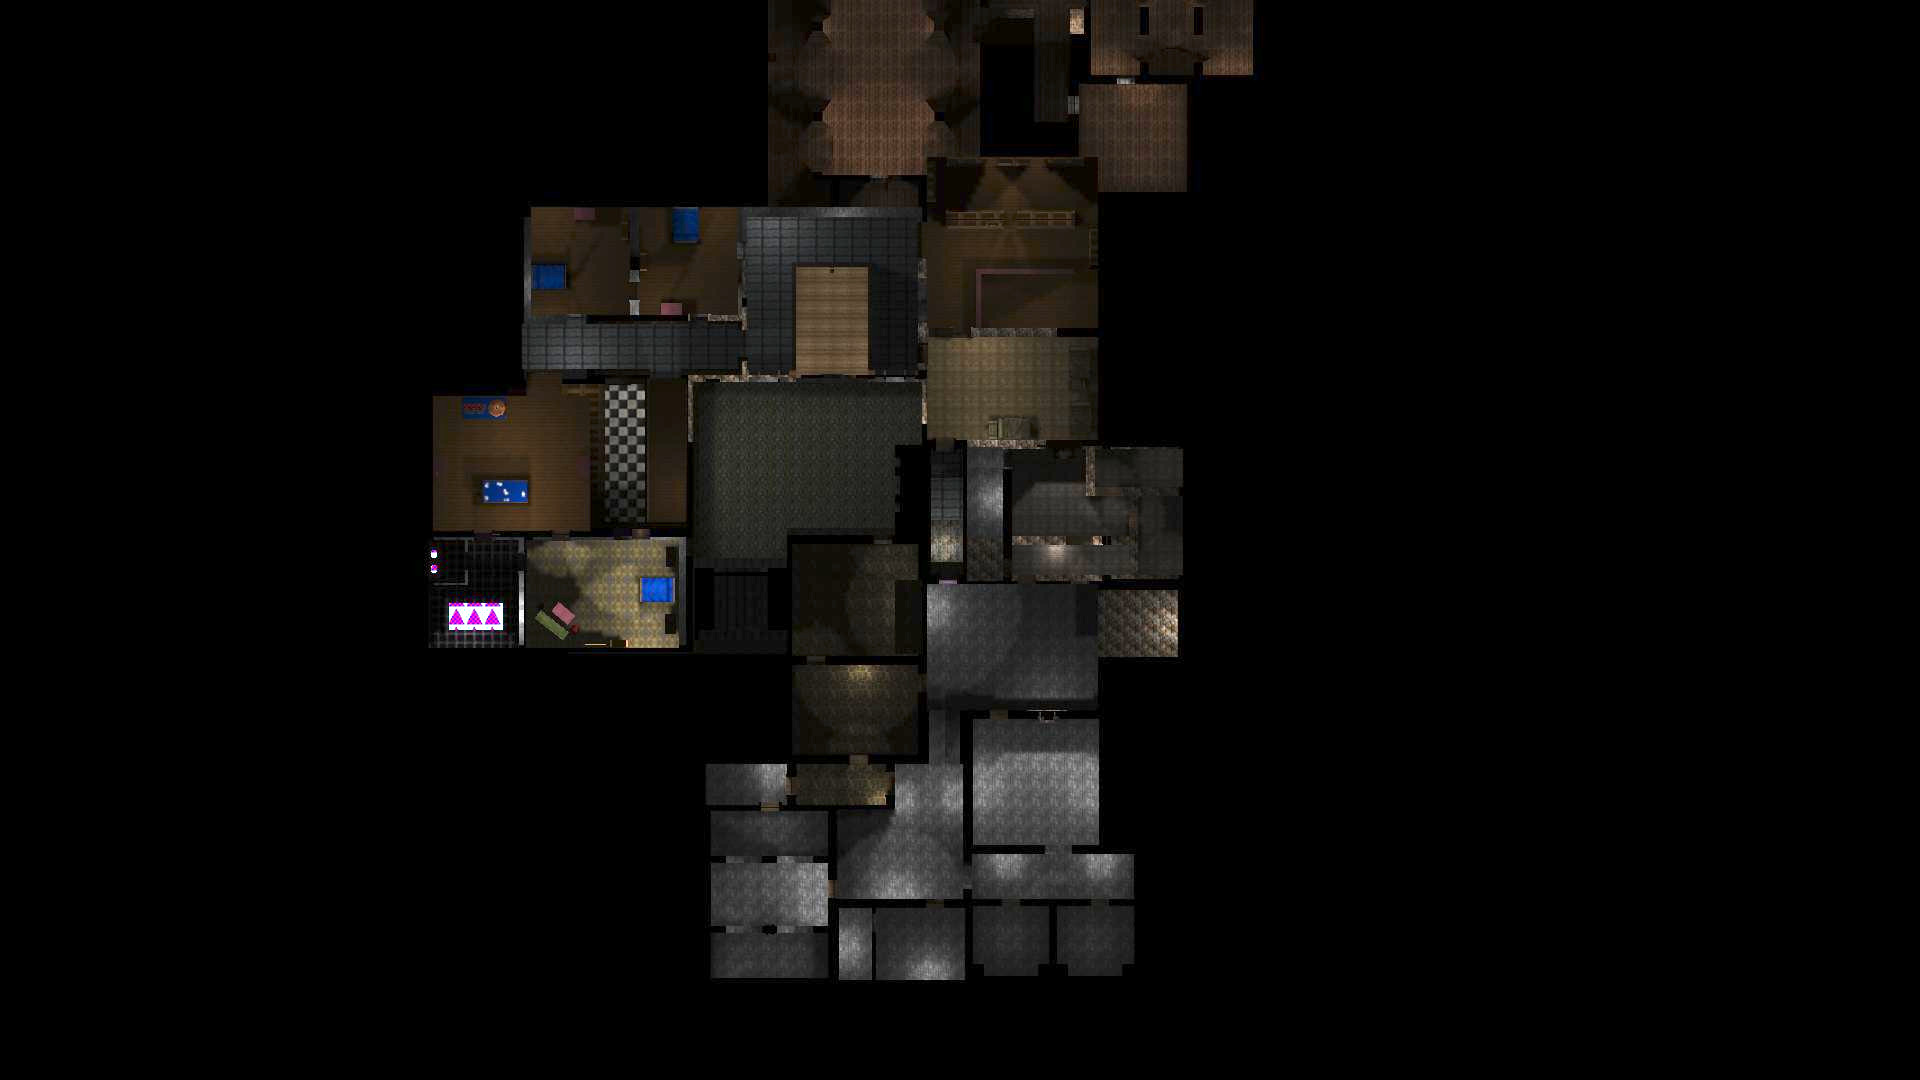
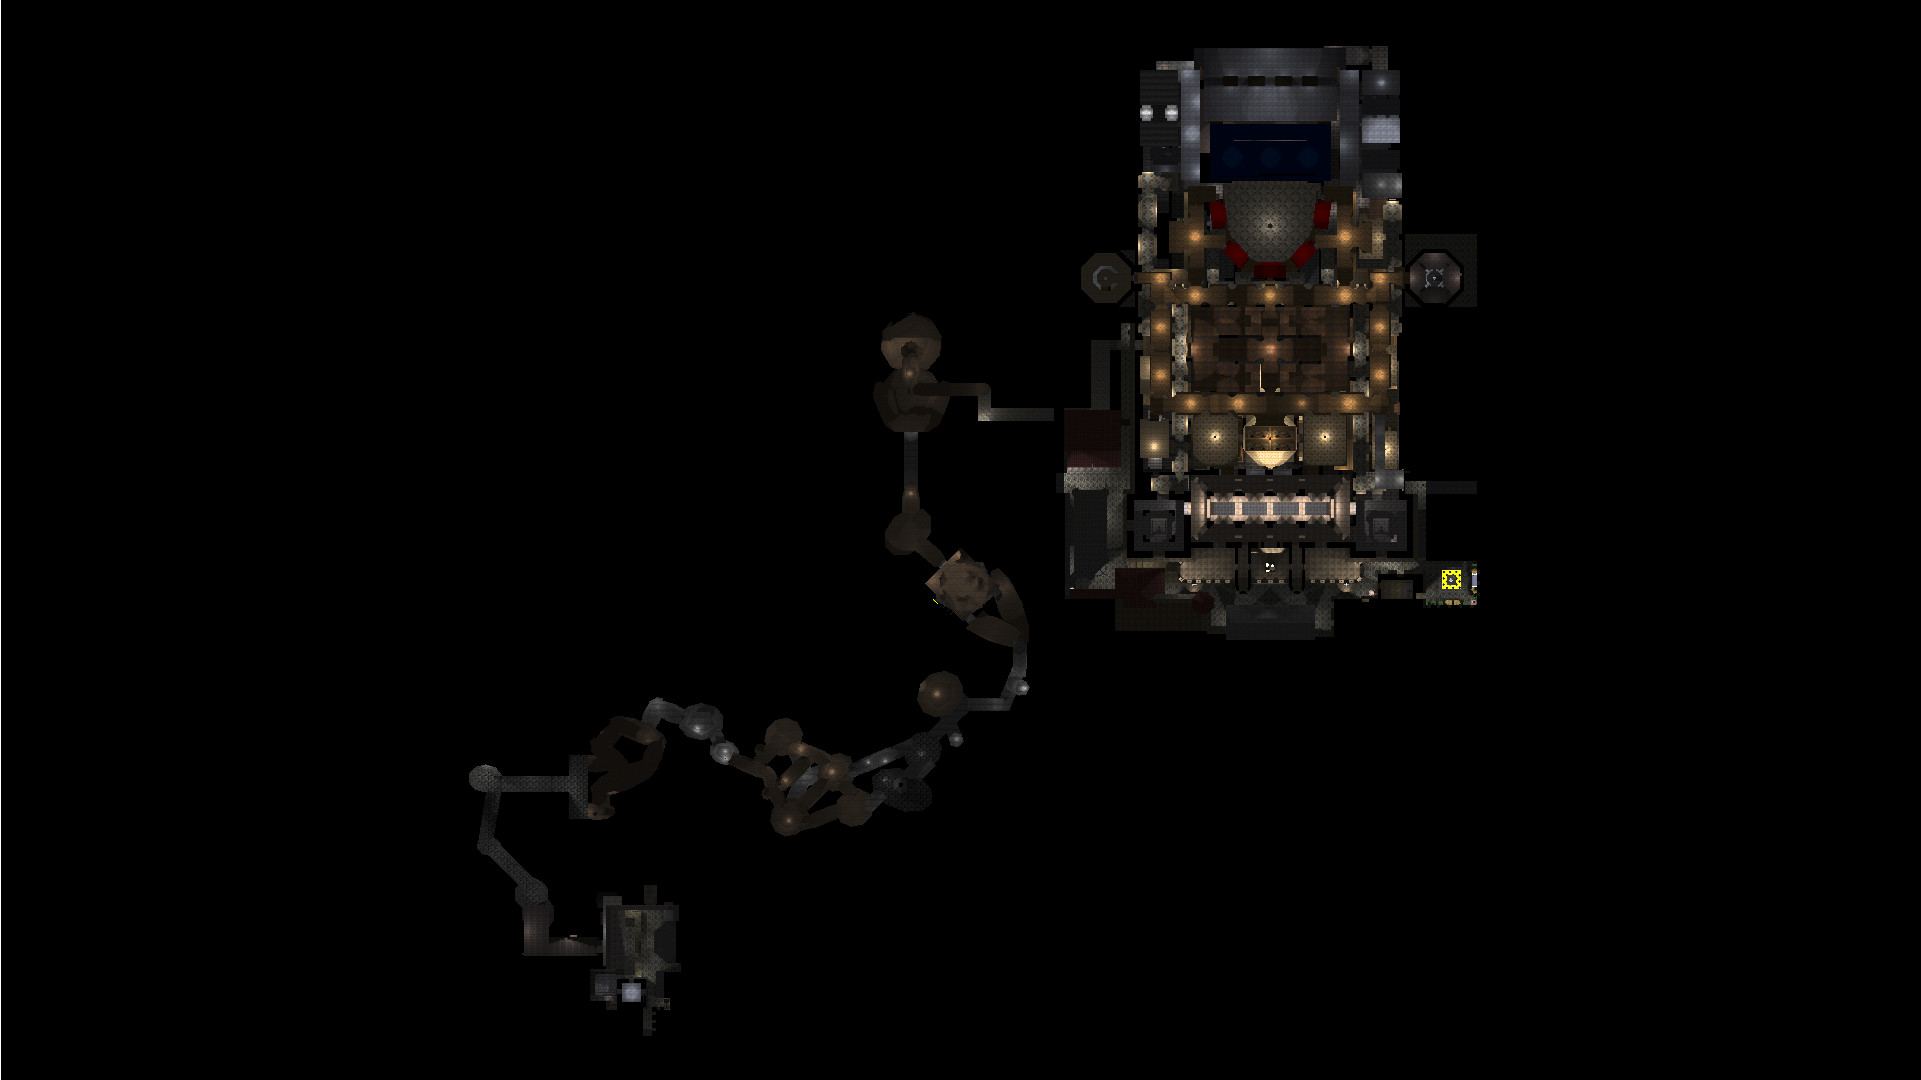
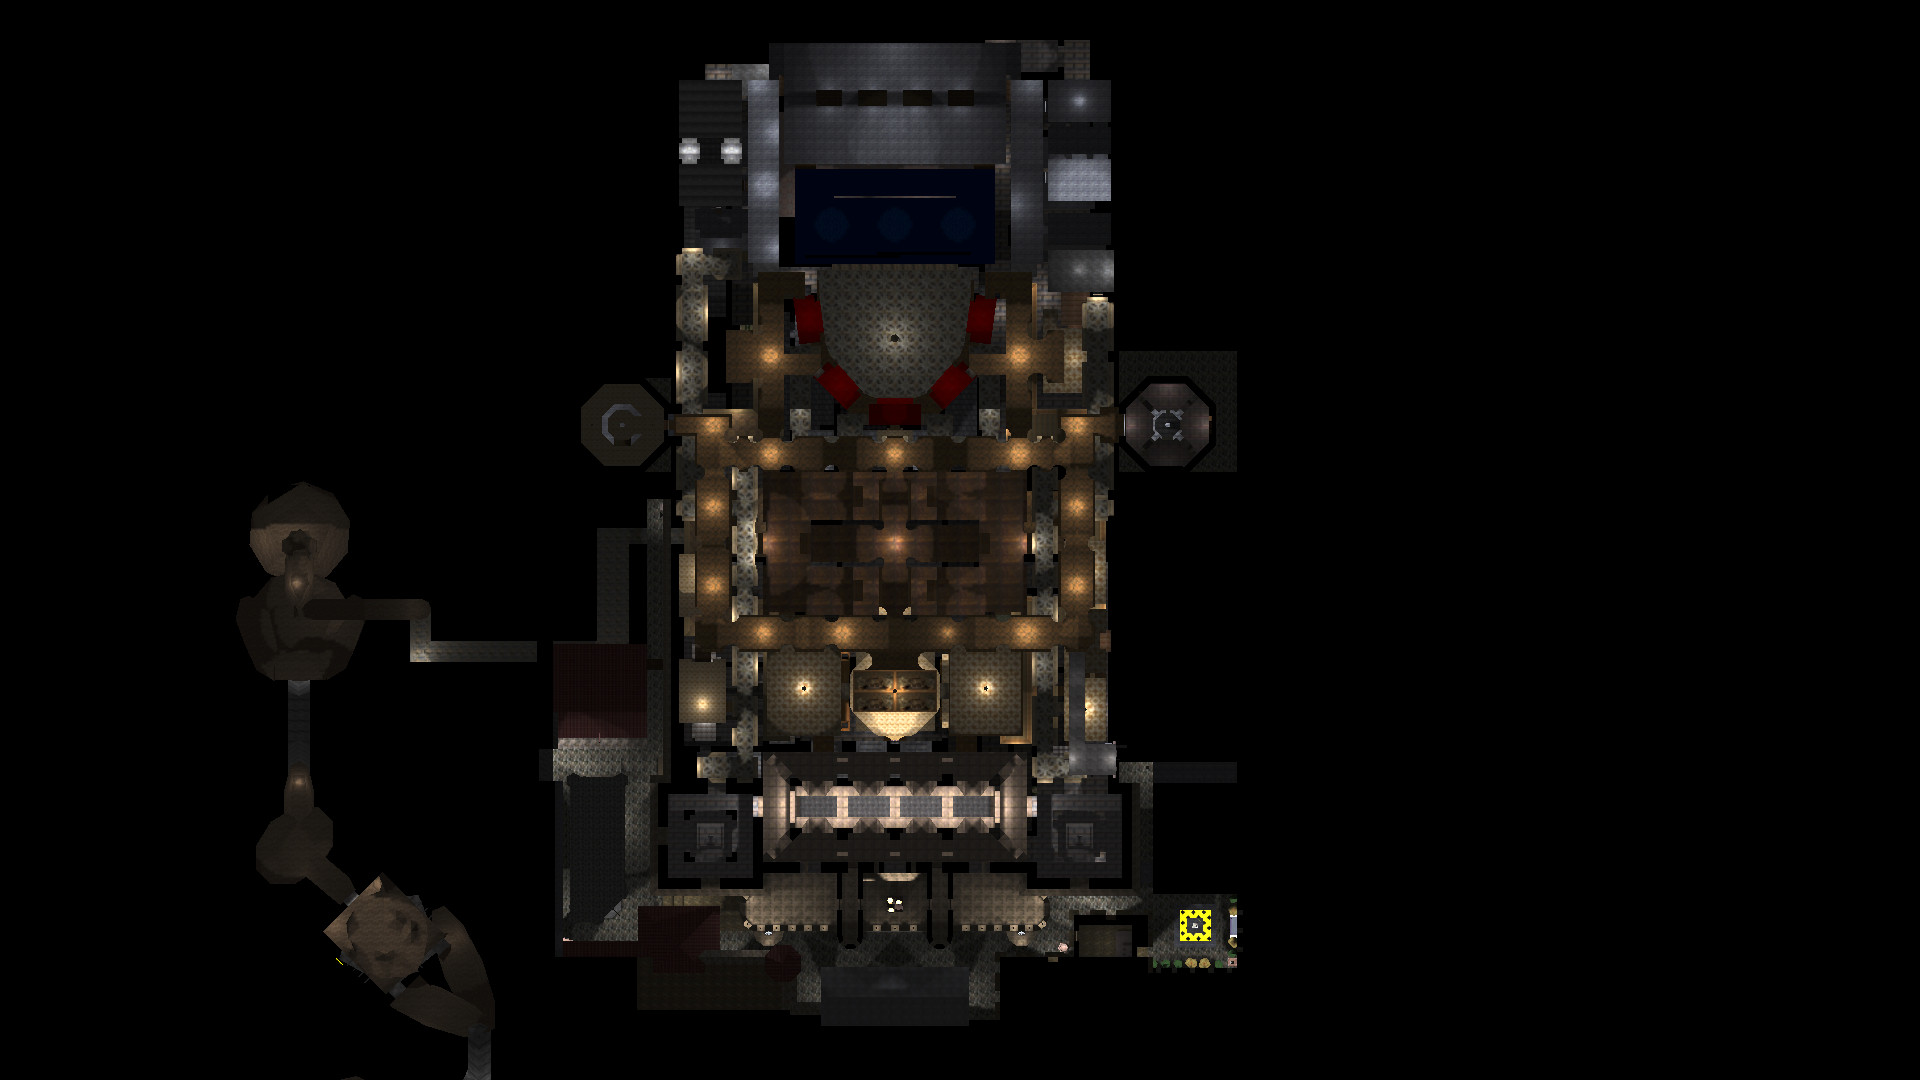
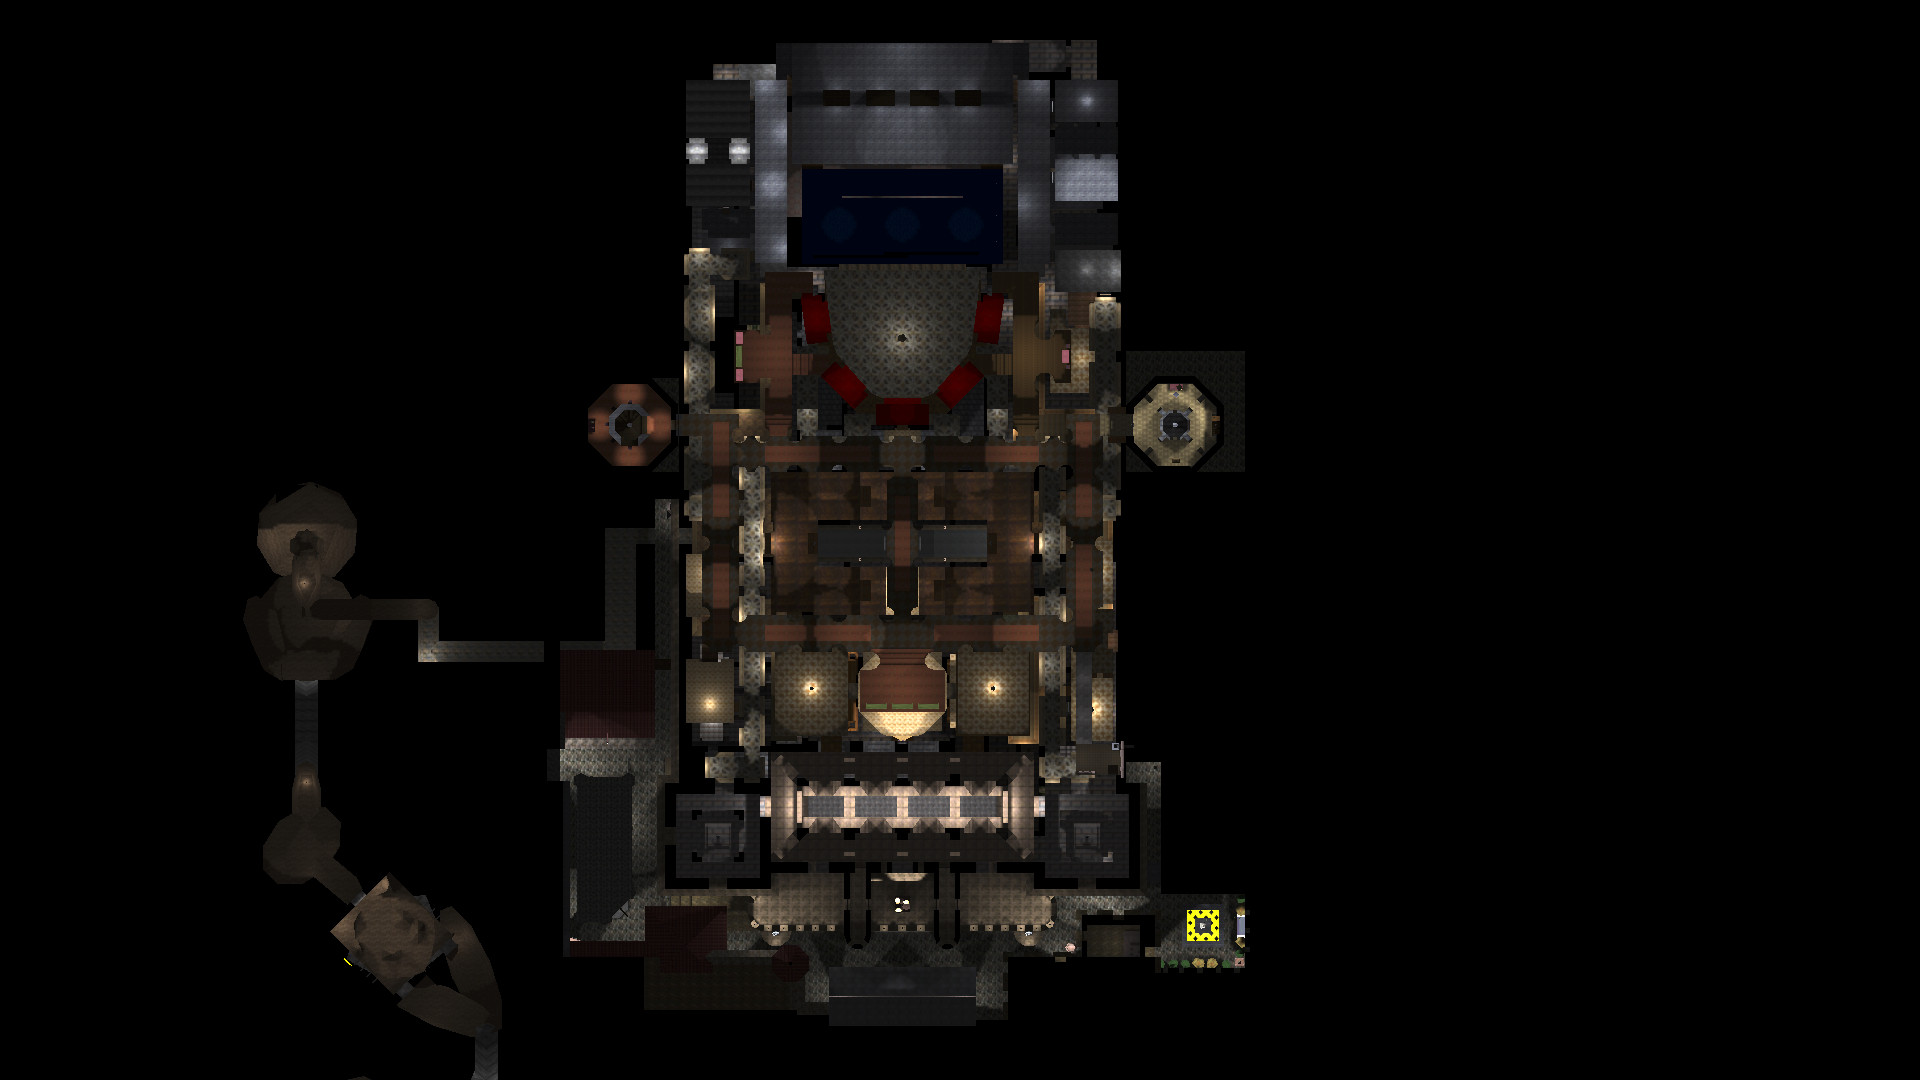
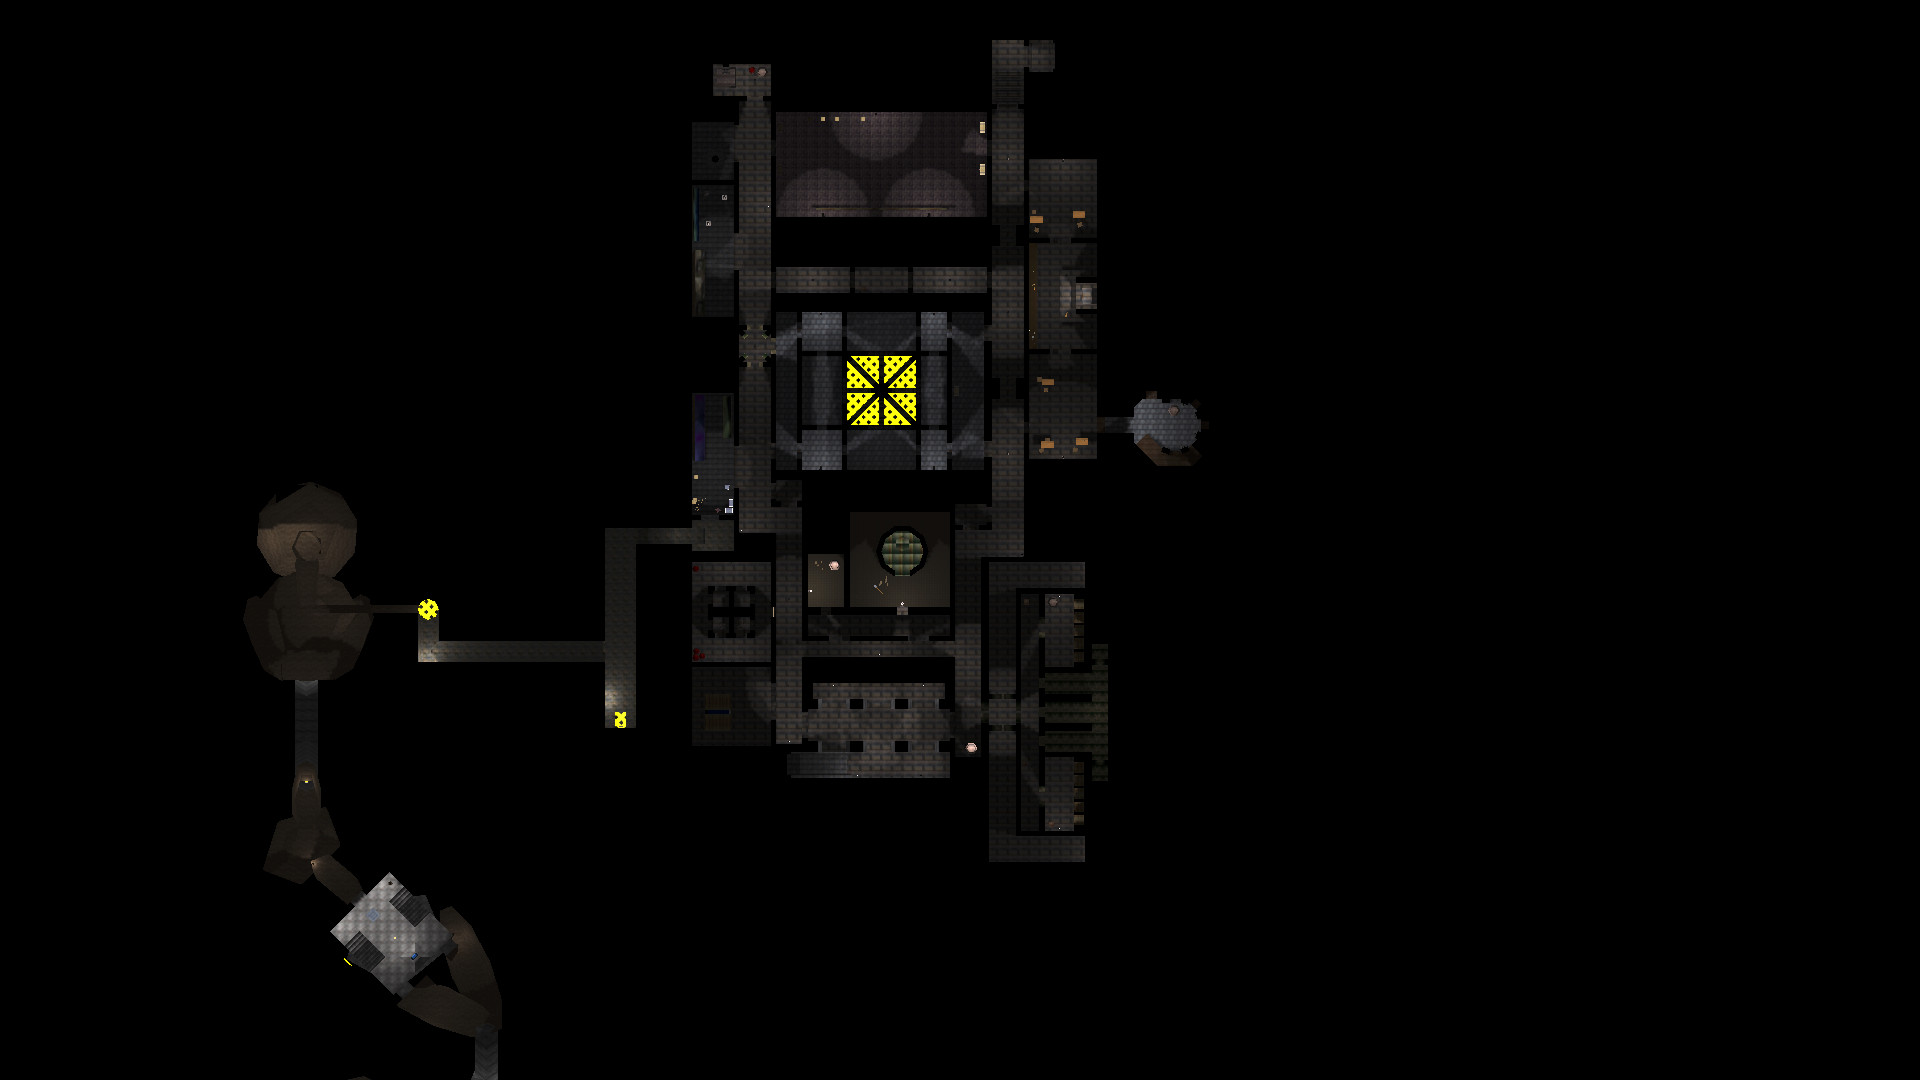
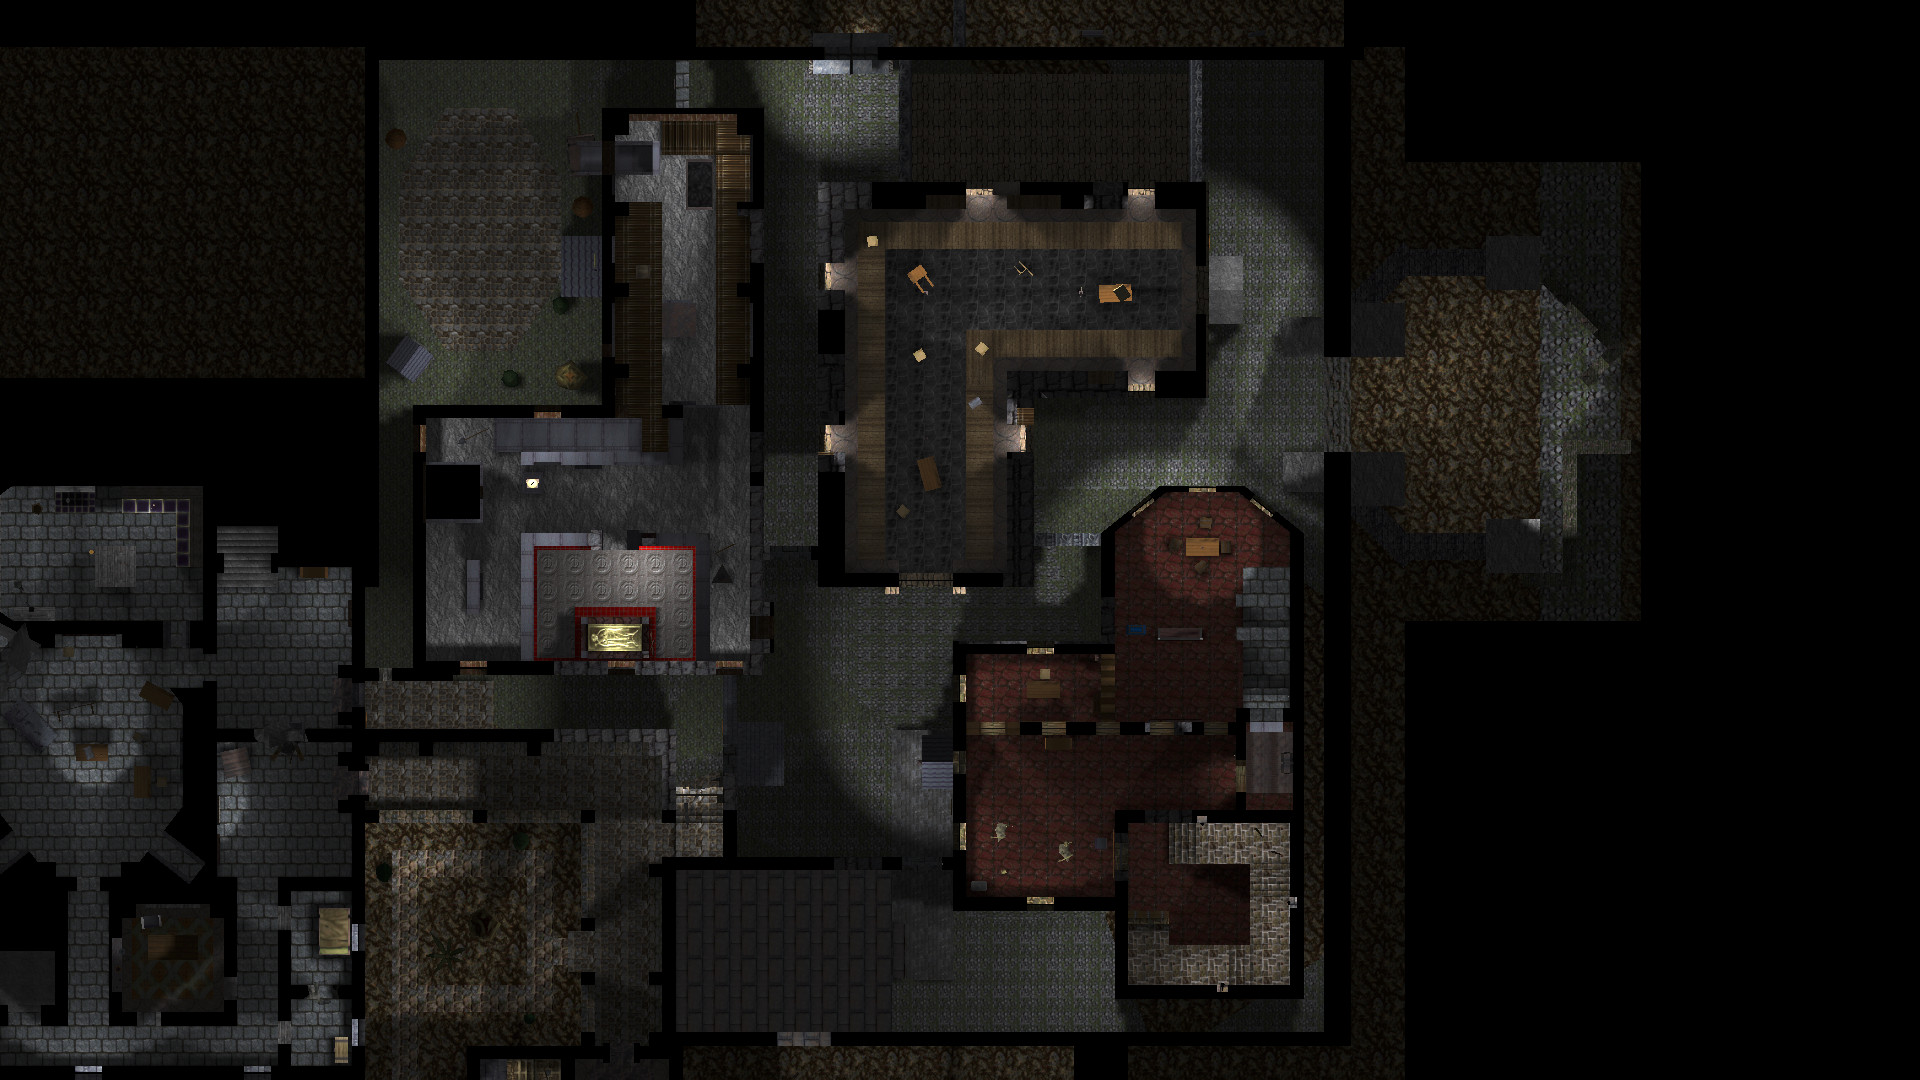
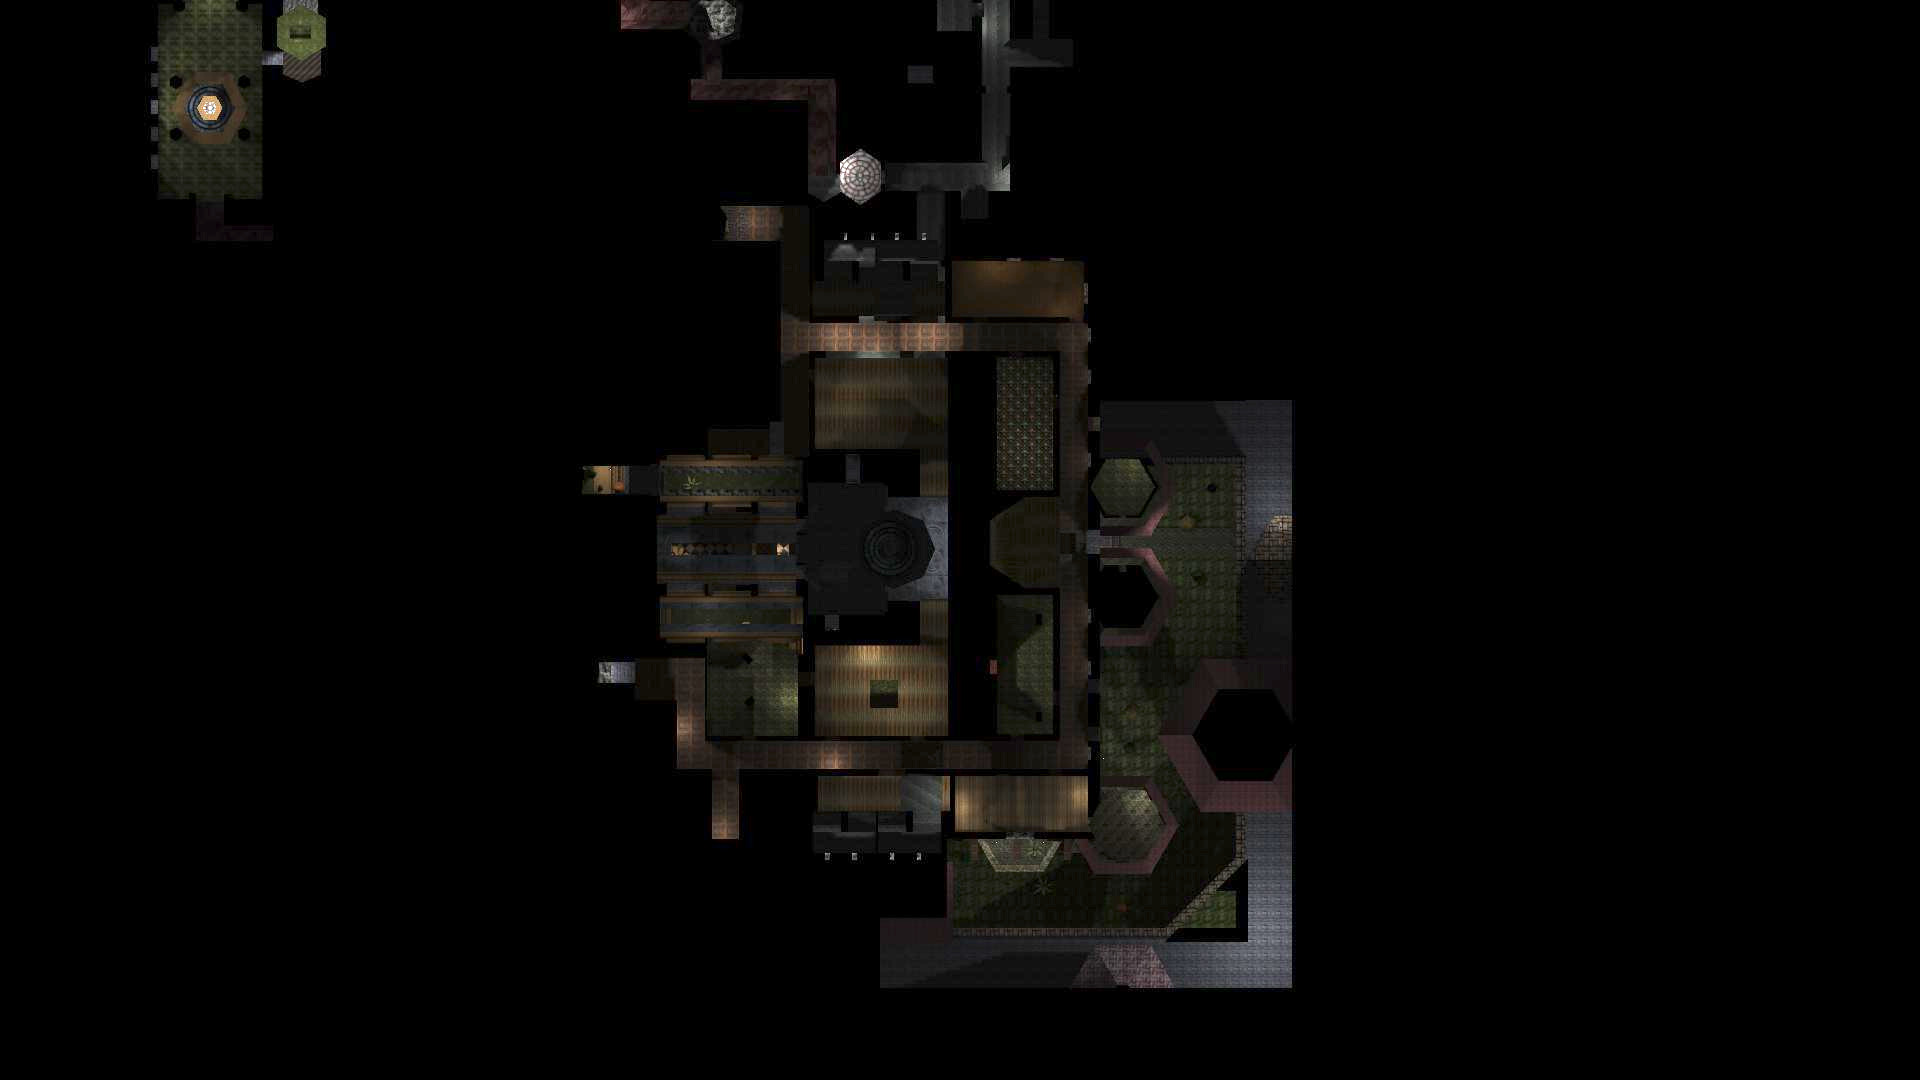
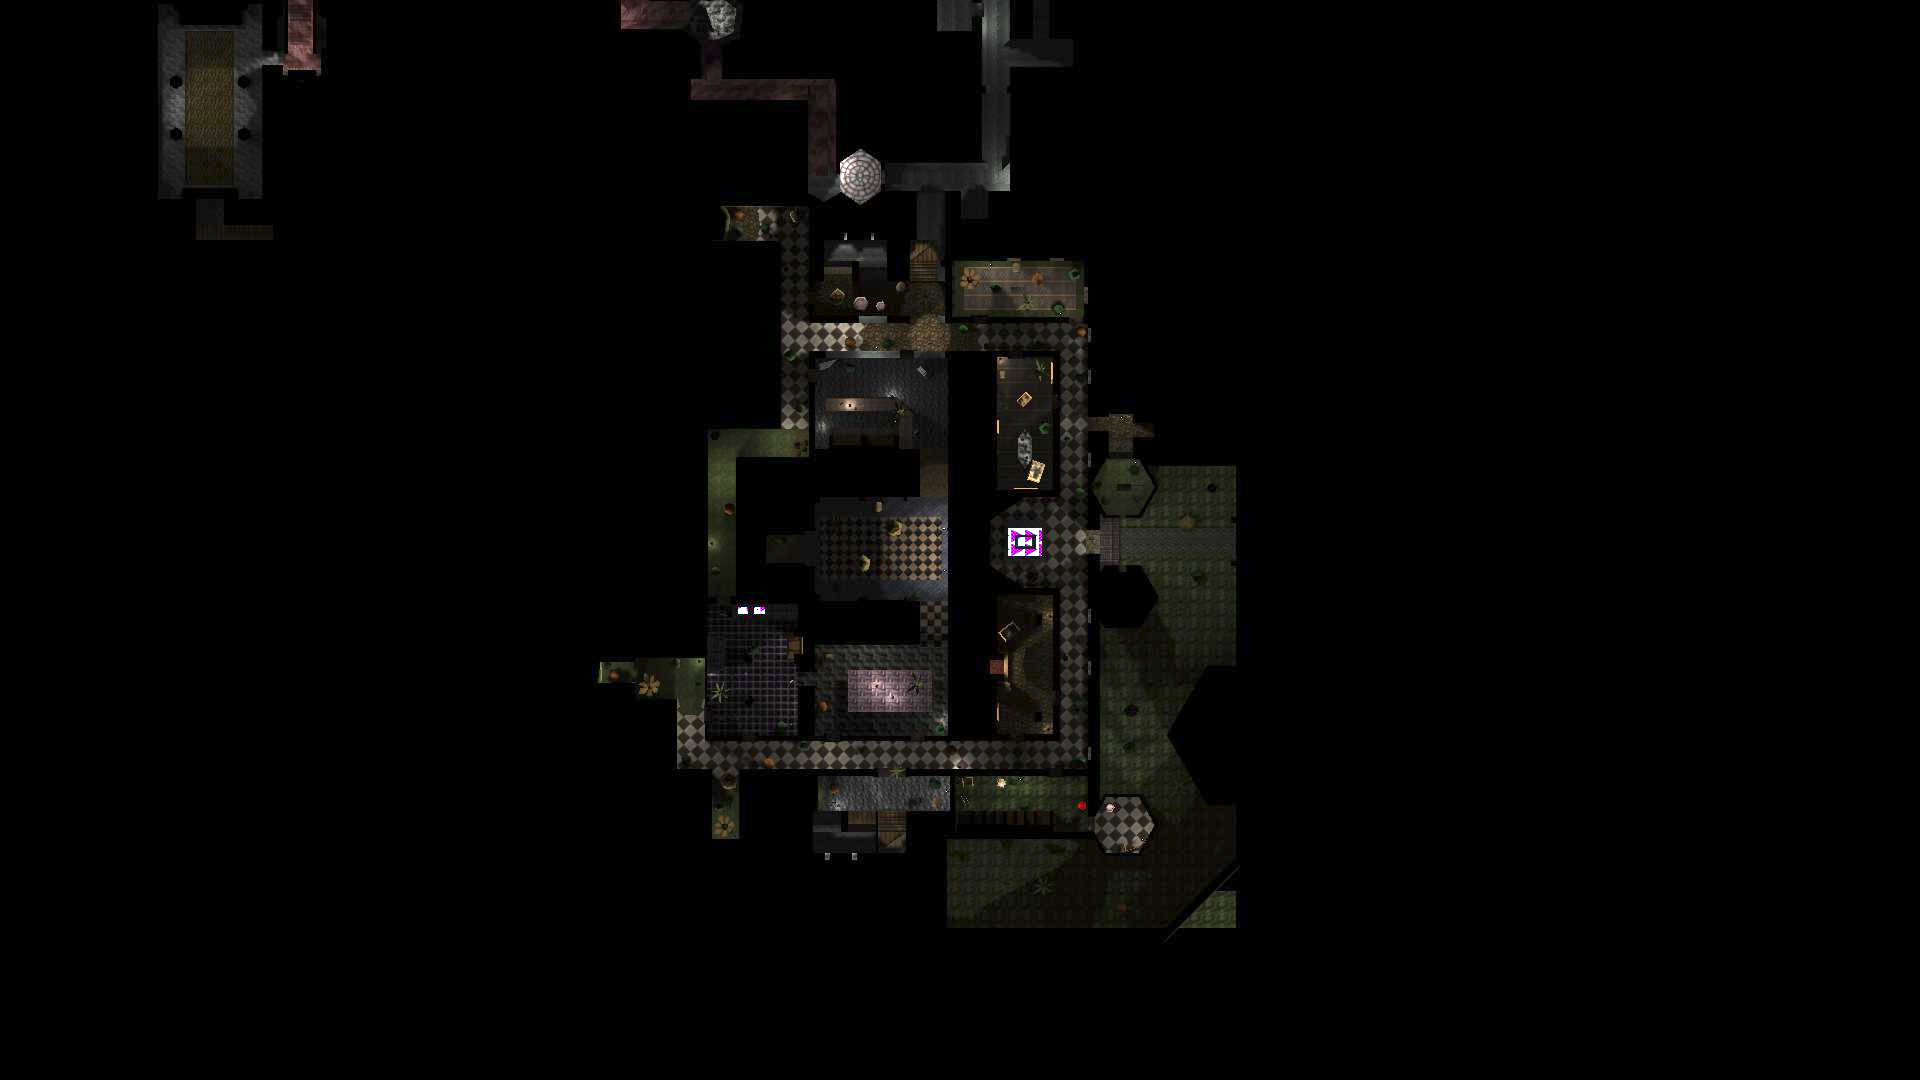
Return to the Cathedral
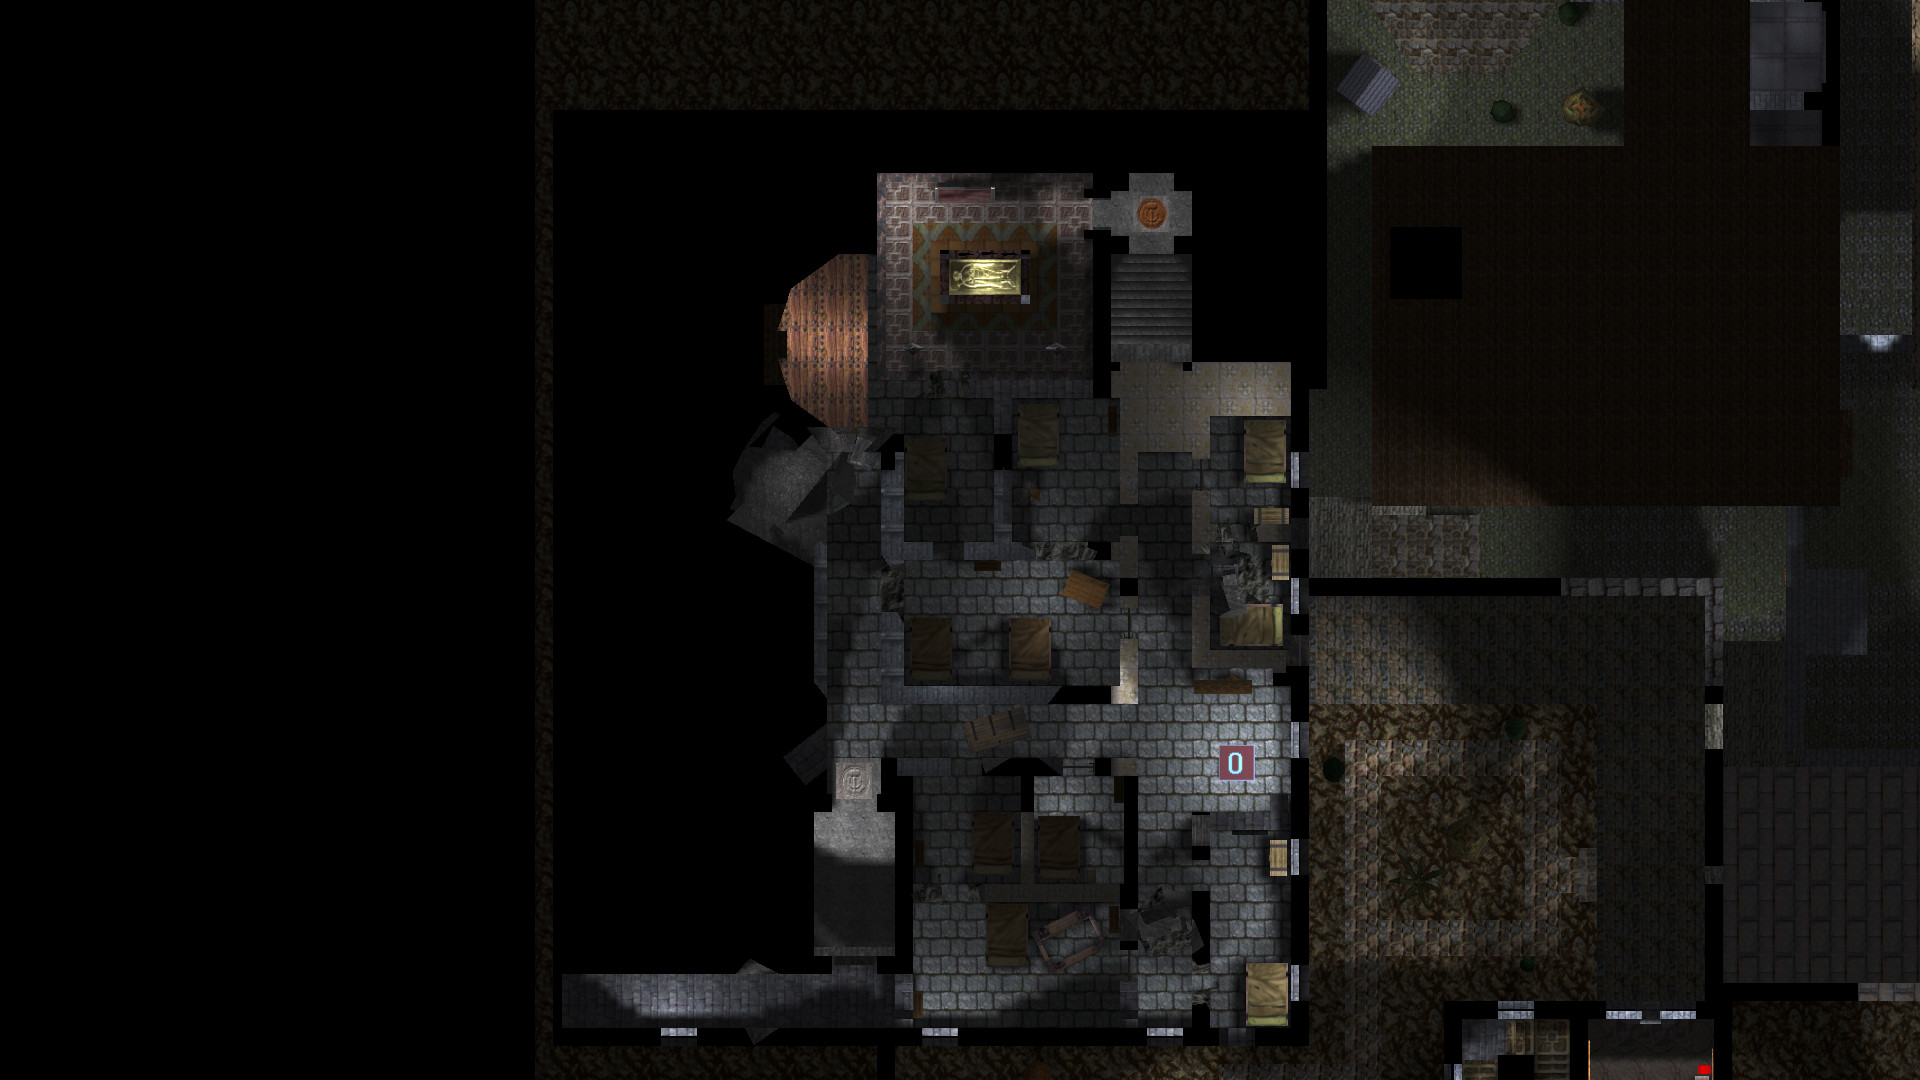
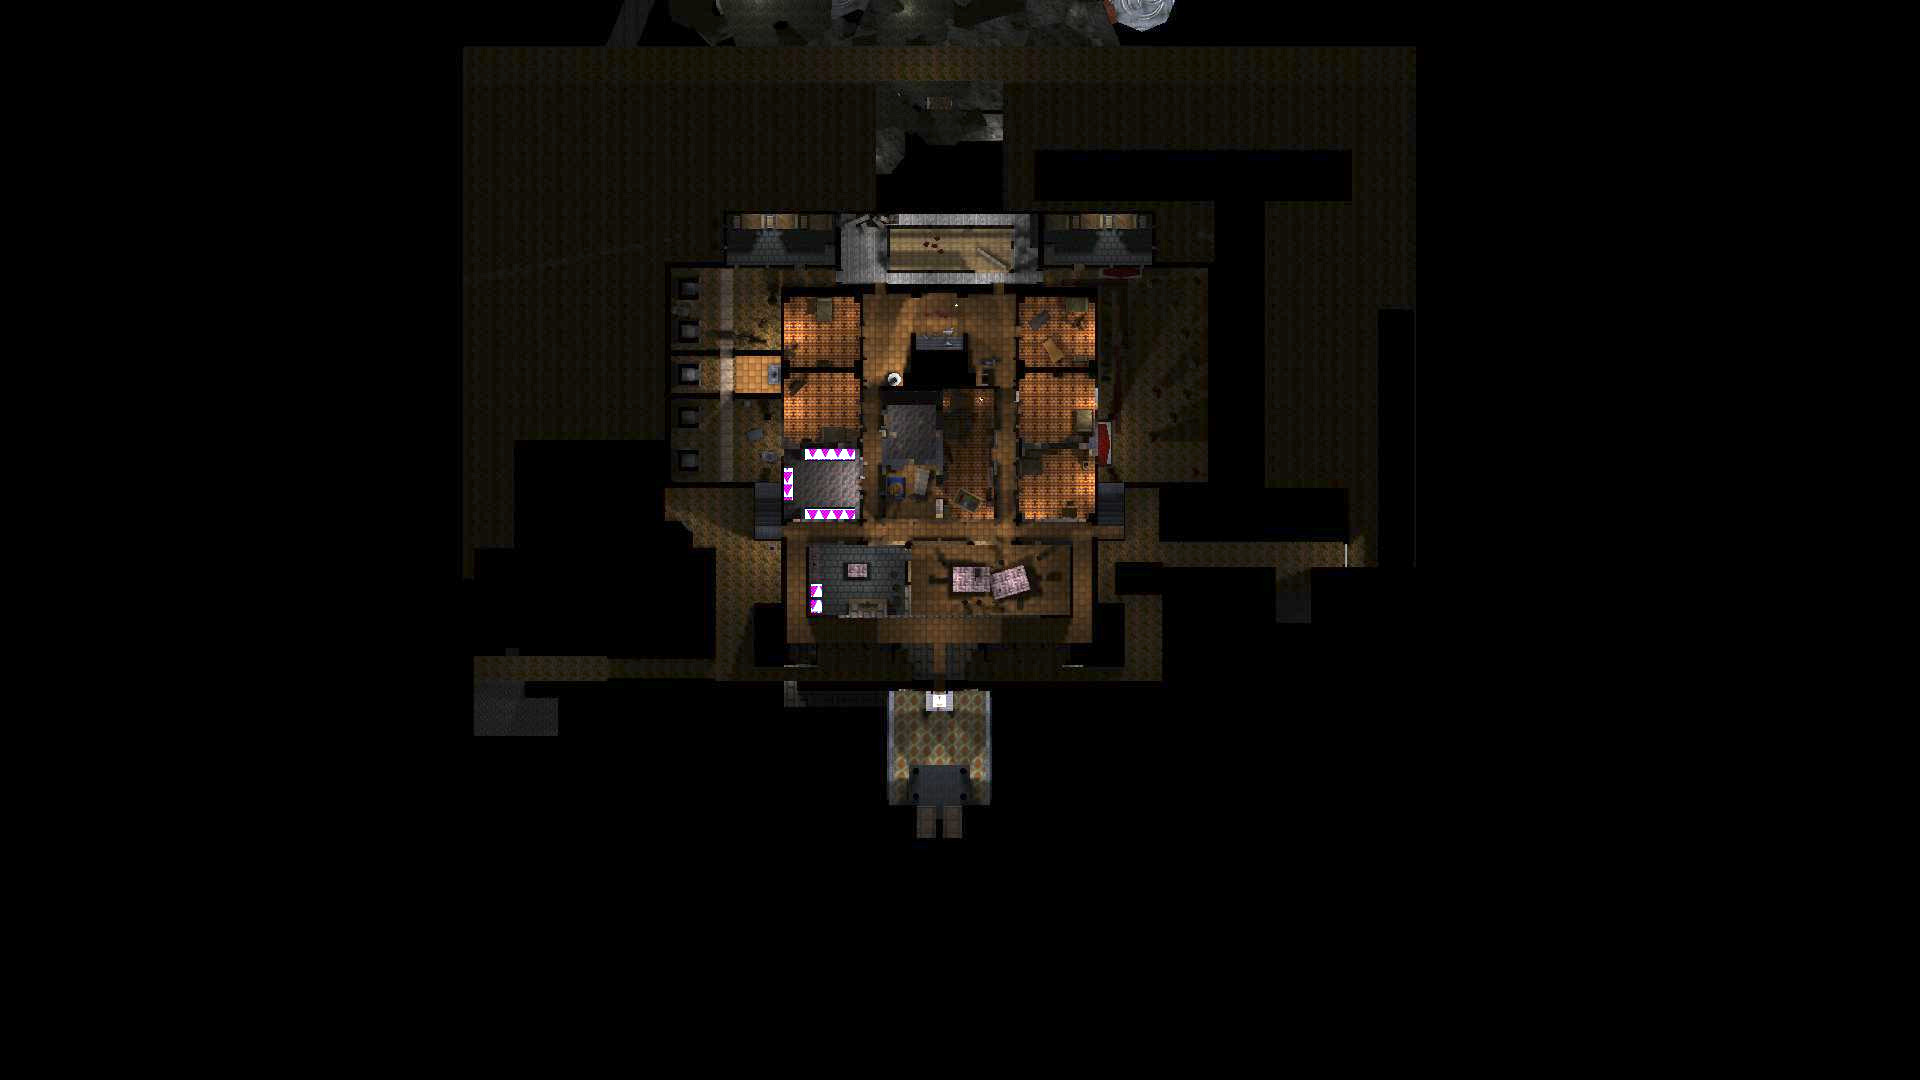
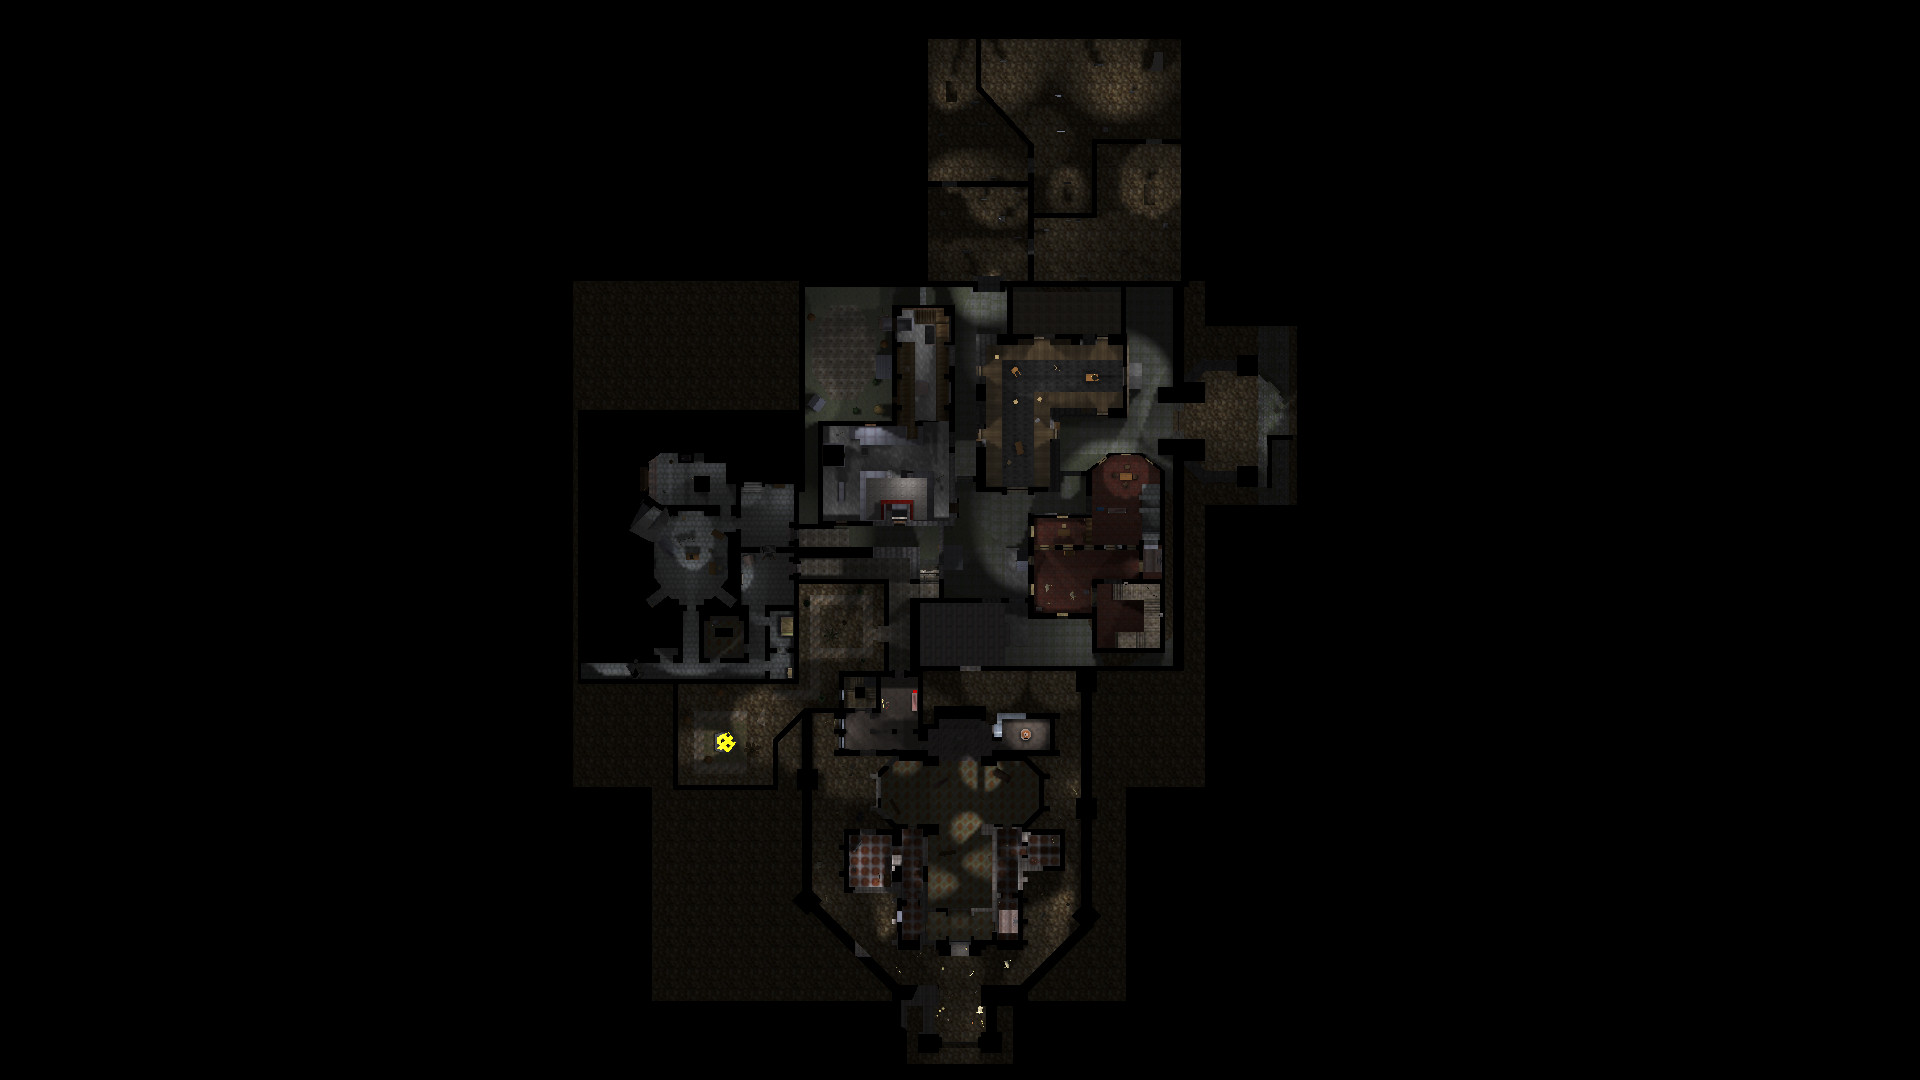 I was really excited for this one. While I don’t necessarily love playing most of this level (being forced to kill haunts seems at-odds with the rest of an expert-level playthrough), I love the detail and ⭐verisimilitude⭐ of the buildings.
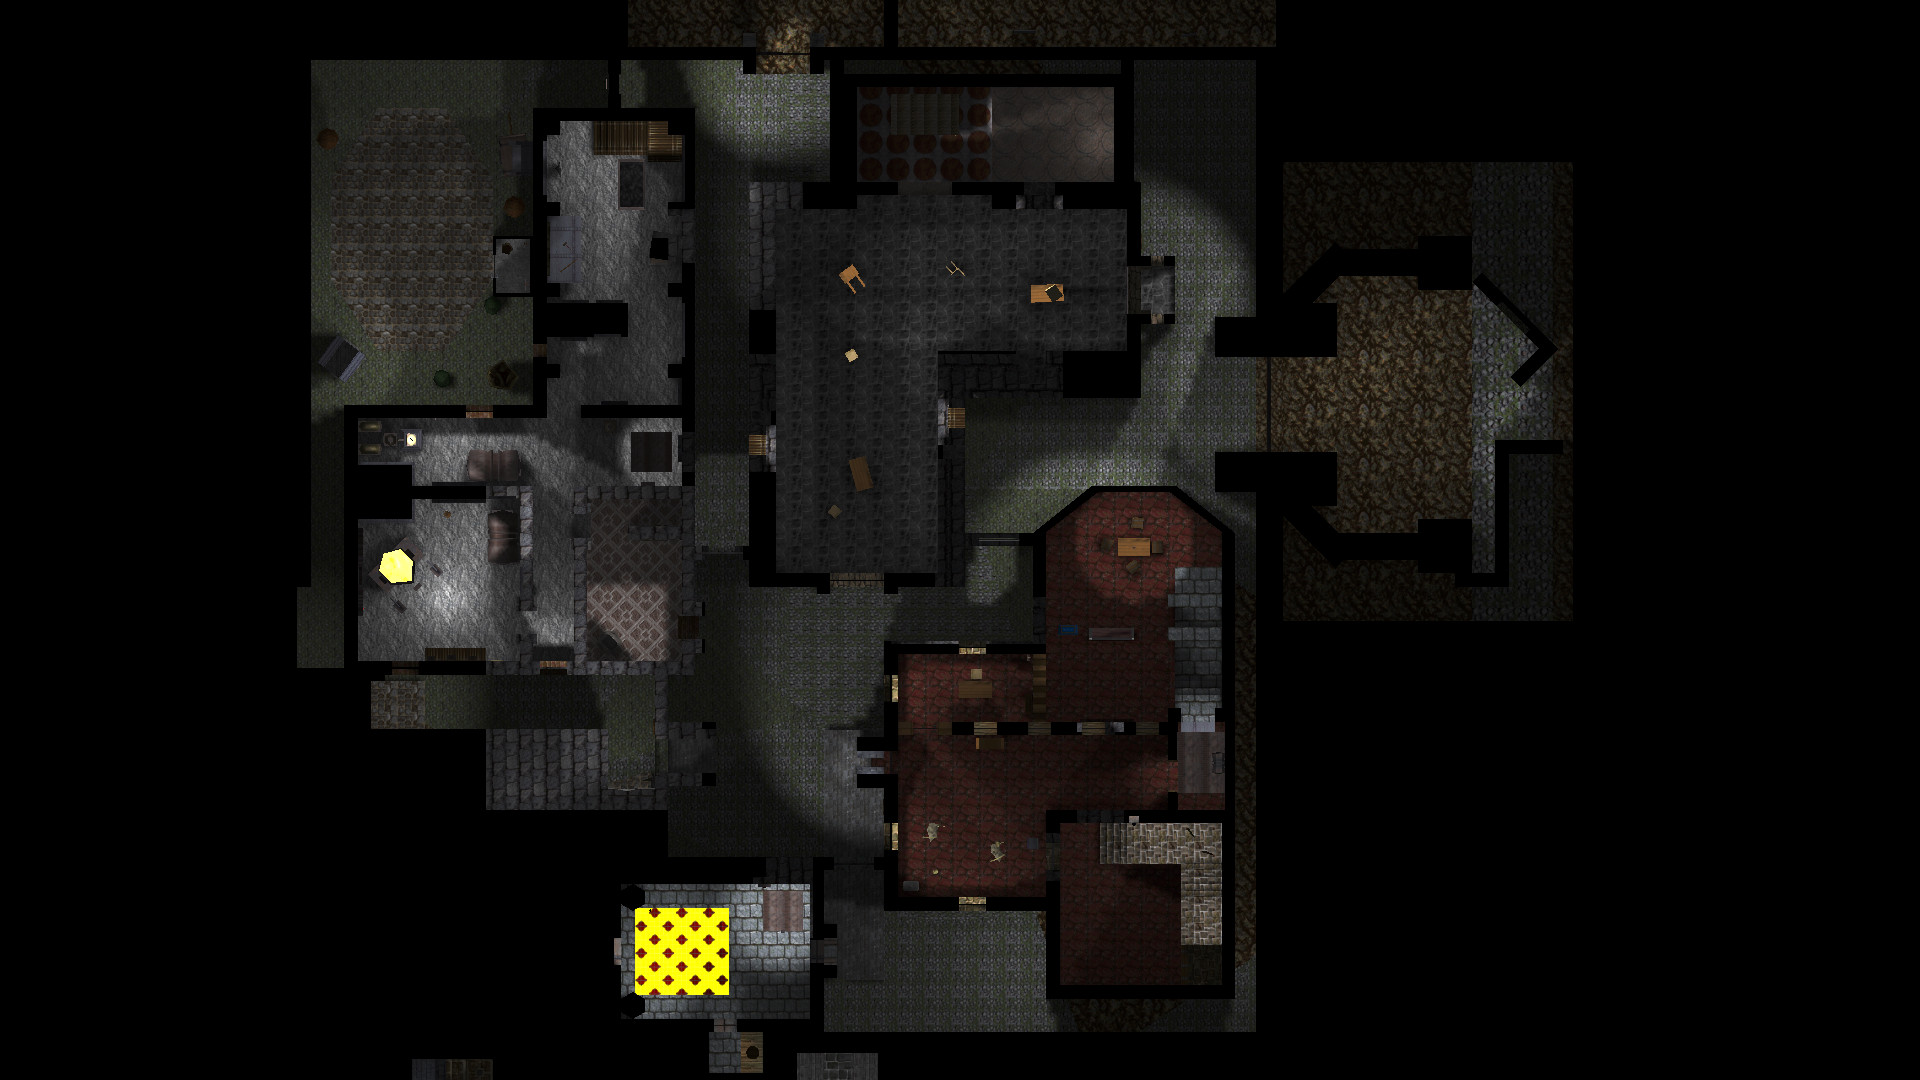
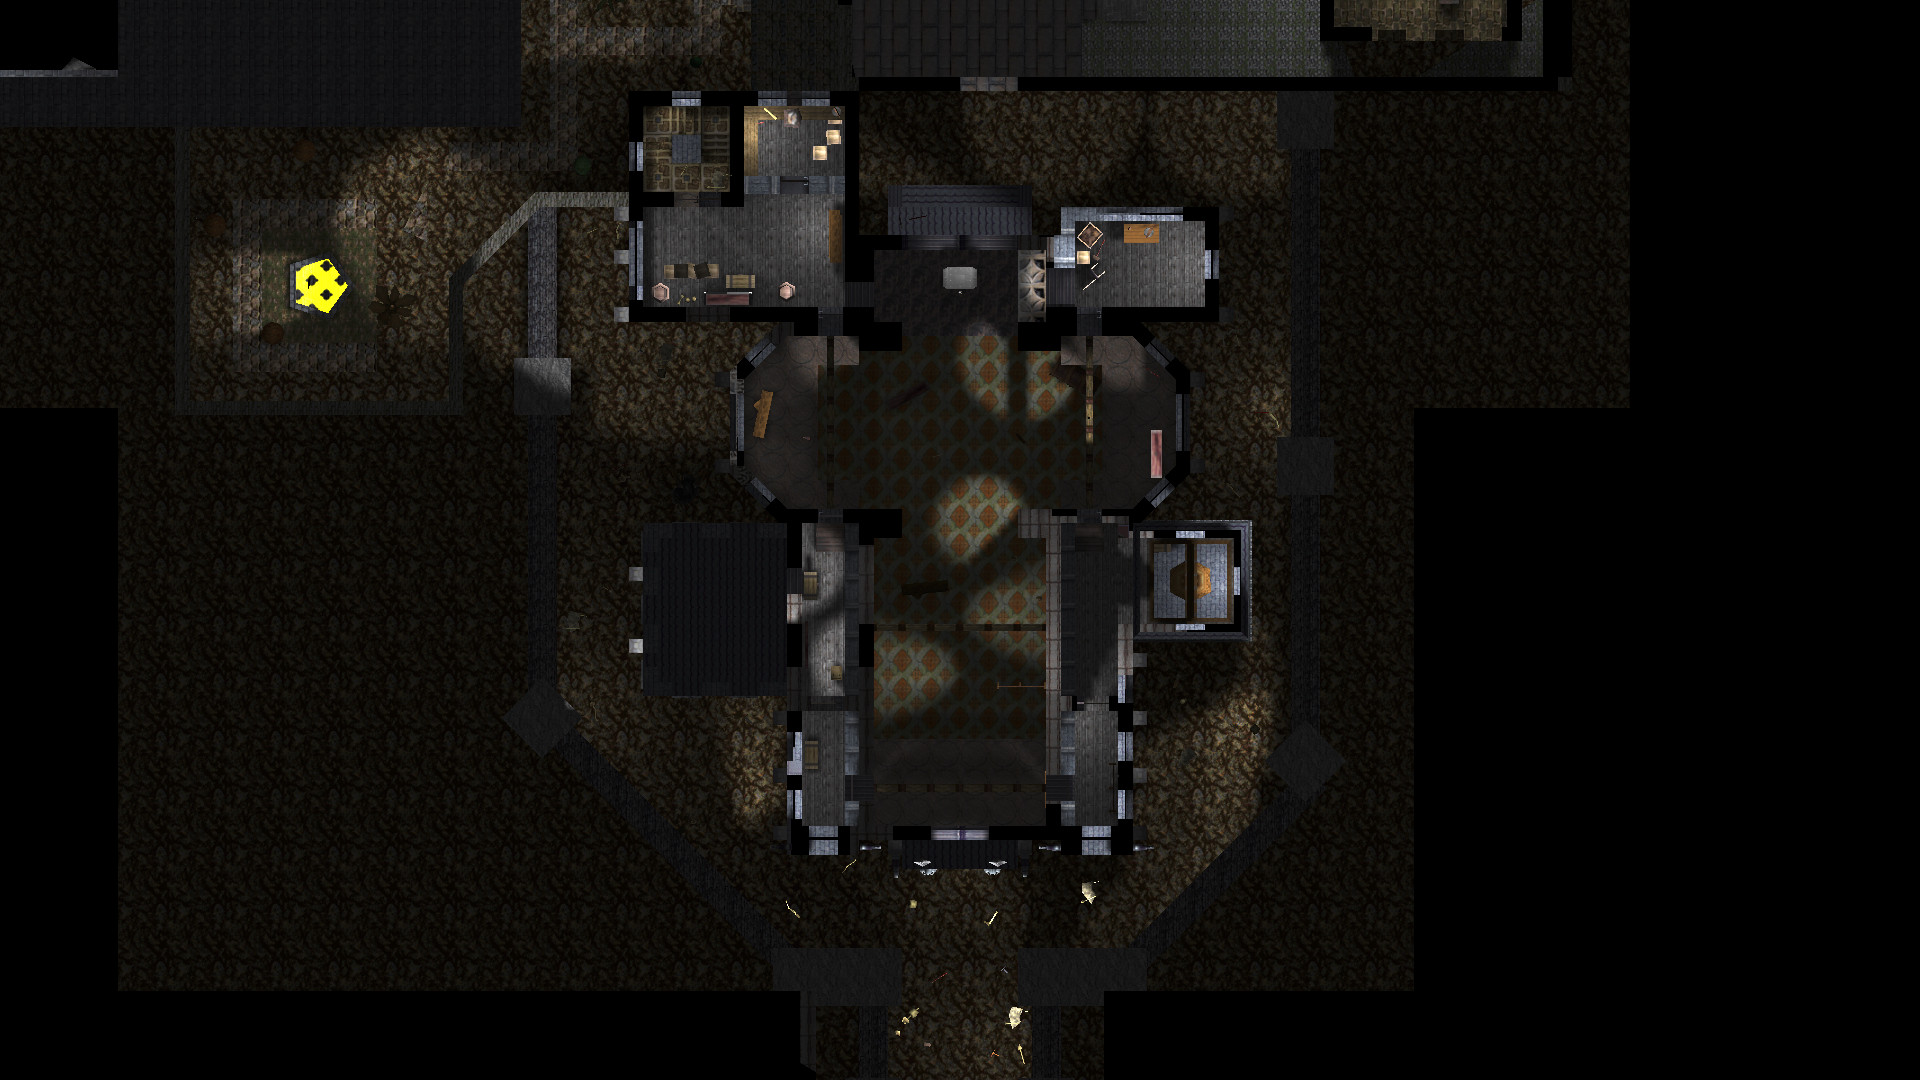 Descending through the main building.
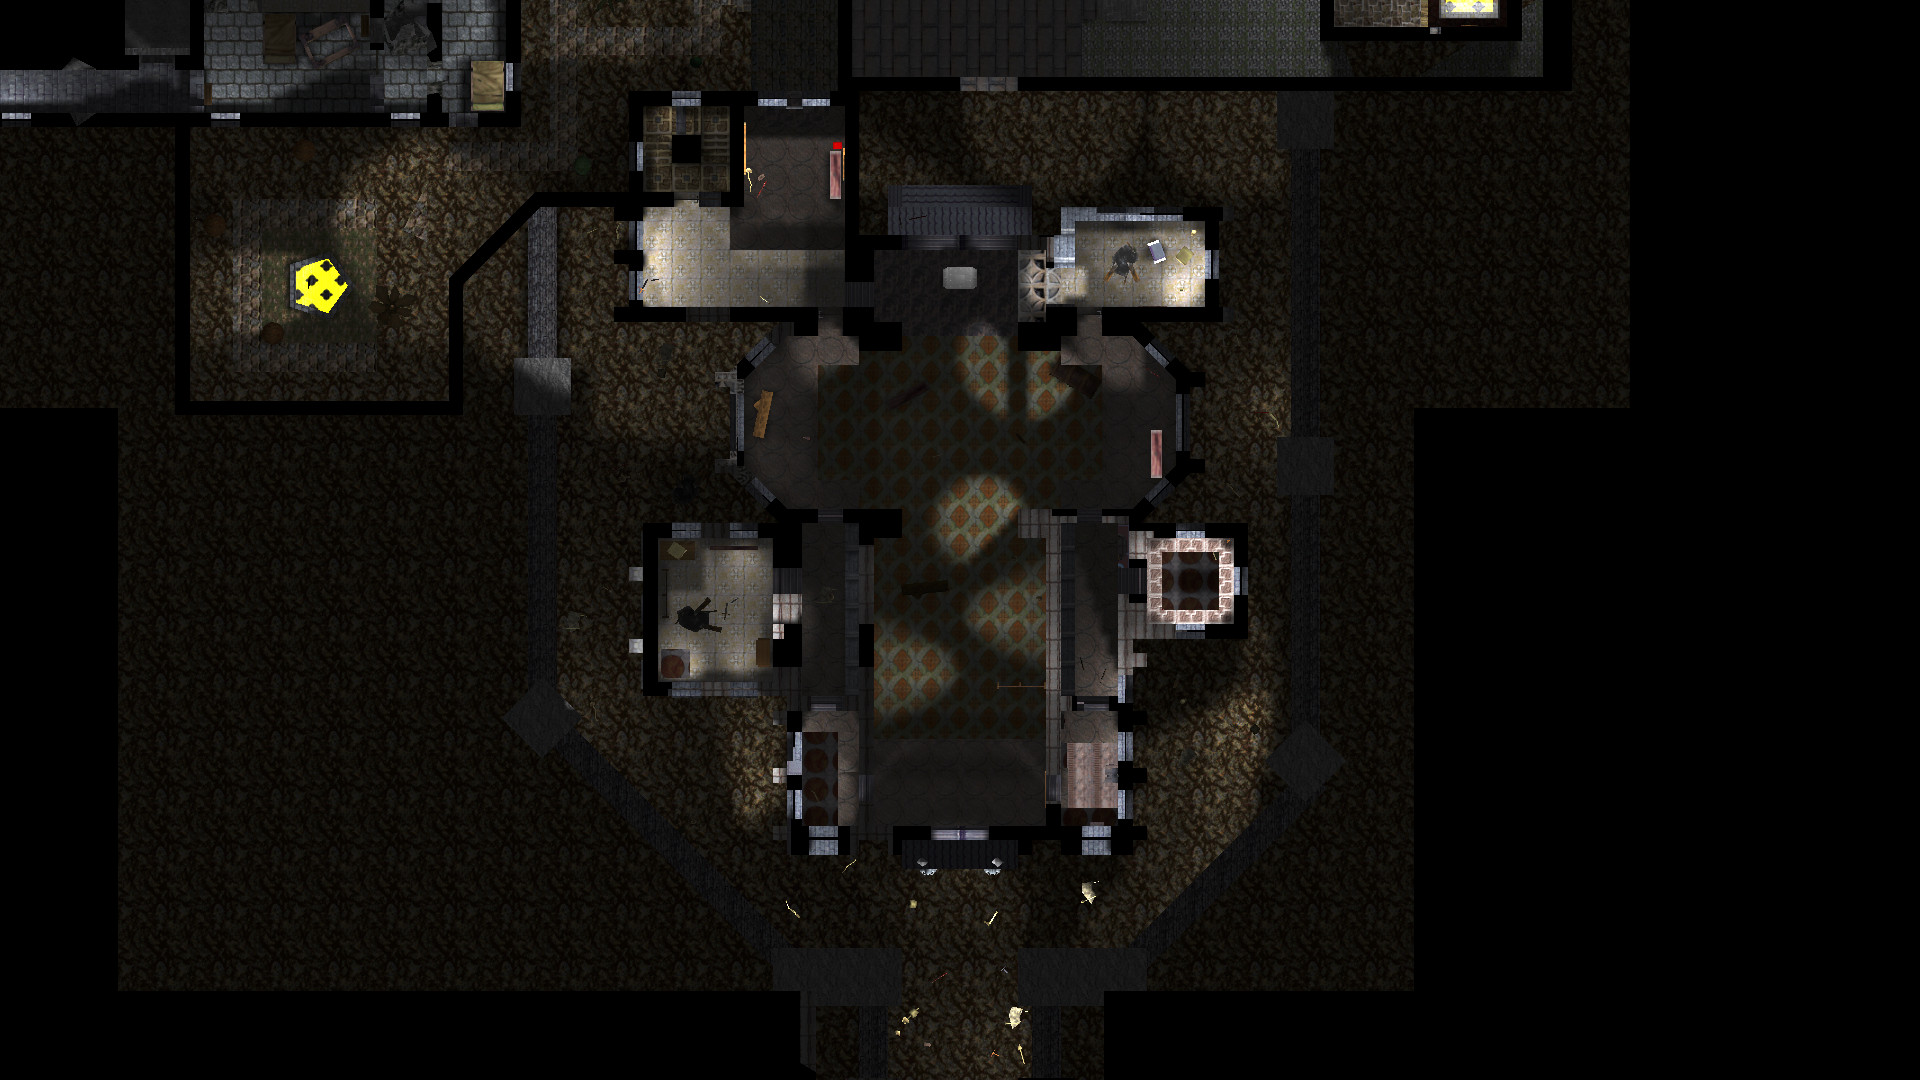

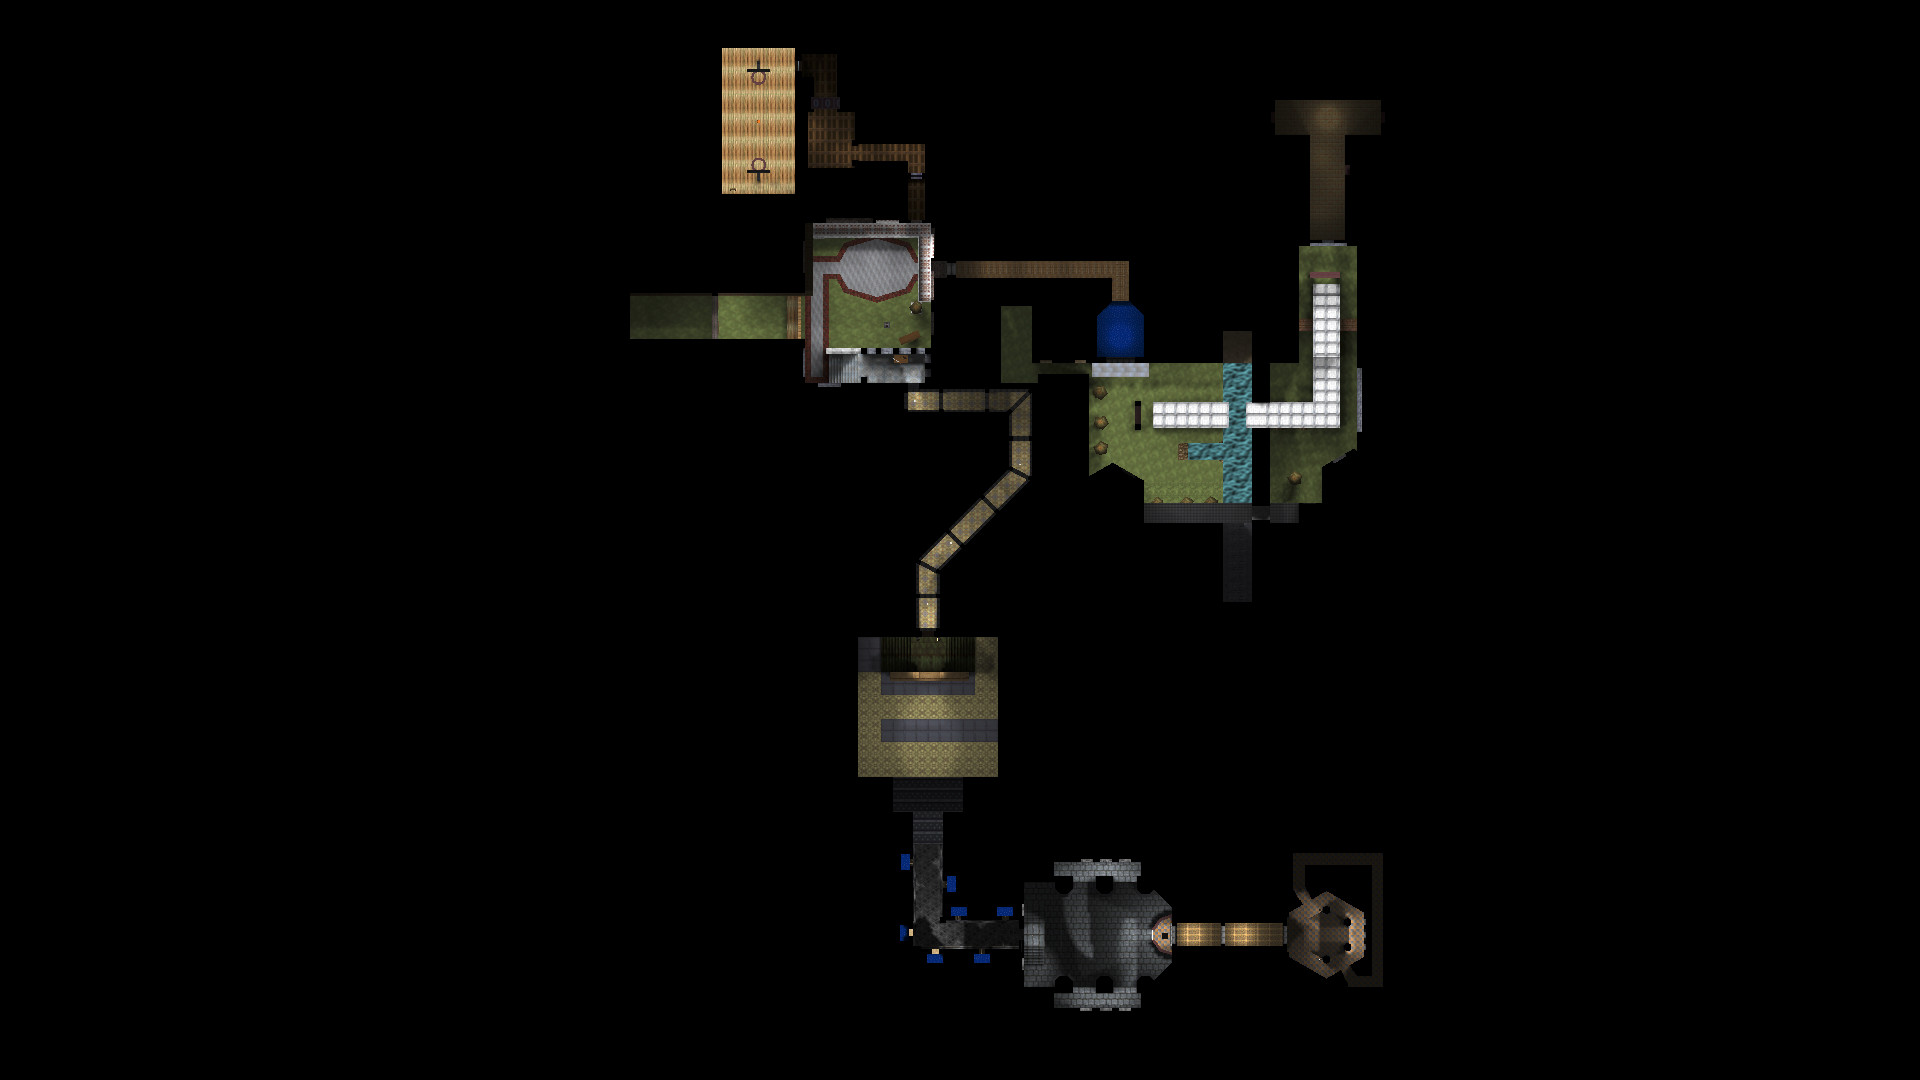
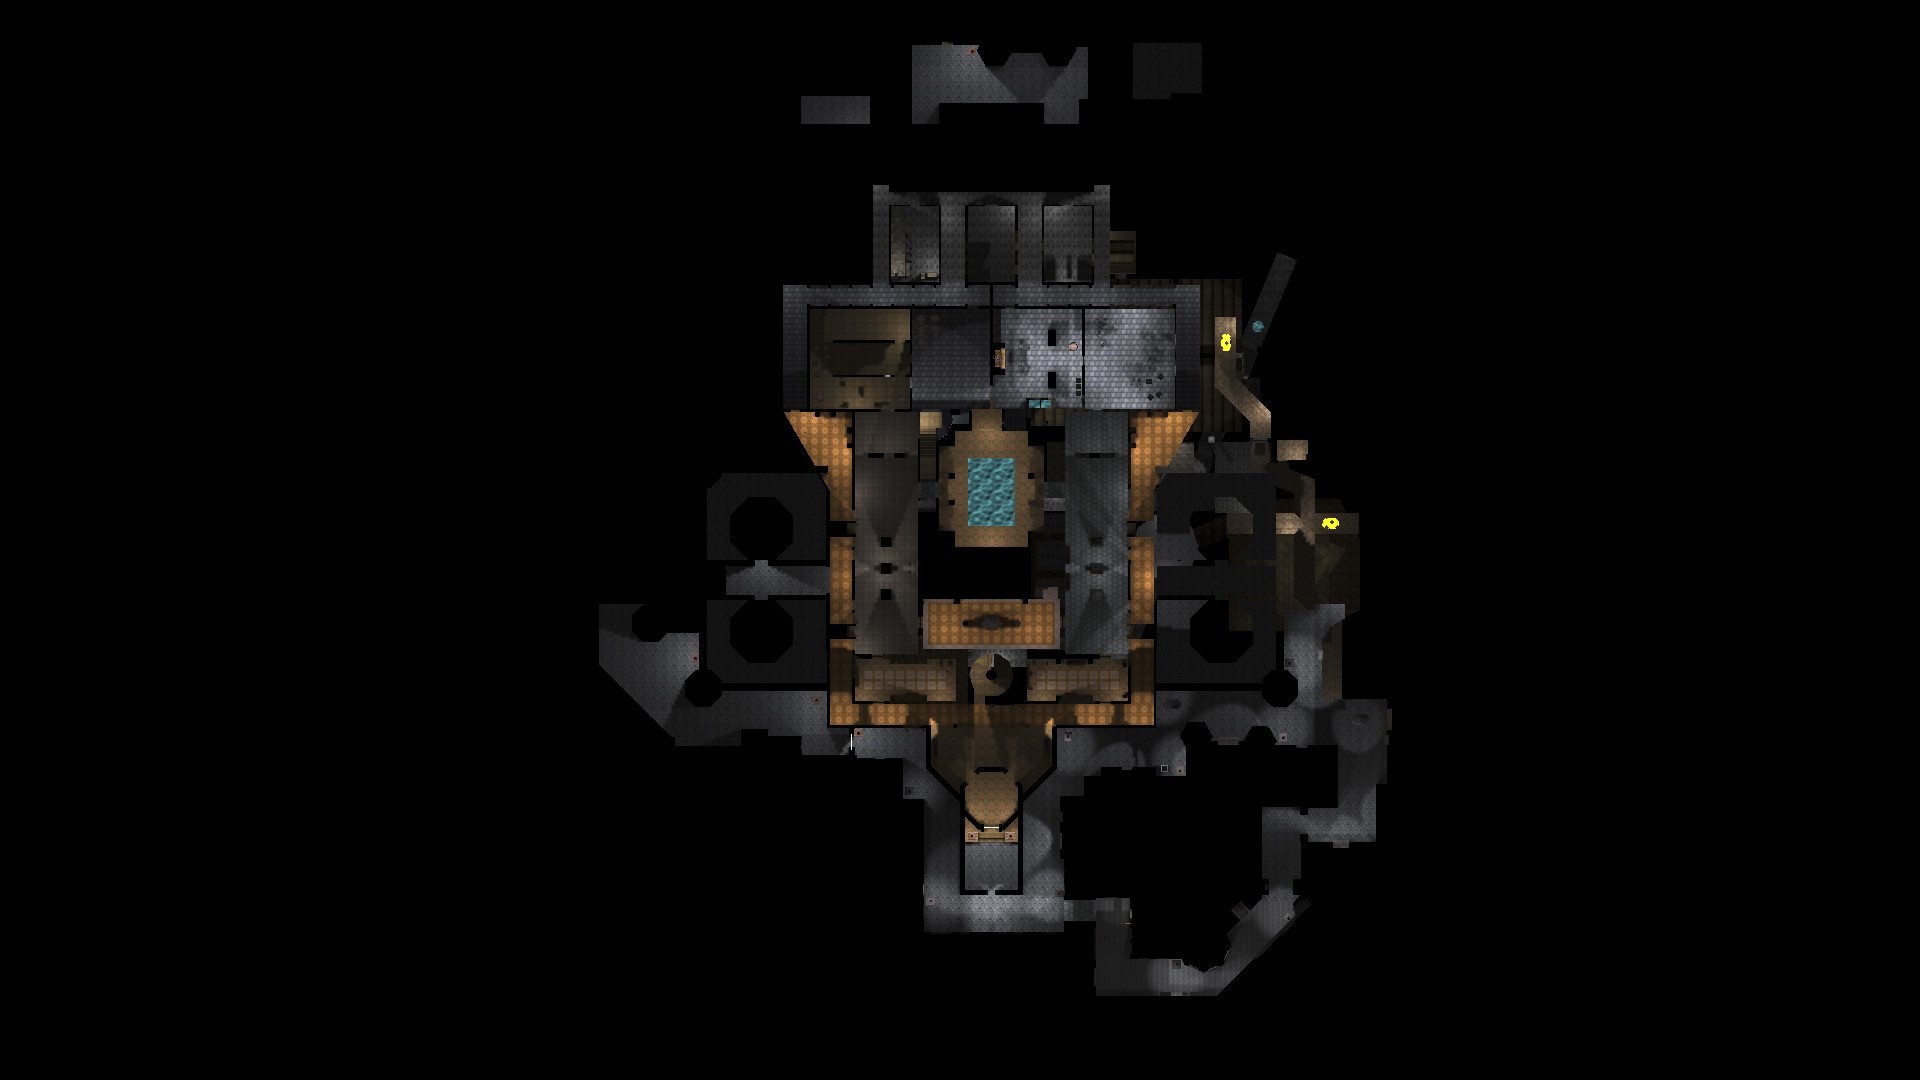
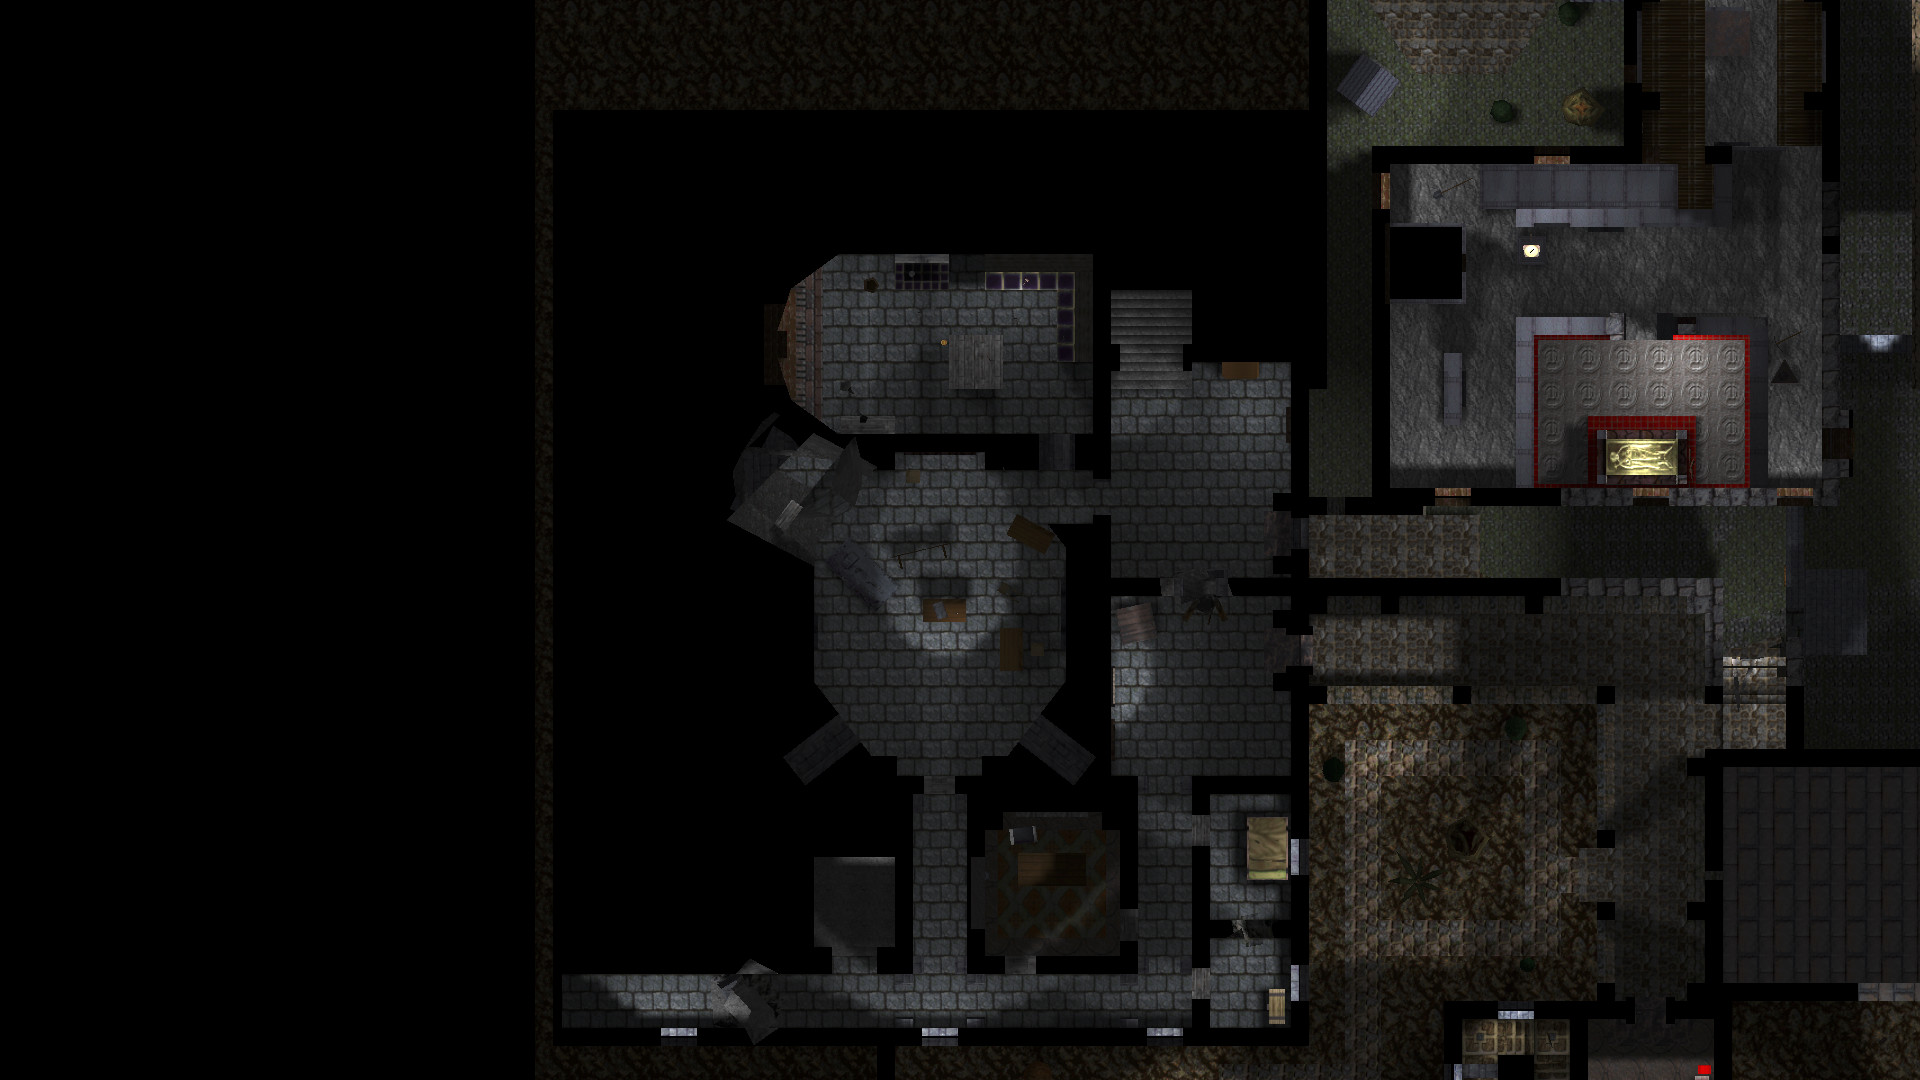
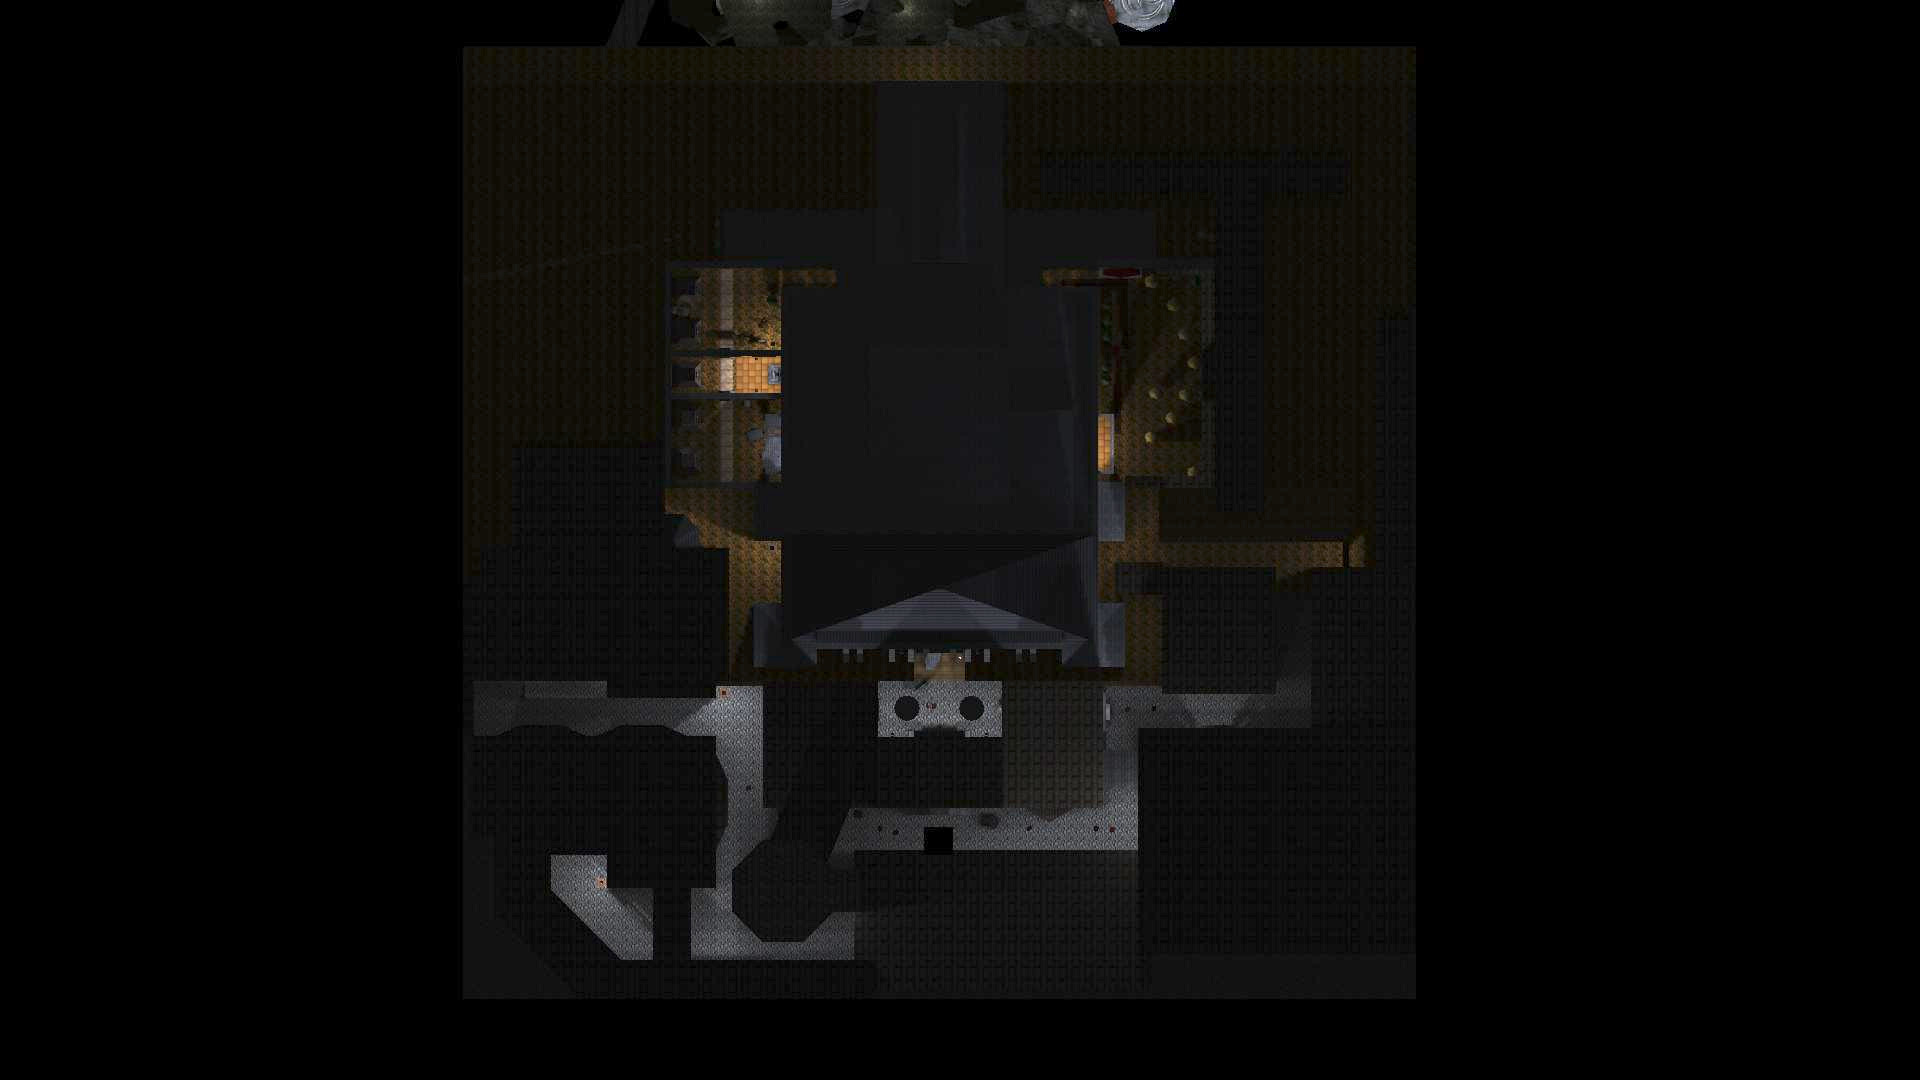
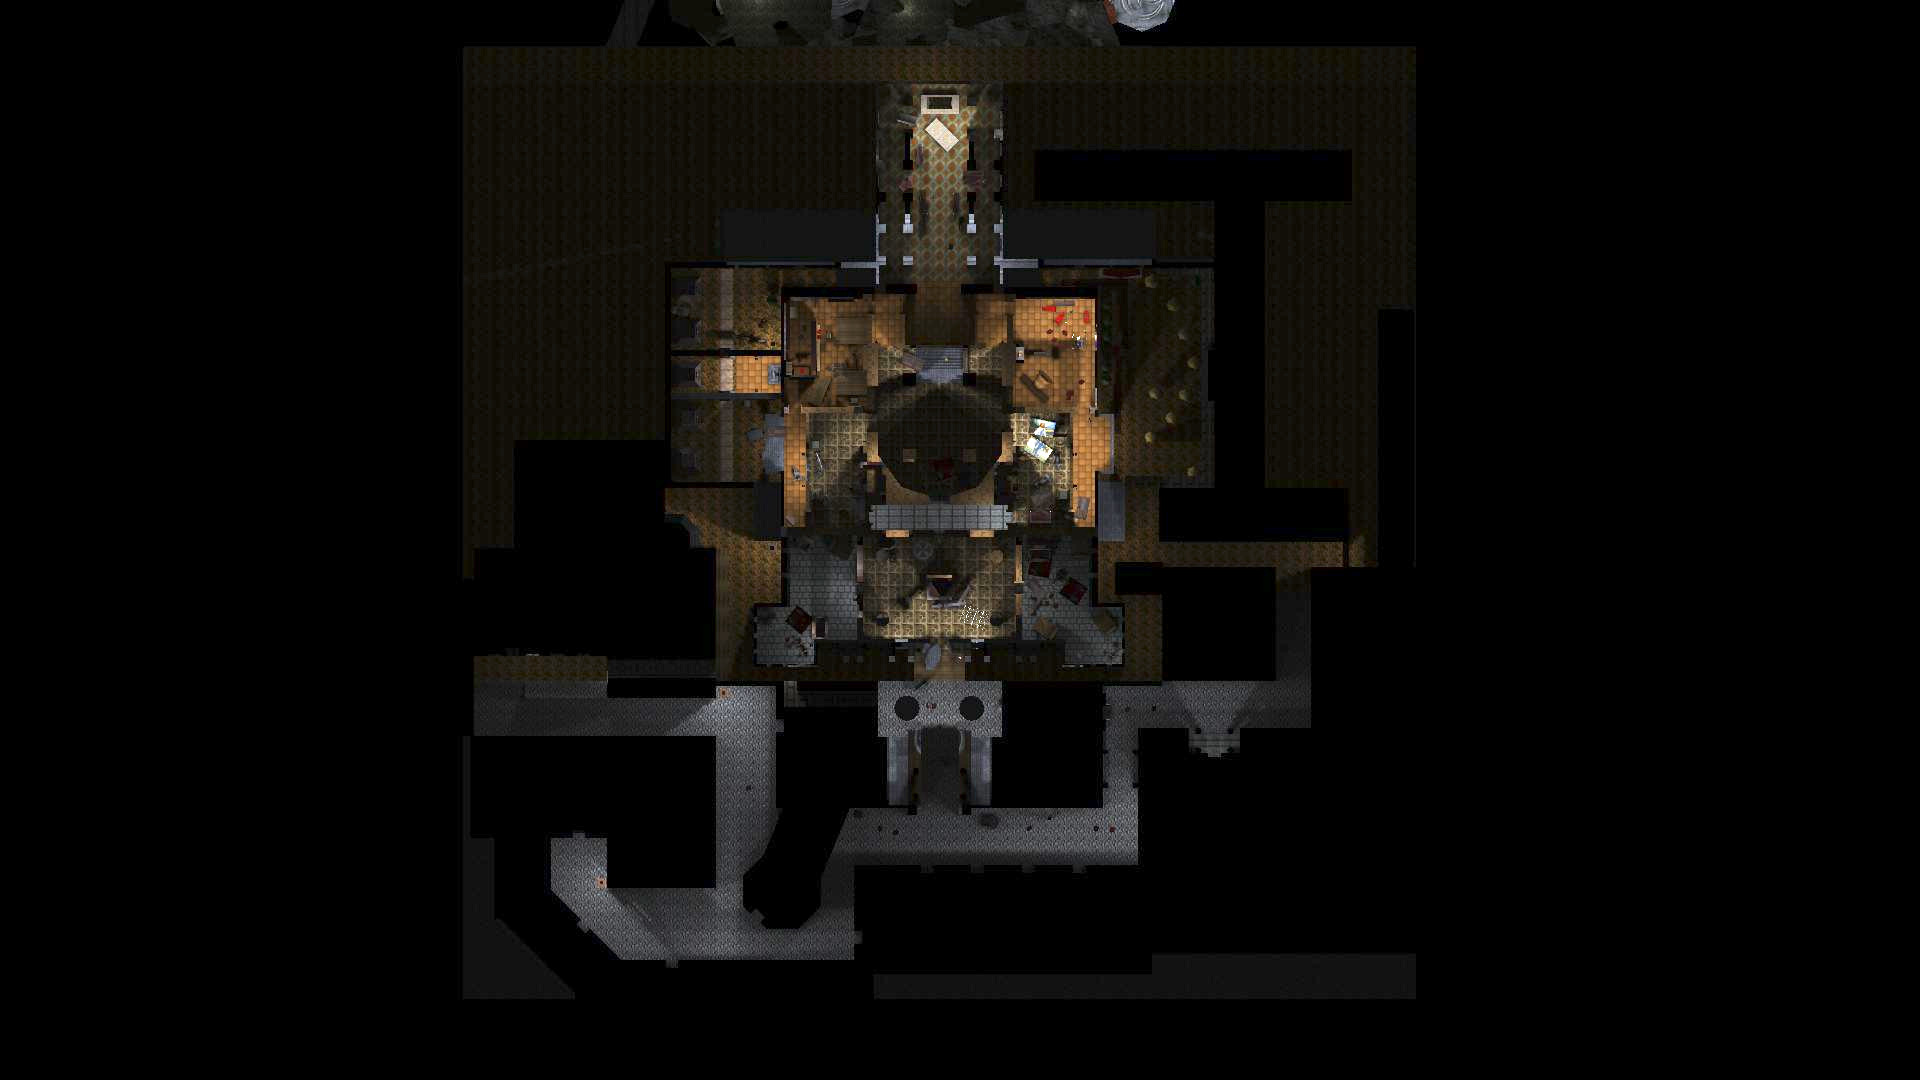
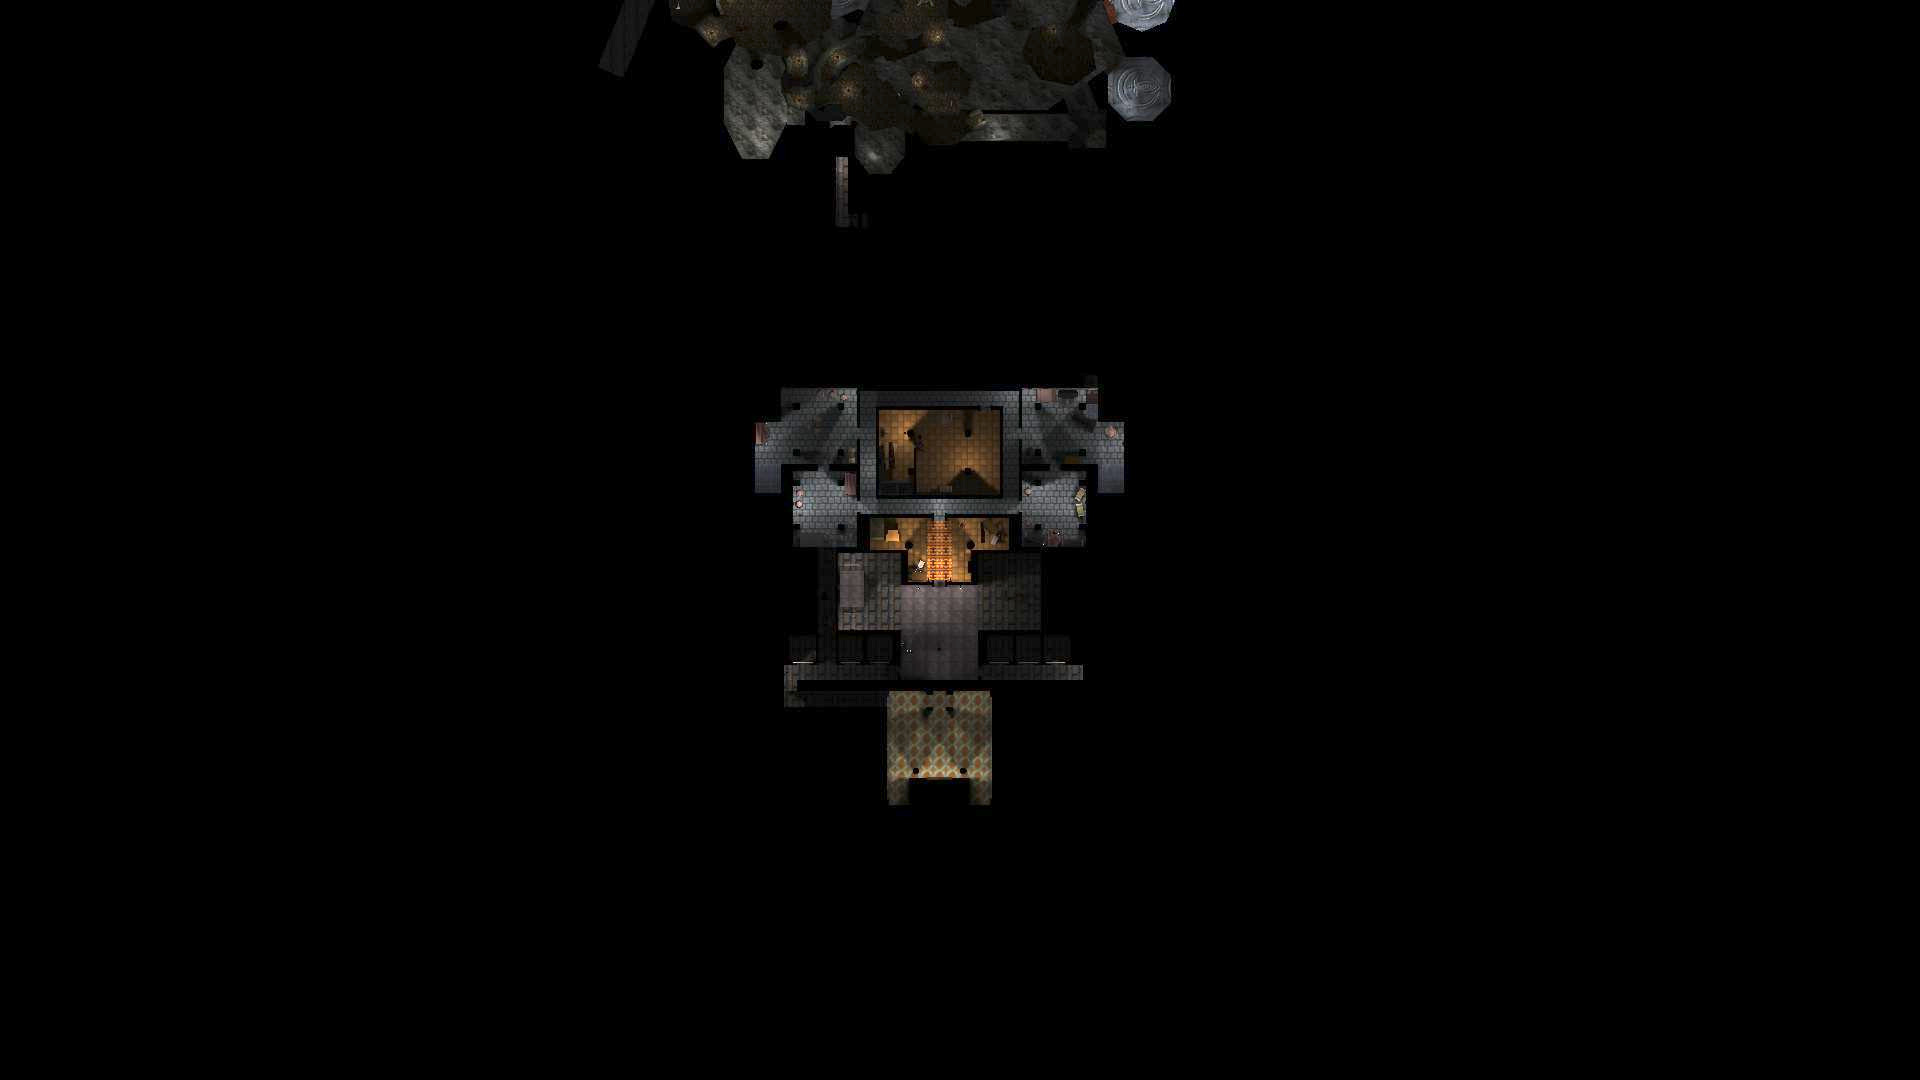
 Central cloister
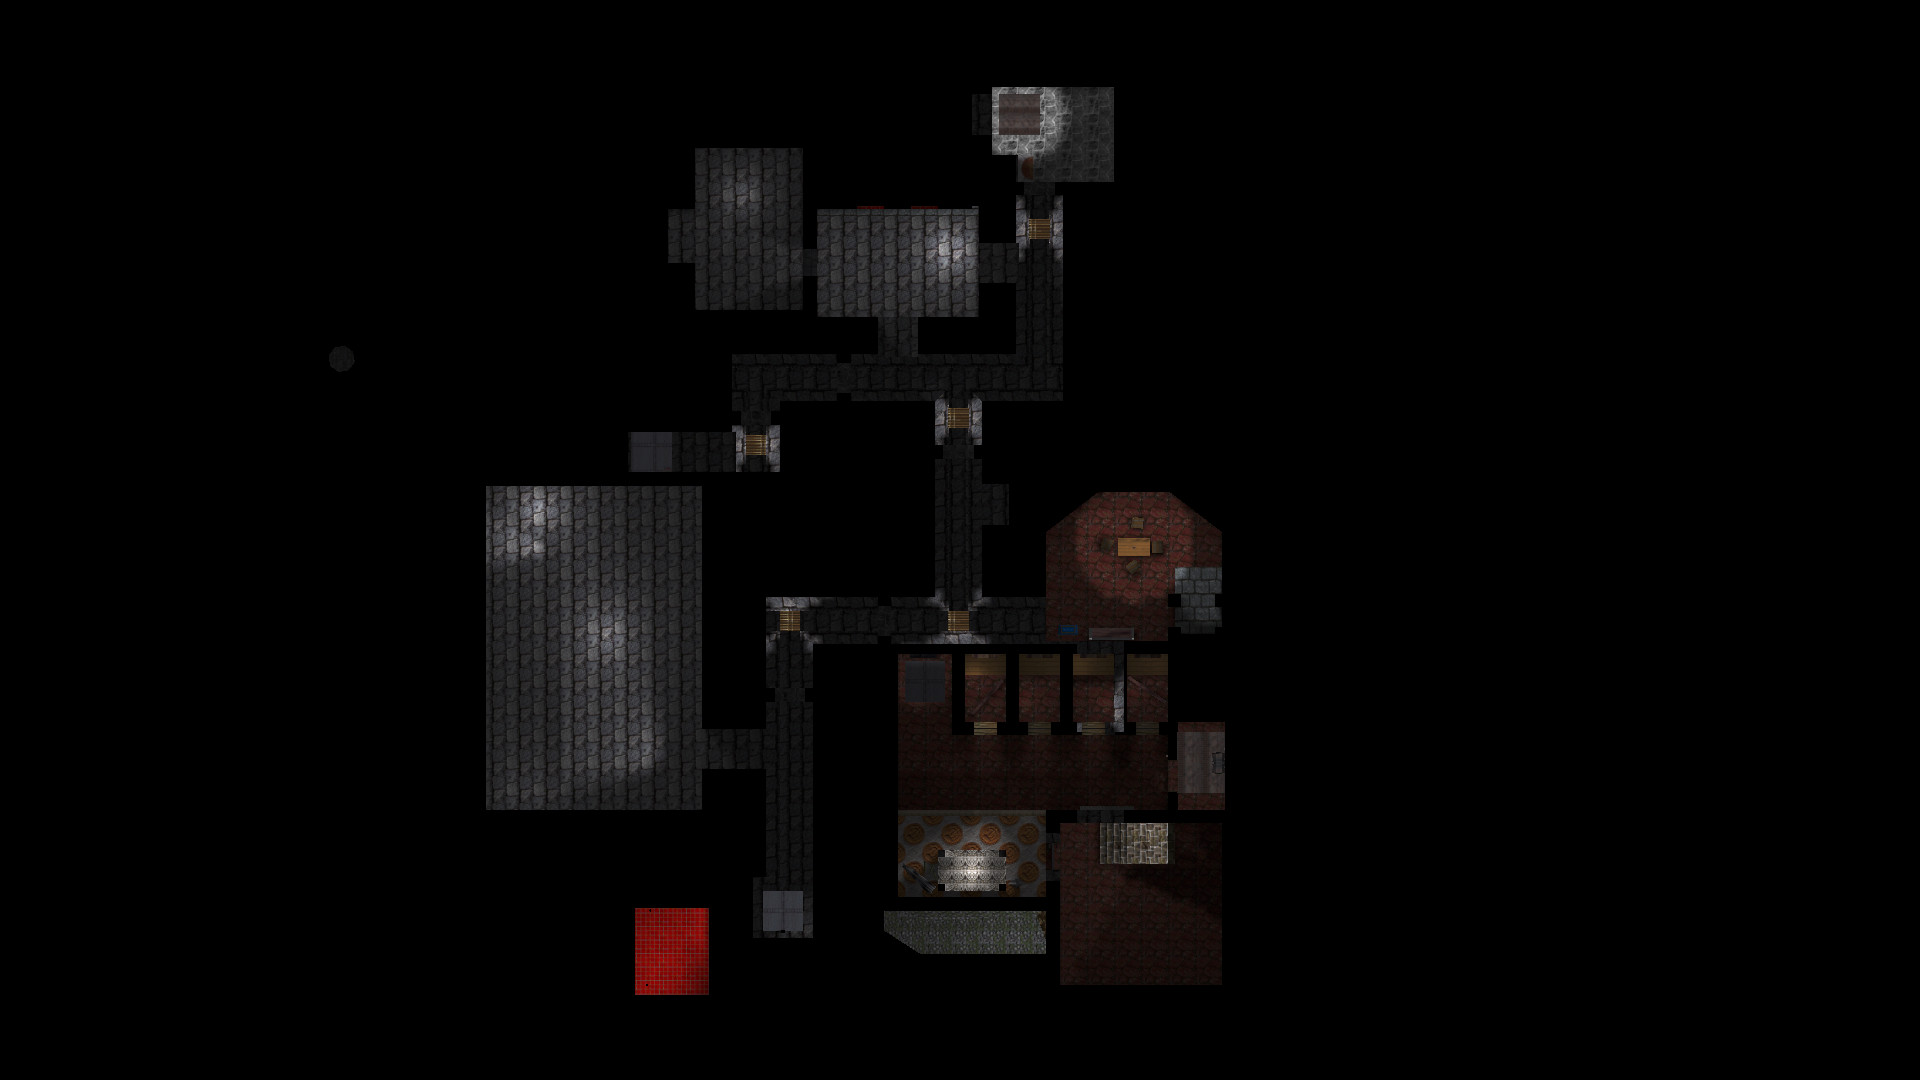
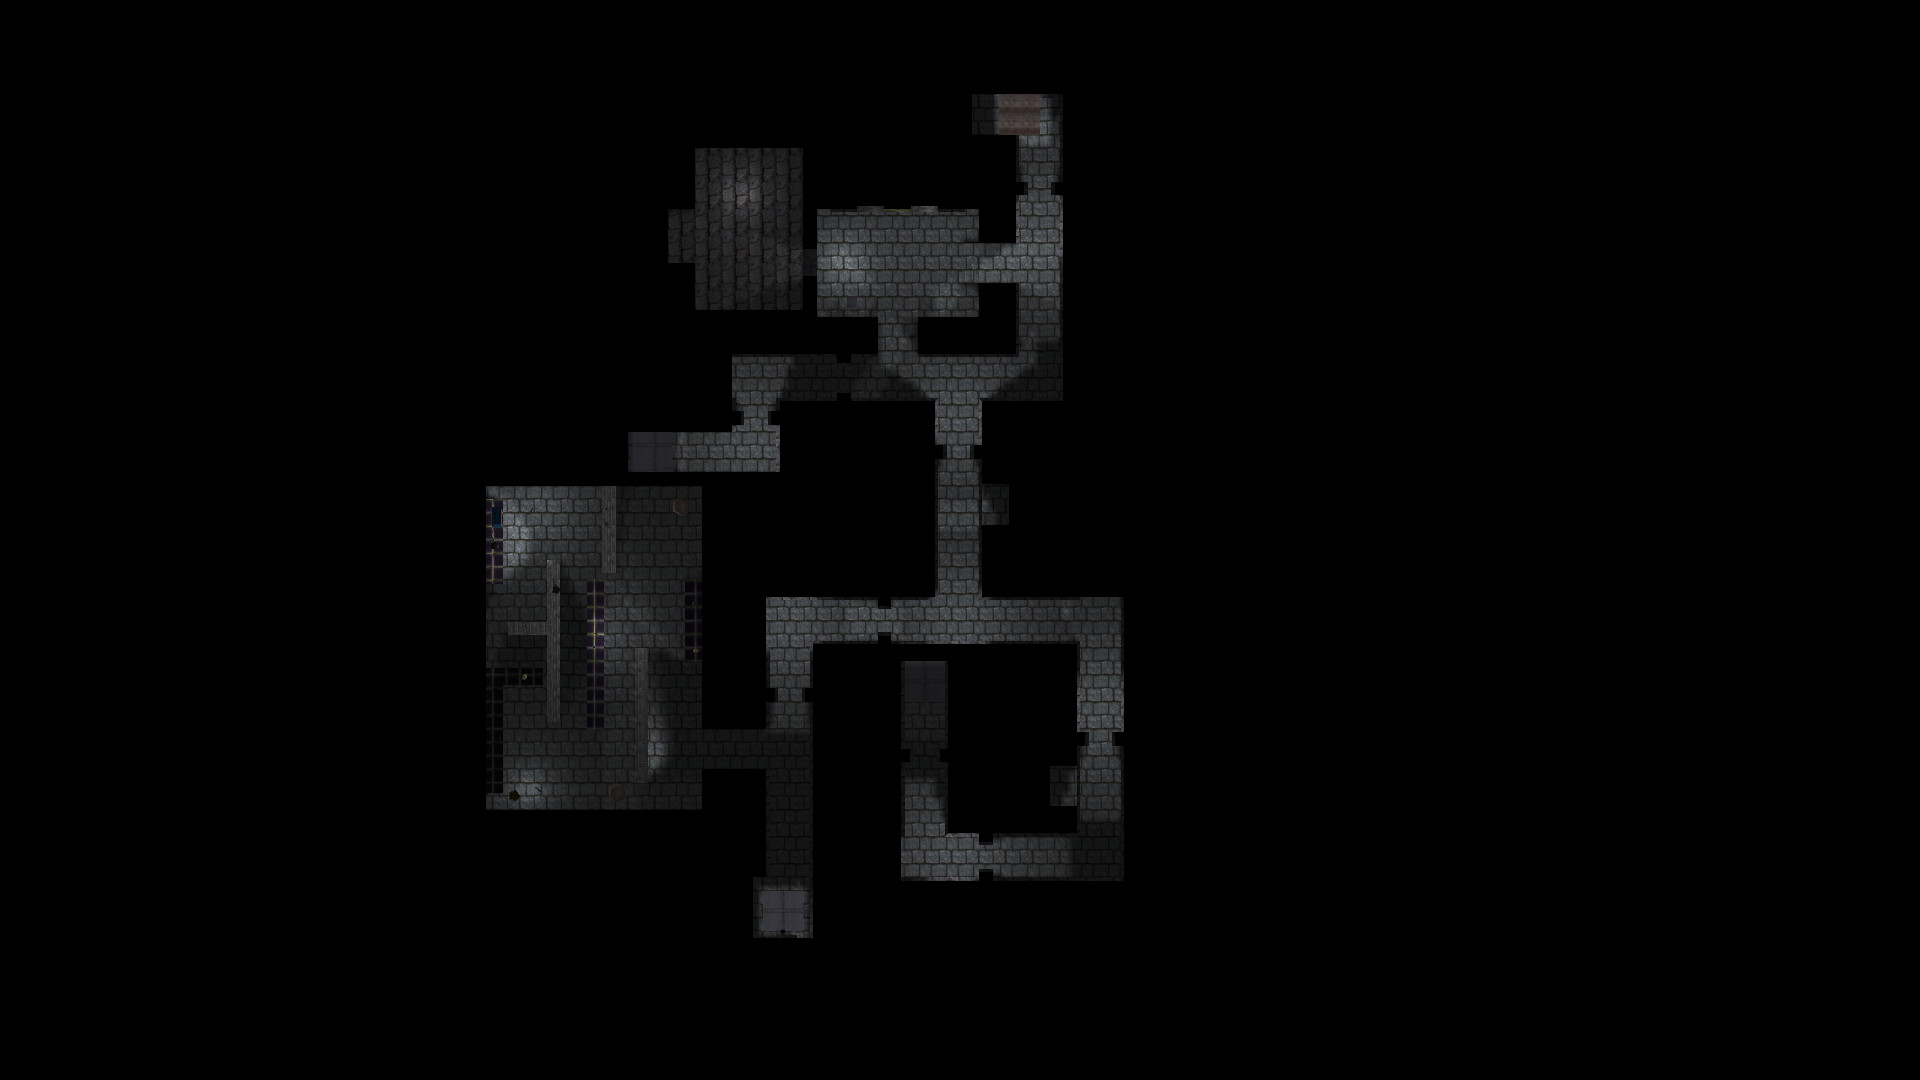
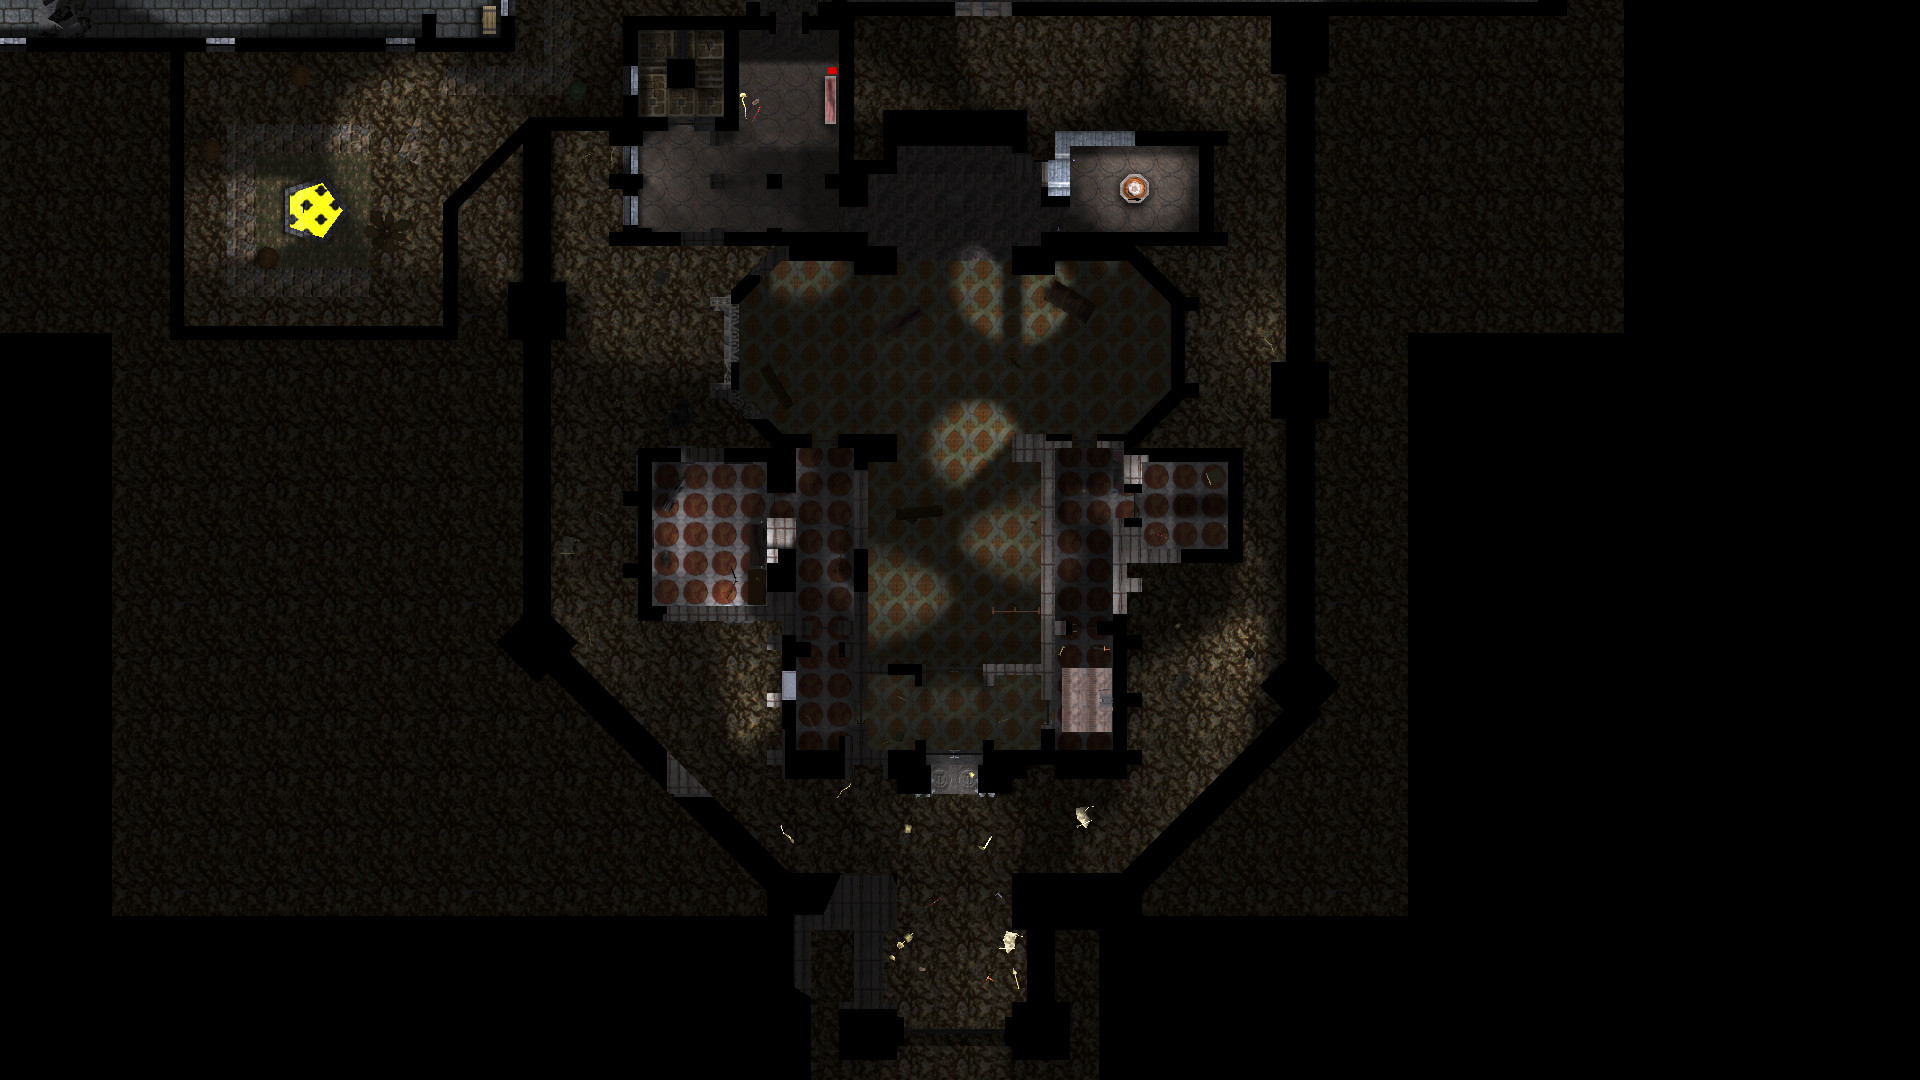
 St Yora’s, dormitories
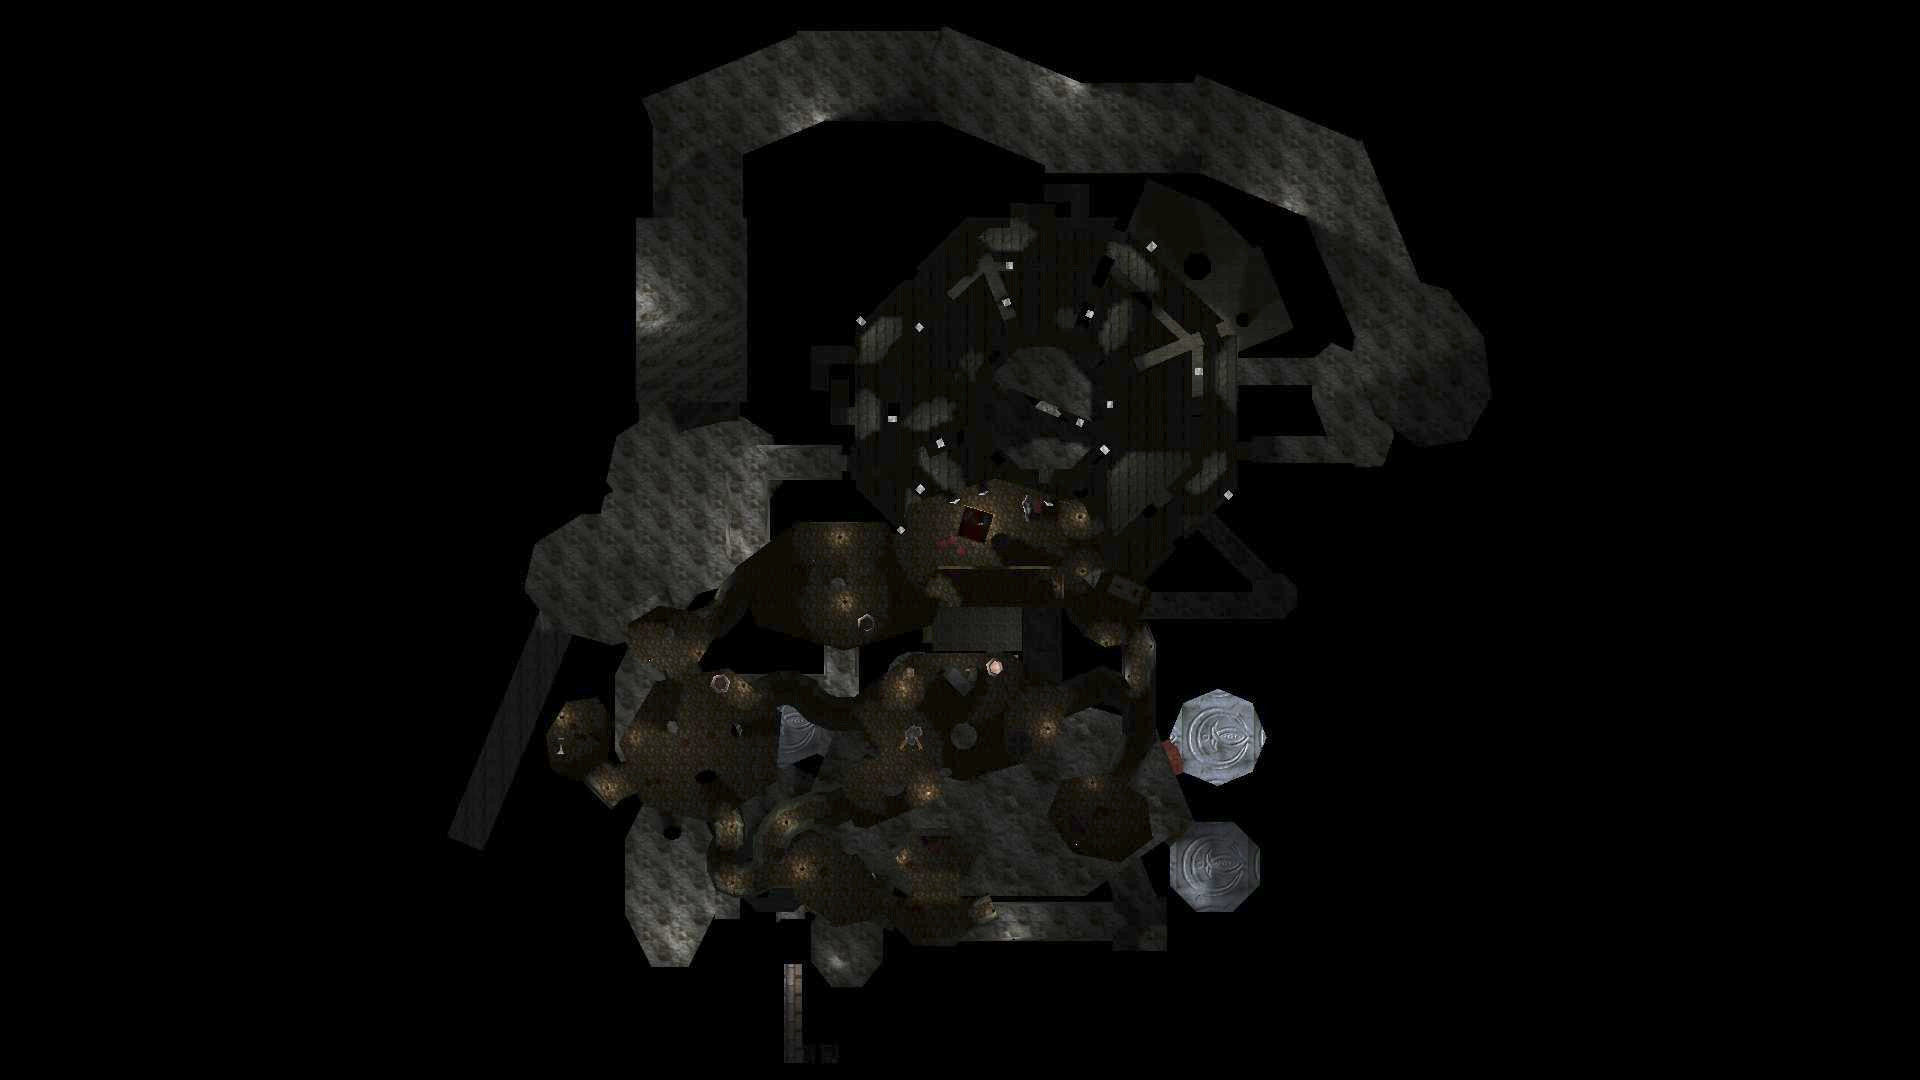
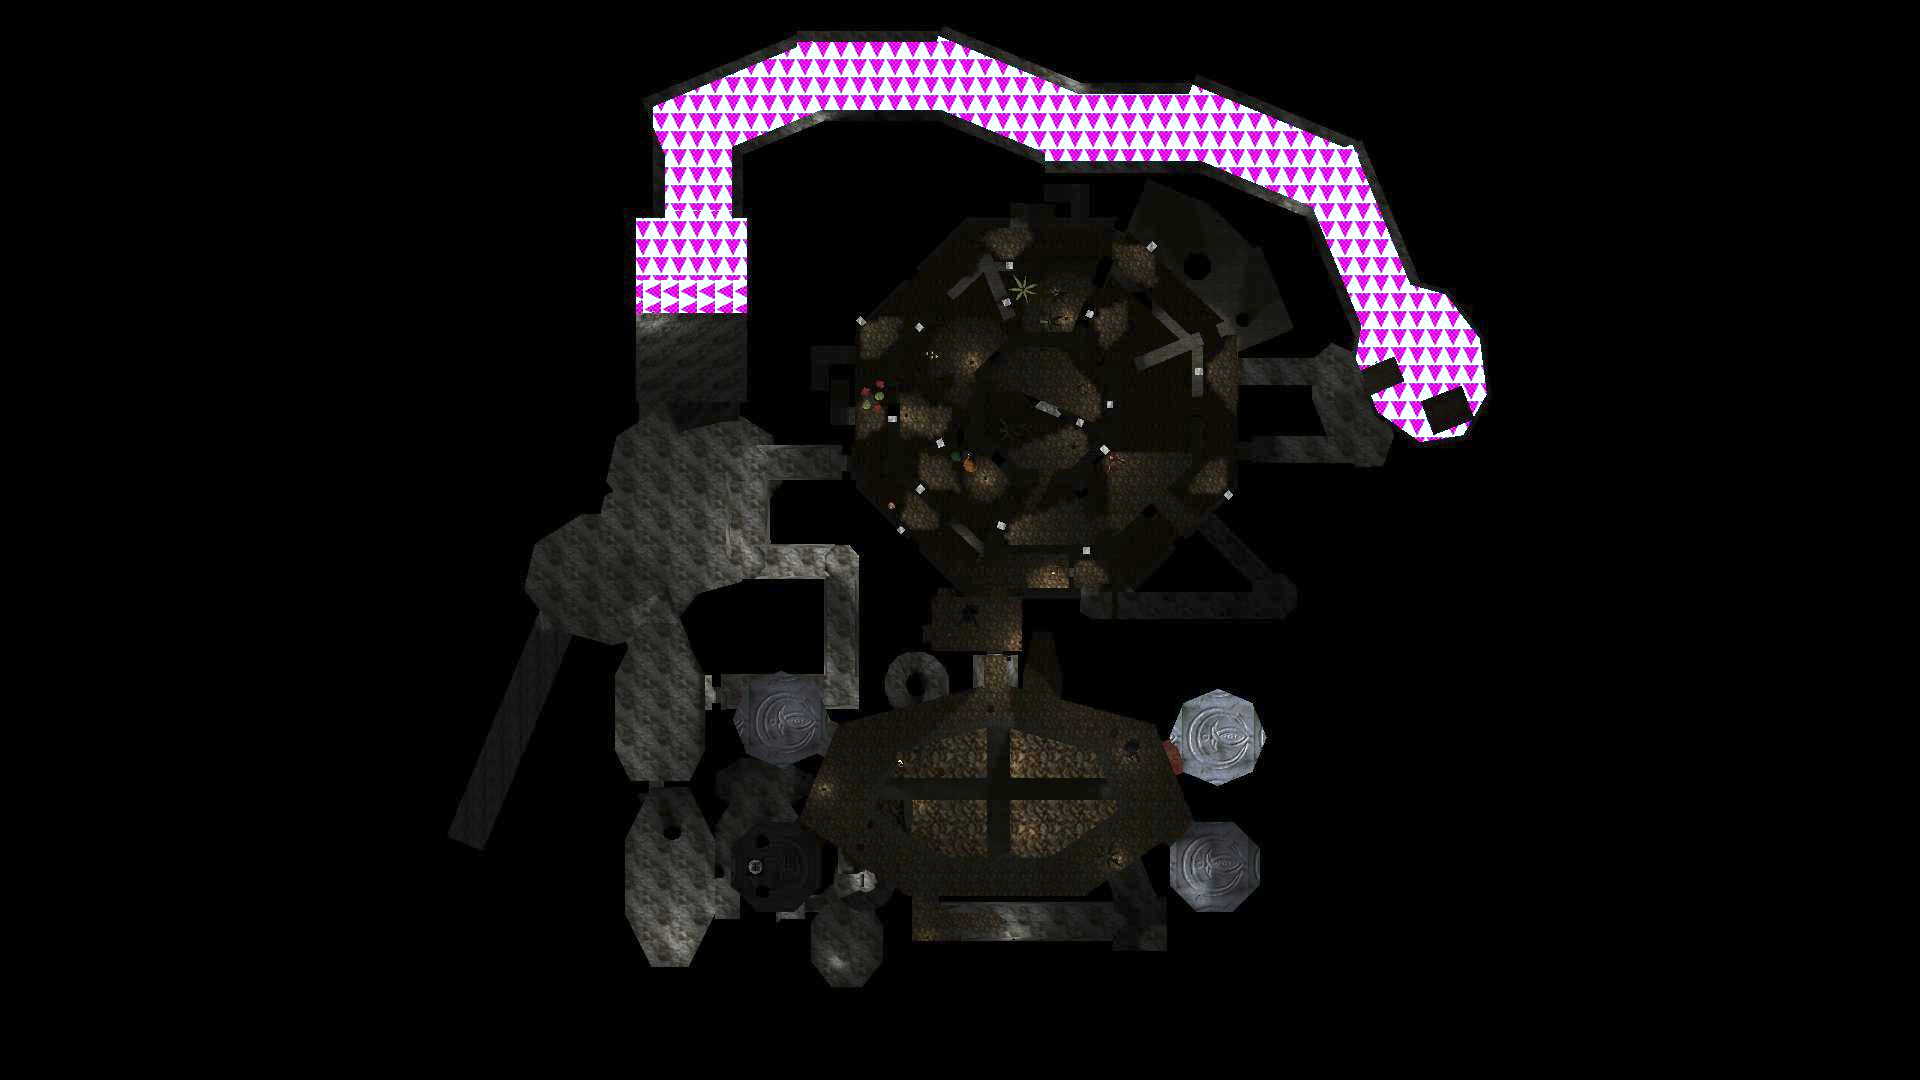
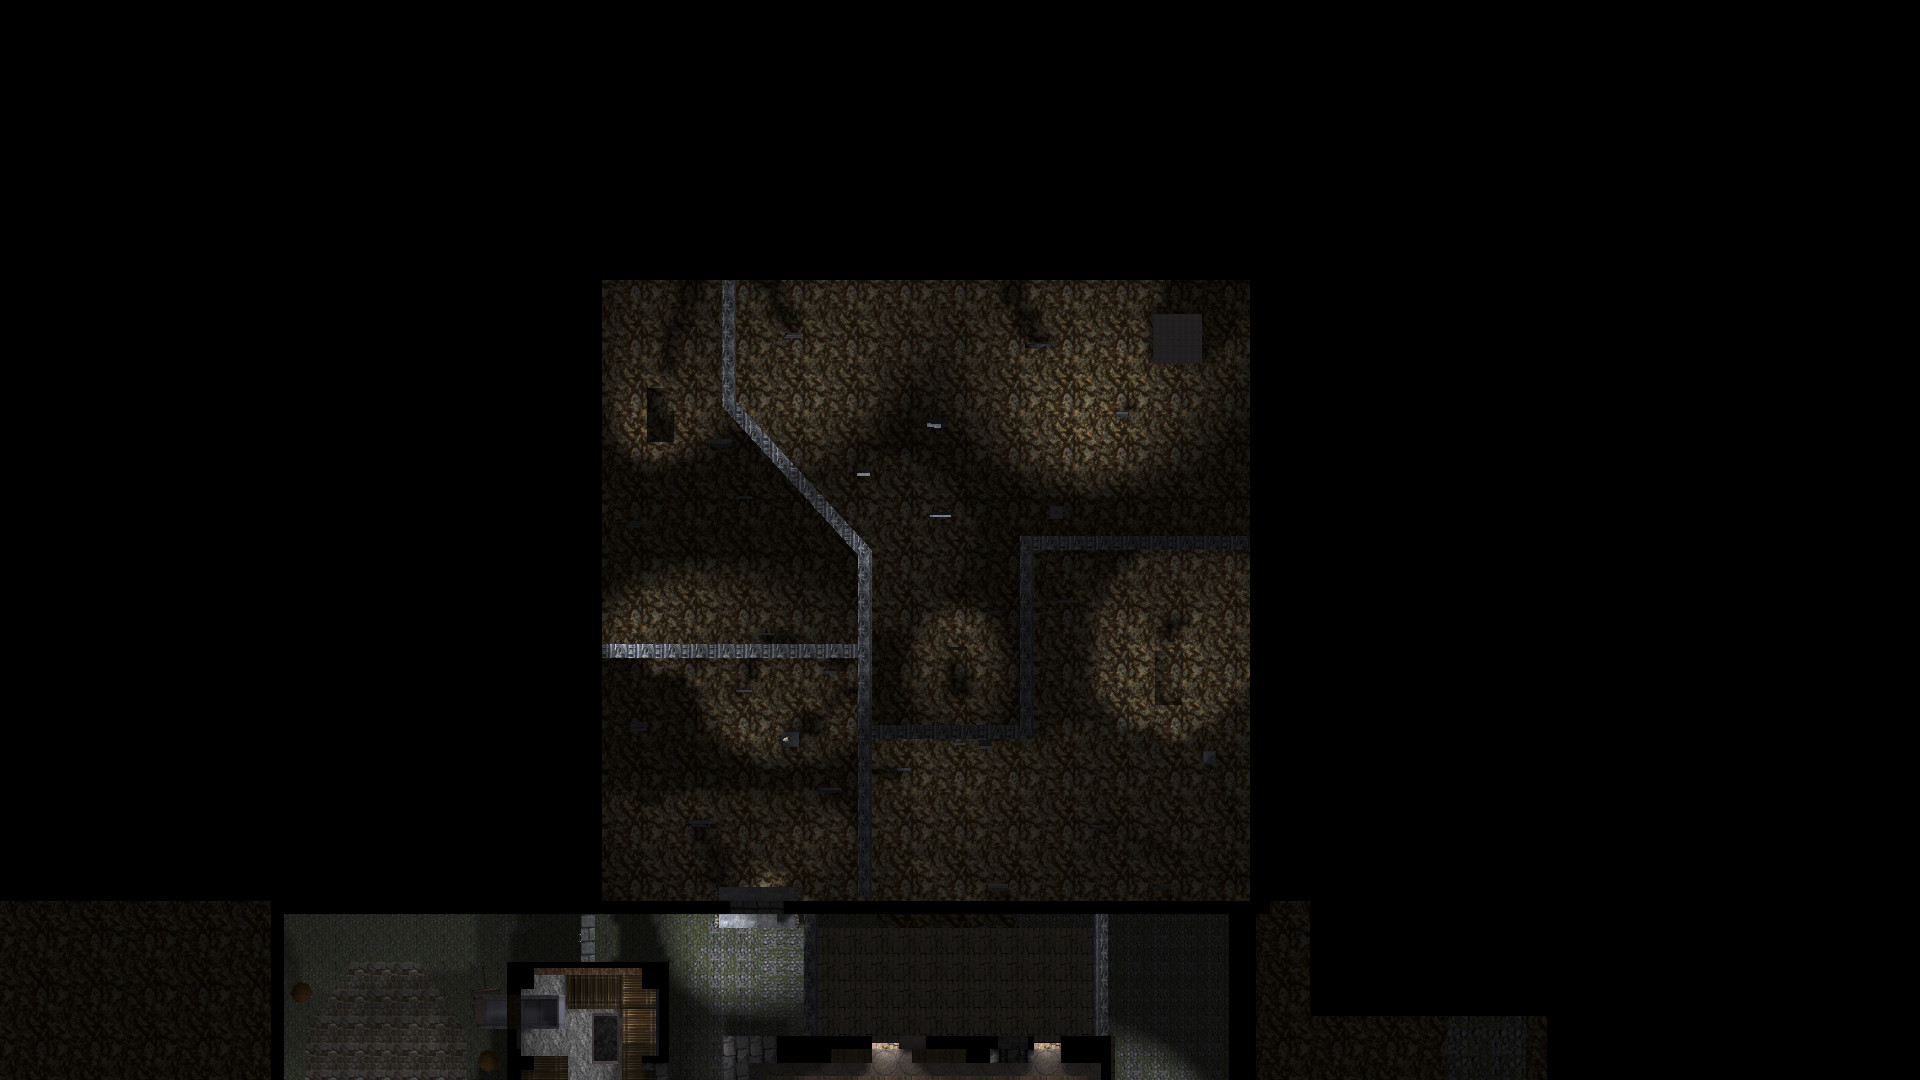 Cemetery
Escape!
 Some detail of what remains of the mansion proper.
Strange Bedfellows
 This level is relatively compact, so we’ll descend through it similar to Undercover.
 Our view shifts screen-upwards a little here for the underground section.
Into the Maw of Chaos
 Unfortunately the JPEG compression hit these images hard; guess it’s the colours.

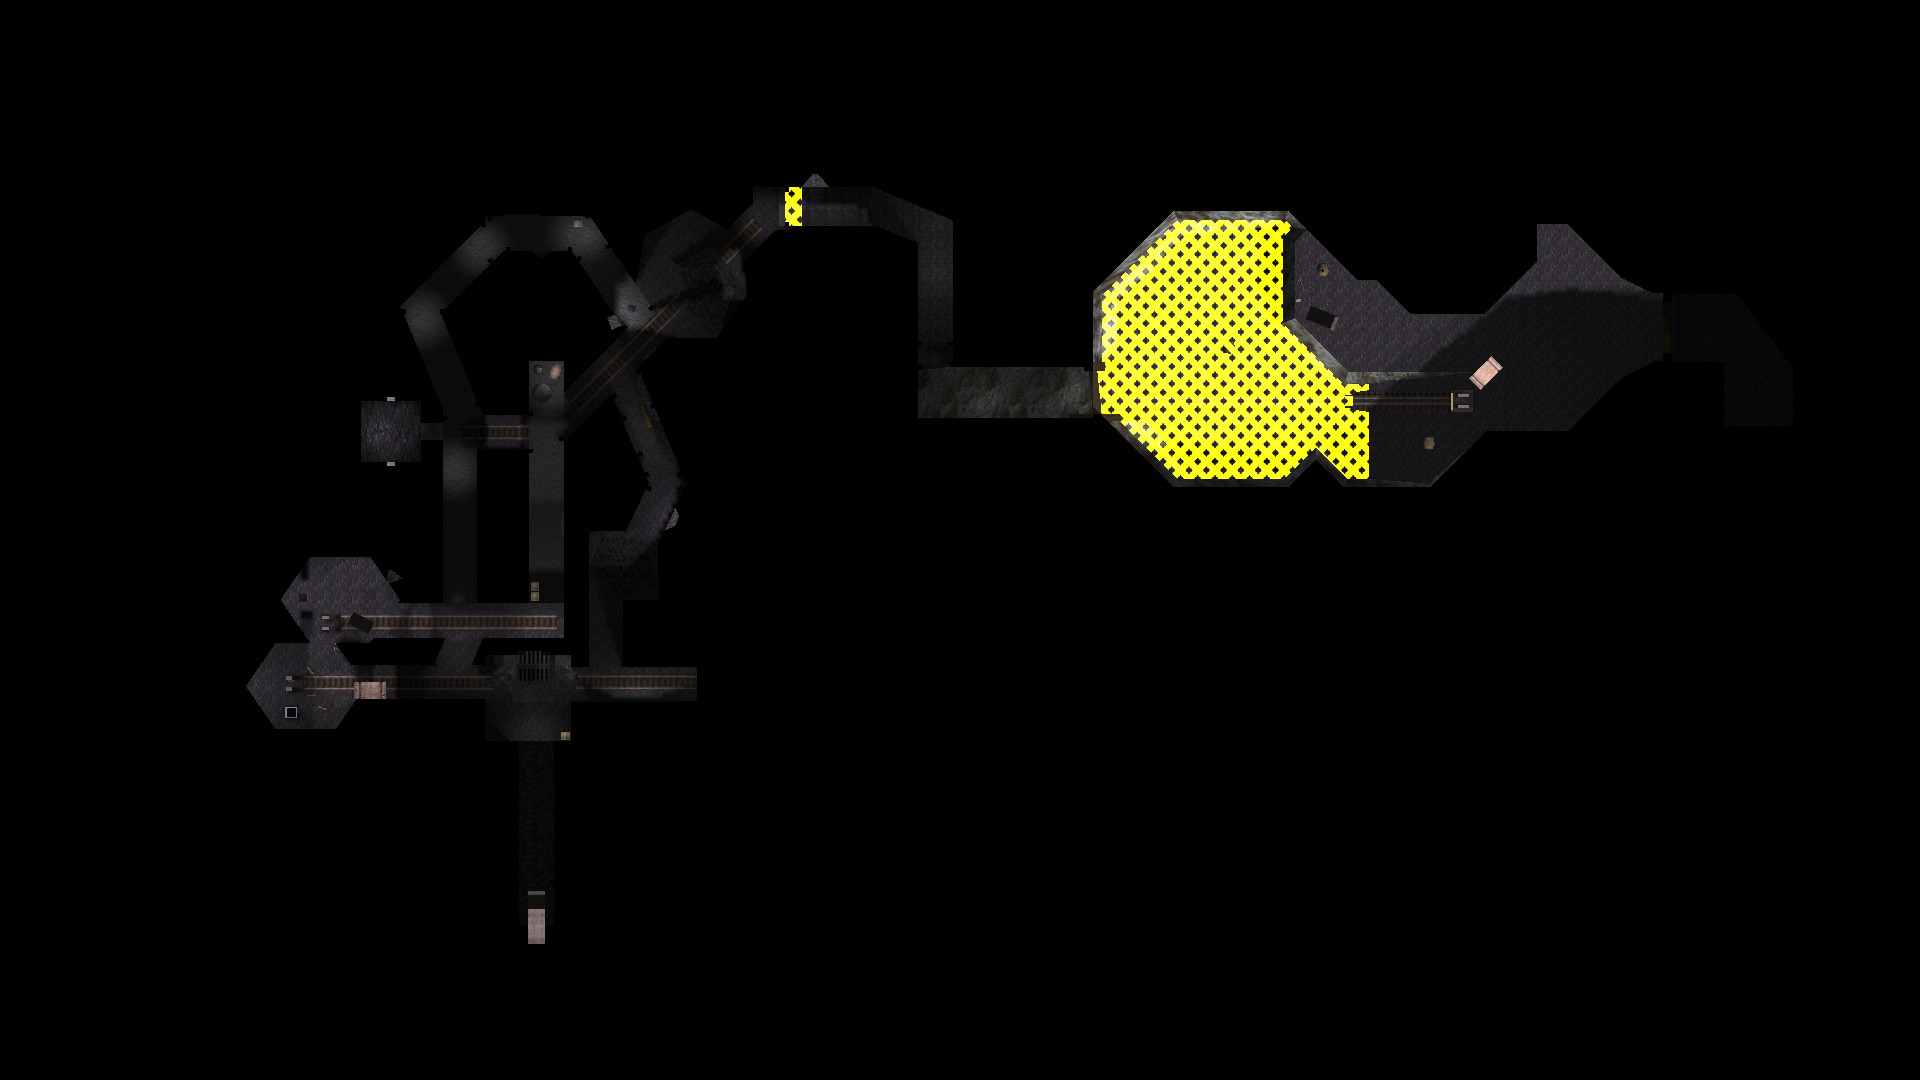
 A close-up of the boss area.
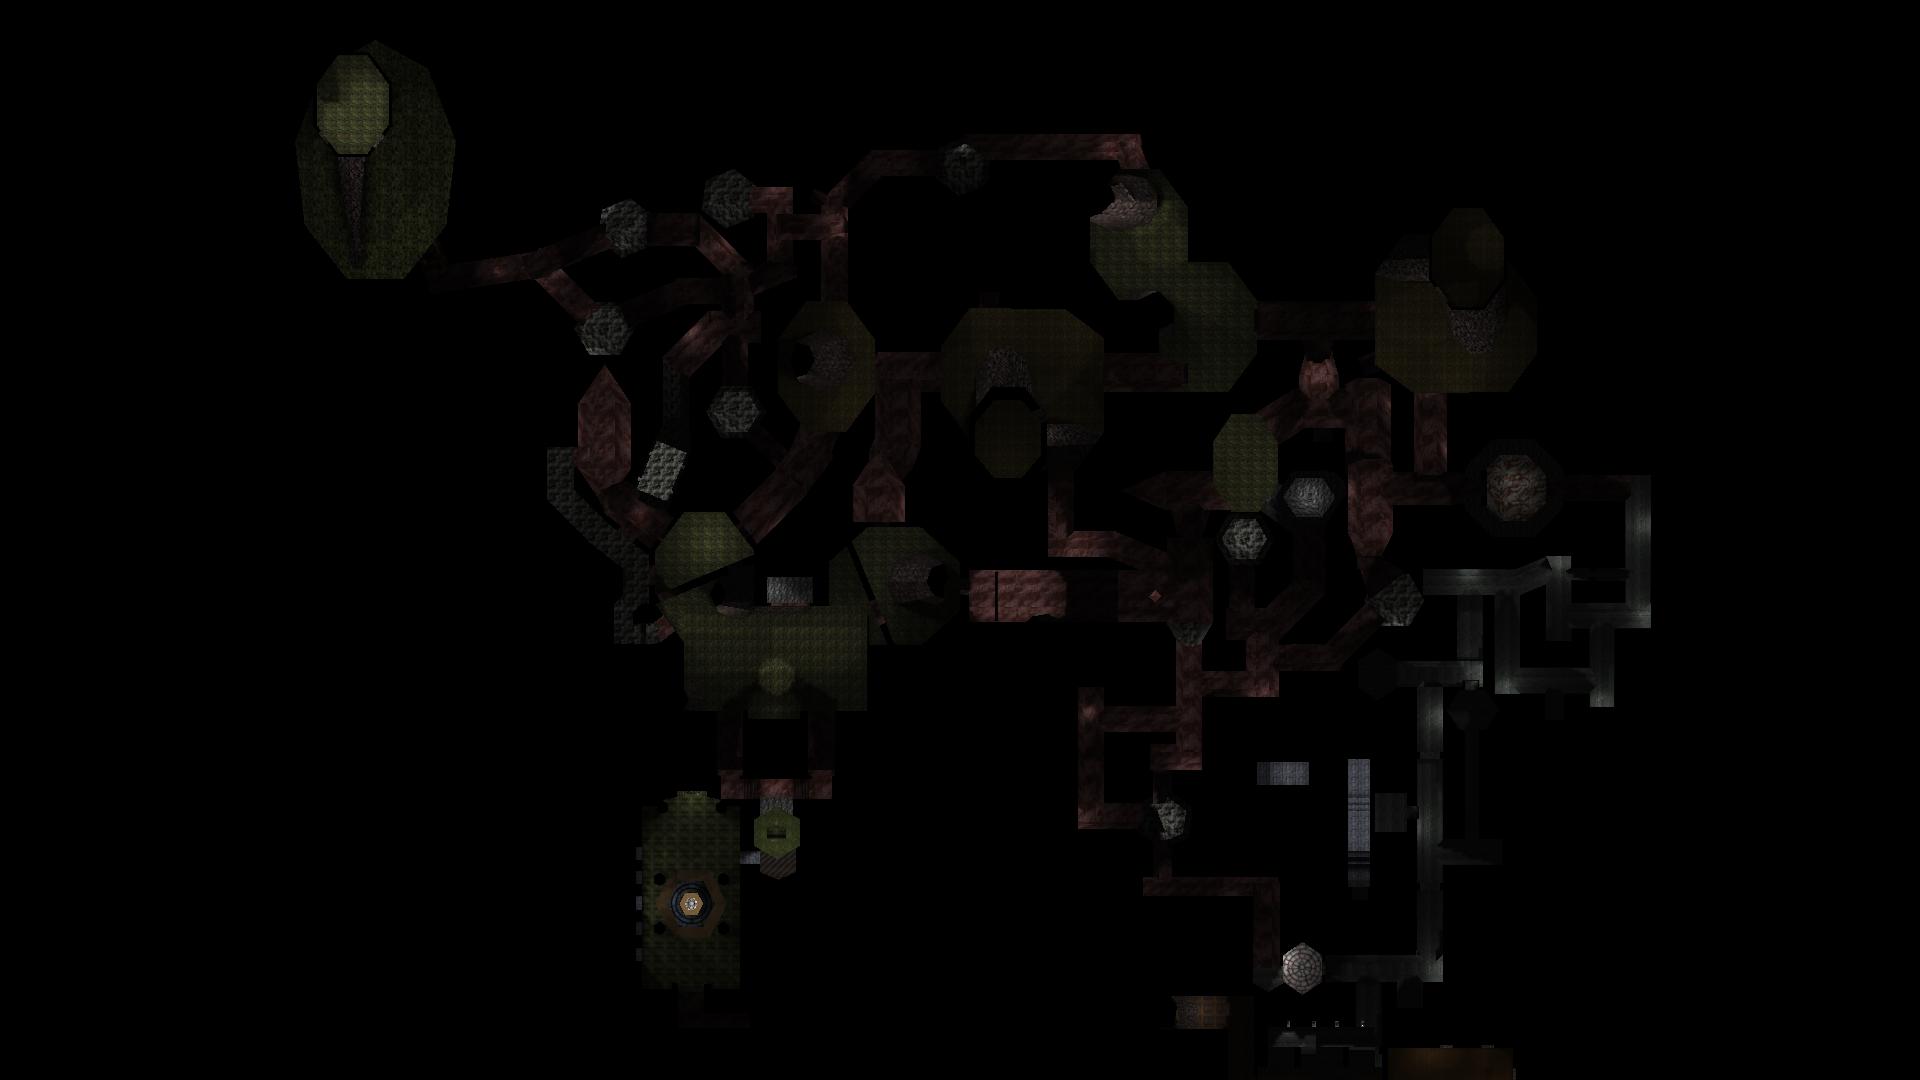
 And a isometric-type view of the level to finish off.
Thanks for viewing!